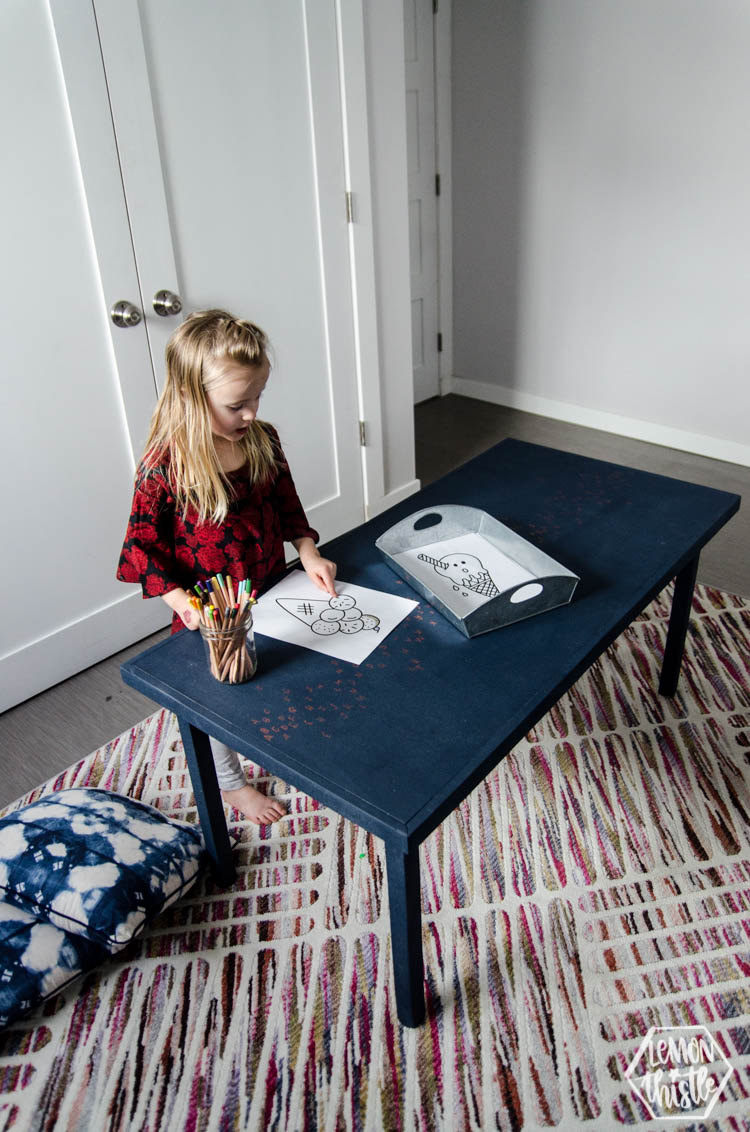
We are *finally* making progress on our kids playroom in the basement! This table makeover was the perfect motivation to deal with some of the boxes (and boxes and boxes) of things that had accumulated in there, preventing the room from really being used. Plus… the table’s darn cute now, isn’t it?! Shane made this table for the kids almost 2 years ago now and it has gotten a TON of use and it’s been beaten up because of that. We gave it a really good sand to try and just stain it, but markers and paints had soaked into the unfinished wood- even after a ton of sanding. We decided to give it a paint job instead and I pulled out my favourite colour… NAVY!
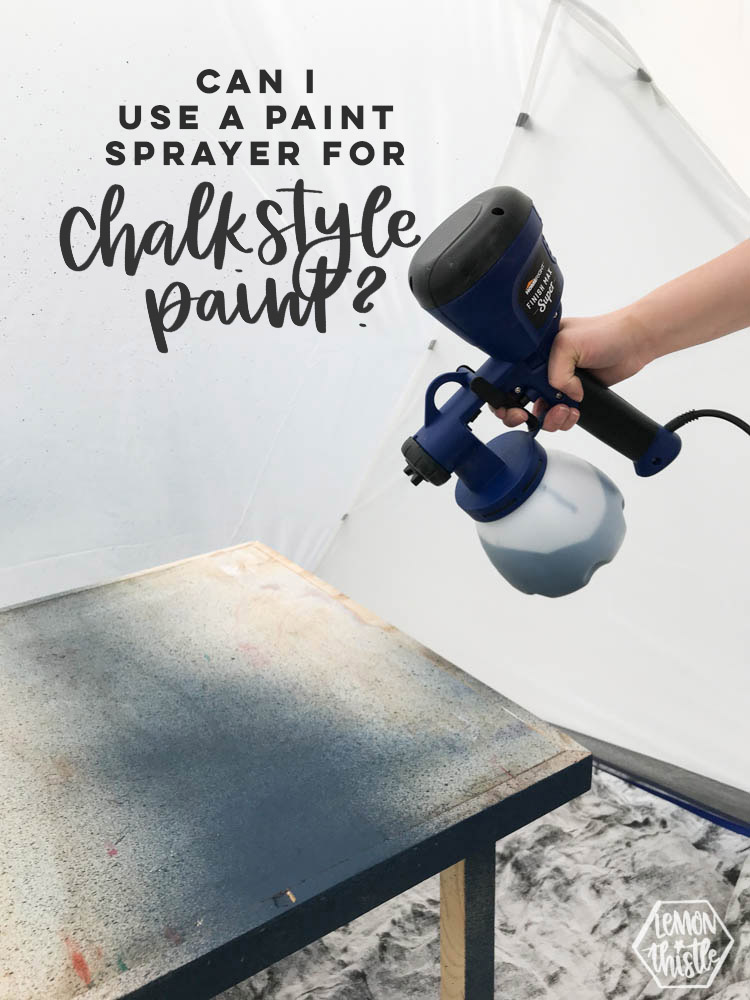
But the navy I had was a chalk style paint. I was wanting to spray this table for a really even finish (I LOVE the even finish a sprayer gives- especially on large surfaces like this and I really, really love how quickly I can knock projects out using one) but had never tried a paint sprayer with chalk style paint. So this was a total experiment for me. I’m going to tell you what worked, what didn’t (quite) and what I would do differently next time!
Since it took a bit of playing, I thought instead of doing a post all about this table makeover (which I really still love!) I’d focus on my tips for using the paint sprayer with chalk style paint. This post is part of our monthly ‘Modern Handmade Home‘ series and for this month we are partnering with HomeRight (who makes that rad sprayer). You can scroll down to the bottom to find the other girls’ posts using the sprayer! I’ve been using HomeRight Finish Max sprayers for a couple years now and am a huge fan of them. When we partnered for this post, I was excited to try their newest in the line (the ‘super’) and just like the others, it’s been awesome. If you are new to using a paint sprayer, I wrote a post all about using one for the first time RIGHT HERE.
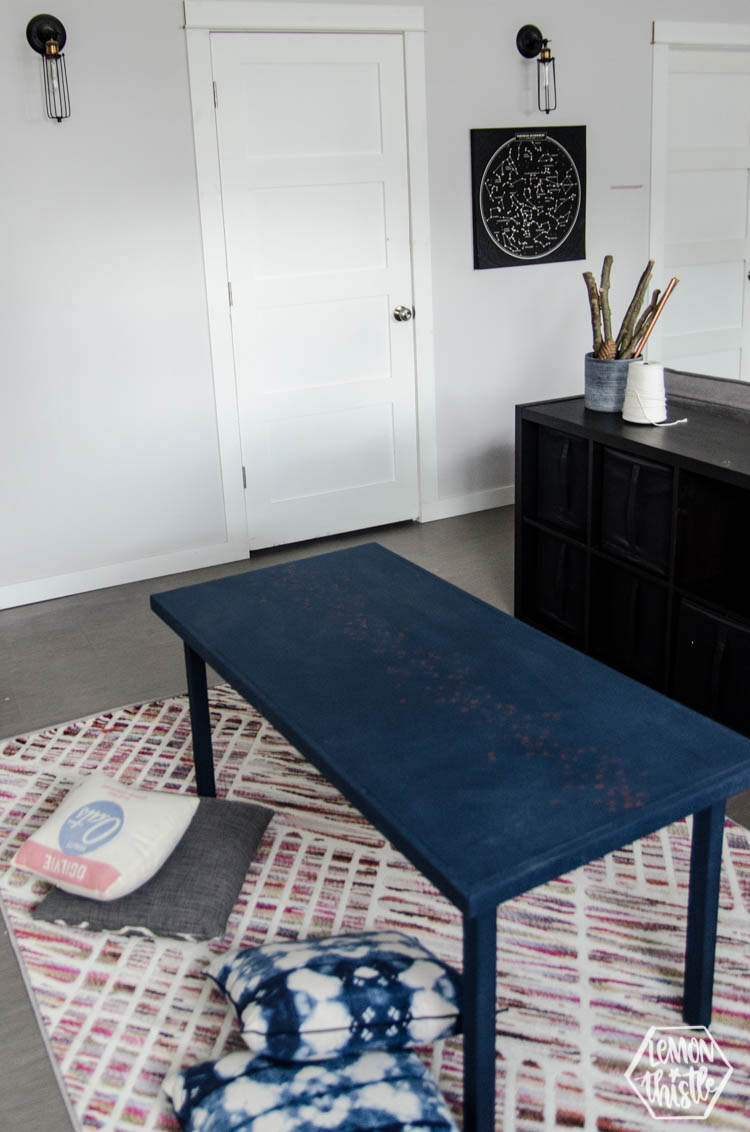
SO let’s talk a little about this space before I jump into the painting business. This space is a total multipurpose space. We finished the other half last year but let the playroom part get out of control with storage and who knows what else. We found that the kids would pull things out and spread them all over the floor and then when they’d walk through, it’d get kicked into an even bigger mess. By adding a table- they have somewhere to do their puzzles and lego without the pieces getting kicked all over the place. It actually makes the space look bigger by having the table in the middle… I totally expected it to seem more cramped! I’m so happy with how this space is coming along thanks to this table kick starting our progress again.
Okay SO a paint sprayer and chalk style paint. Before I say anything else… the one regret I have on this project is not using a finer grit sandpaper. The paint soaked in more than I’d expected and as soon as I realized- I knew it was because we hadn’t gone down to a finishing sandpaper. So before you spray anything… fine grit!
As for painting… I read in the manual that you totally can use it- but you may have to thin it. I tried just straining the paint (always do this with a sprayer!) and spraying it, but found the paint was coming out in thicker droplets (making the finish rougher) than I would like. I thinned it down a tiny bit and that made a huge difference. Plus it helped stretch the paint a little farther. I also found I had to turn the dial down ( the – sign) to get a finer spray and that’s when the thinning really made a difference. That finer spray is what makes it so smooth.
The paint I used is from FAT Paint and is called Navy State of Mind. I’m already wanting to get more of this colour for a chair I have been meaning to paint. It’s the perfect navy!
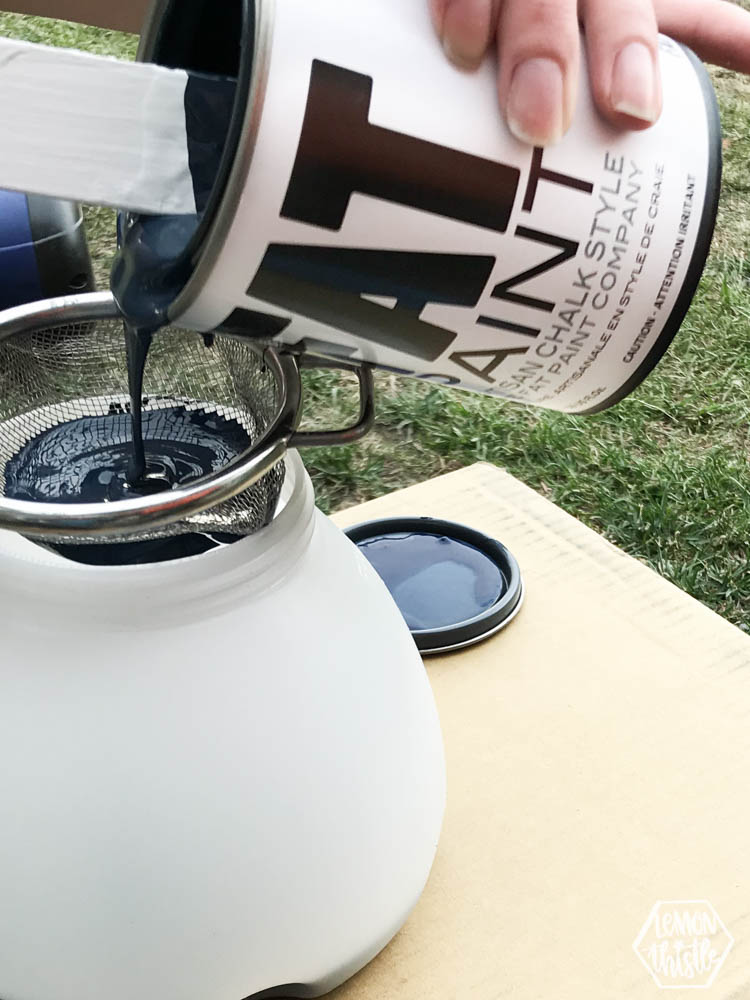
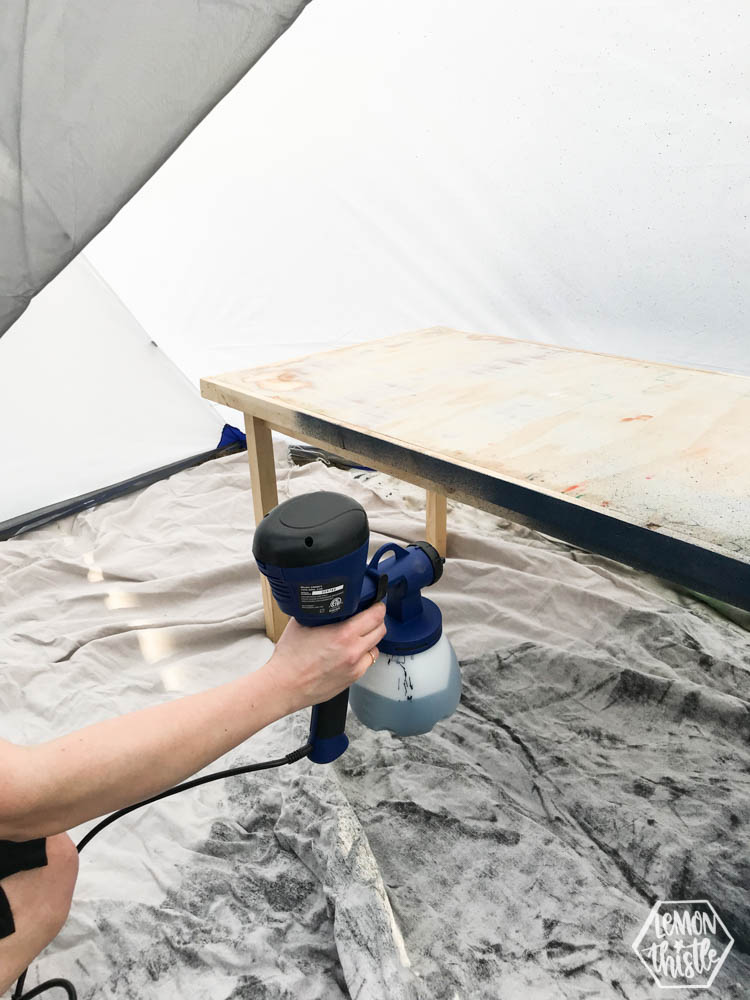
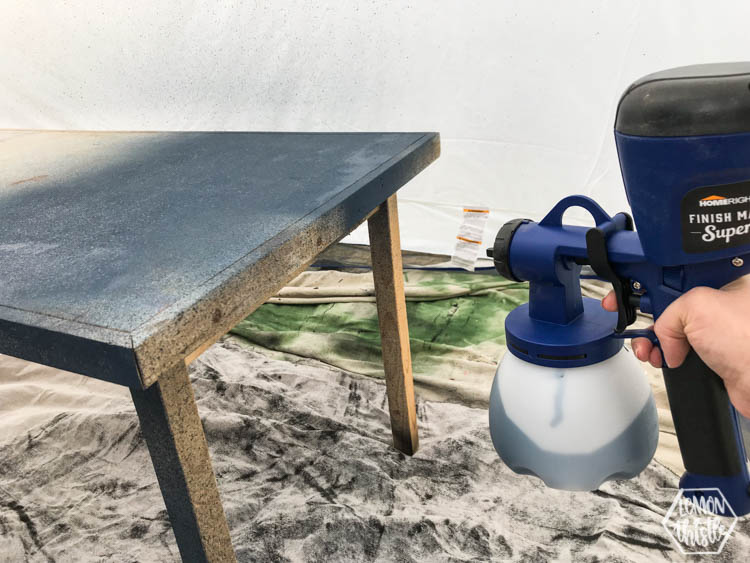
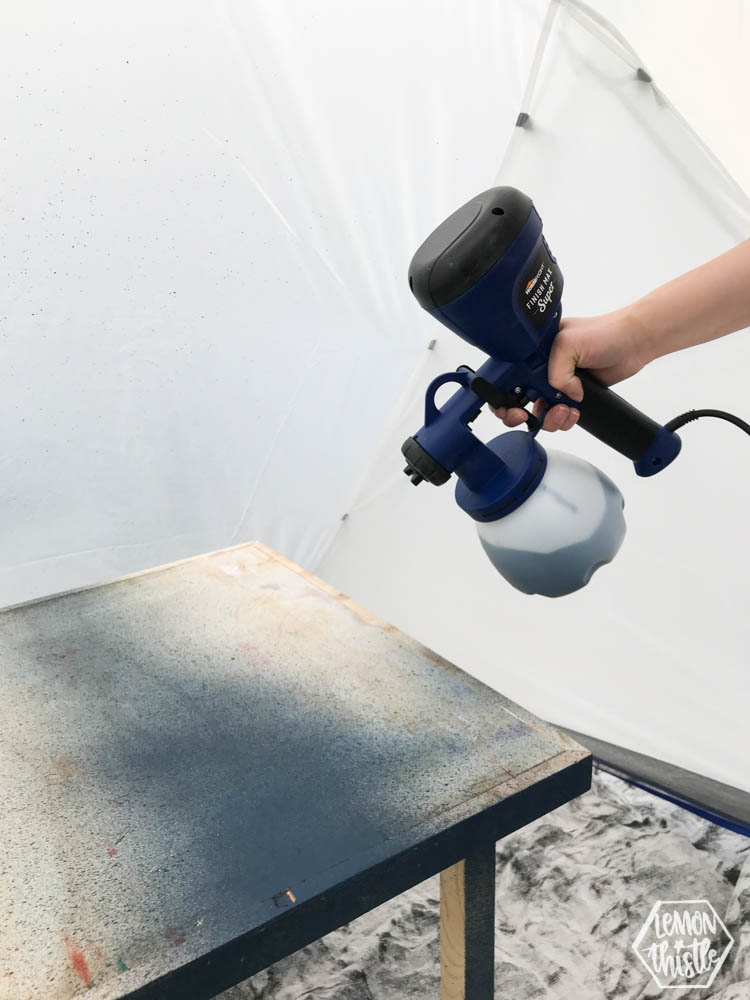
I will say that since the paint is thicker… I wasted a lot of it on that first coat before I’d thinned it. I couldn’t believe how quick it drained the can! I would have liked to do a third coat, but didn’t have enough. Had I thinned it right off the bat and used a finer spray setting (like I did for the second coat) I’m confident that I could have gotten a third coat done.
So how does it work with these settings? Surprisingly well! The paint adhered really well (as chalk style paint does!) and this table was painted in ONE evening. Which this girl loves. I am always impressed with how quick a project goes once I pull out the sprayer. Each coat took less than 10 minutes. And since you can just put the lid on the sprayer tub, there’s less clean up in between.
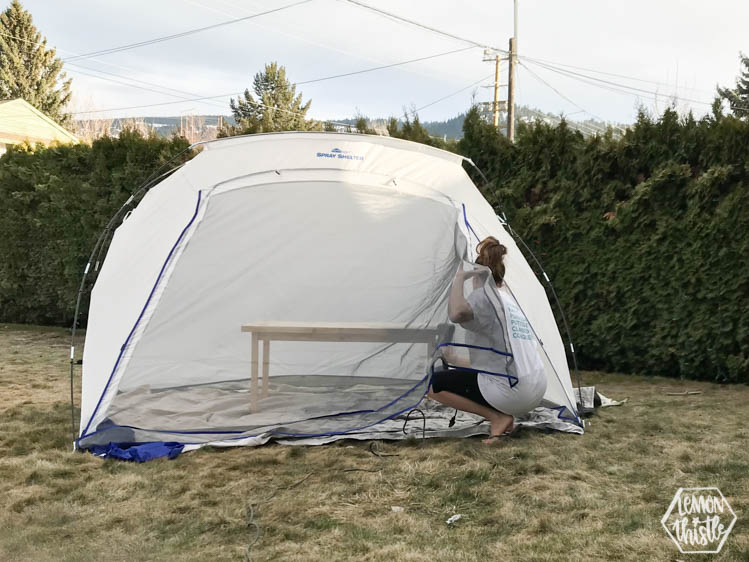
Oh! I also wanted to chat about this tent! It’s a Spray Shelter and is SO great for projects like this. It keeps the wind from picking up dust to get in your paint projects and you won’t get nasty overspray on your grass or floor. It’s perfect for the dusty semi-desert climate here! In the winter, we’ve used it in our basement when we’ve had projects we needed to get done but couldn’t do outside (we don’t have a garage or we would have put it in there. It’s so handy.
But wait… what didn’t work well?
WAX! You guys, I’ve never used furniture wax before. I actually really loved how smooth and wonderful it was to work with. I didn’t take any photos of this process thinking it wouldn’t be a noticeable difference (much in the way that a matte sealer wouldn’t look like a difference) but I struggled to get it look even on the top surface. After looking more at these photos and talking to a few people about wax… I think I need to do another coat or two because it seems like the wood is soaking the wax up. Honestly… that’s not a big deal- it still looks great and let’s be honest… the kids will give it wear marks of their own. I really don’t know if I would have noticed this uneven sheen if I weren’t trying to photograph it. But if you are going to wax a tabletop- expect a couple coats.
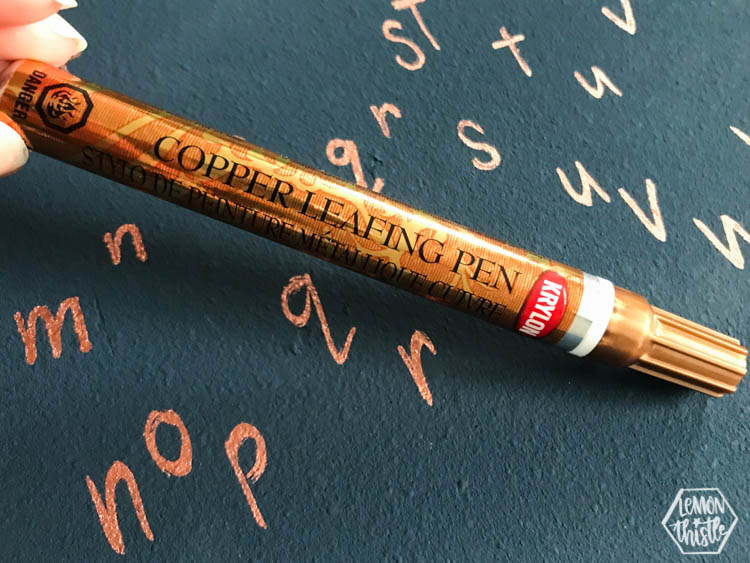
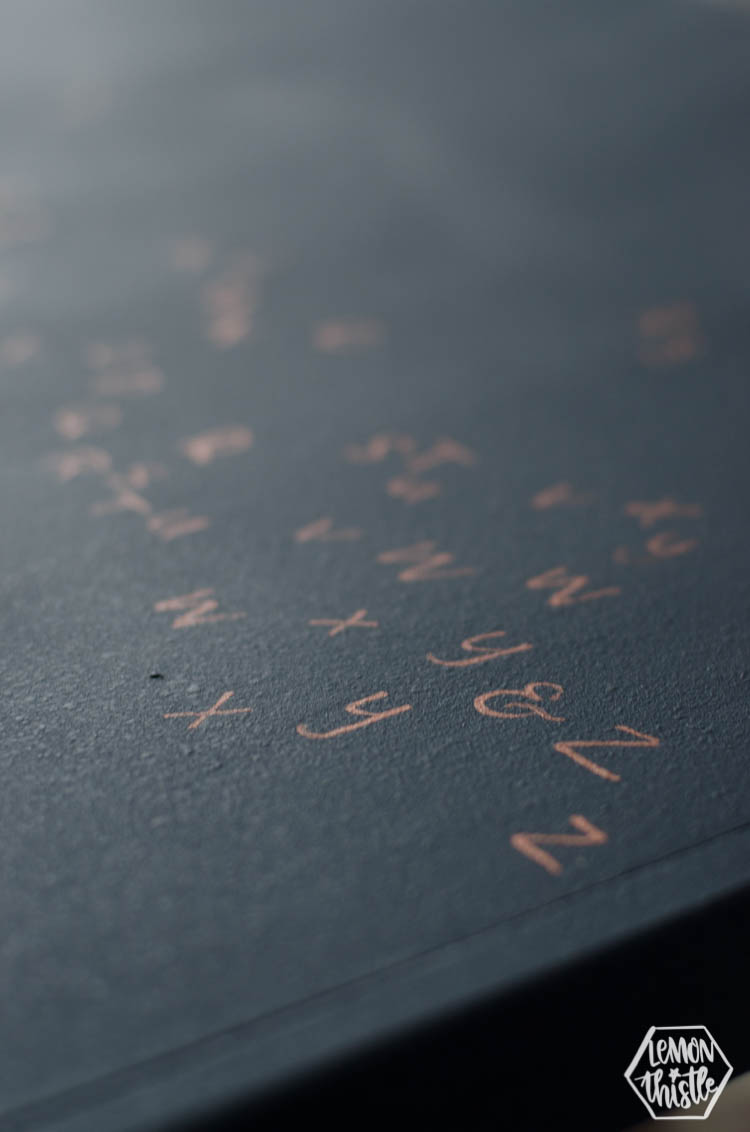
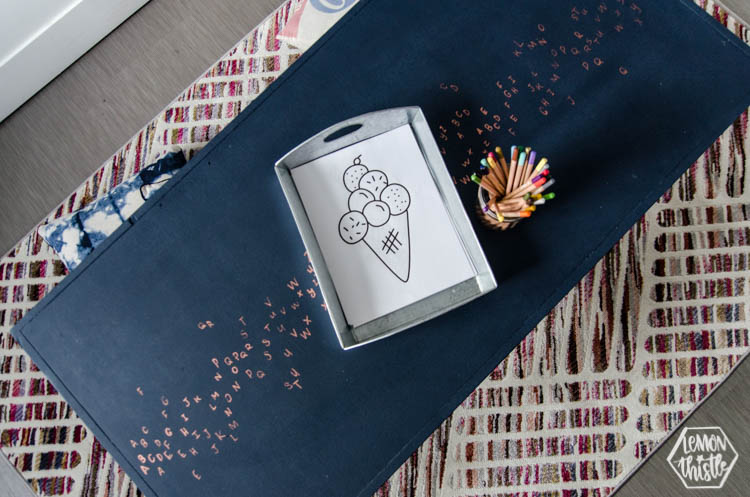
Okay… now let’s chat about that playful alphabet detail. I was going to leave it all navy but I couldn’t leave it alone. I am so glad I went for it and added the alphabet detail! In the week that we’ve had this done, the kids are already finding the letters and using them as examples to write out their names and words. I added this detail before the wax using a Krylon Copper Leafing pen. The shine of this is so rad against the matte of the chalky style paint.
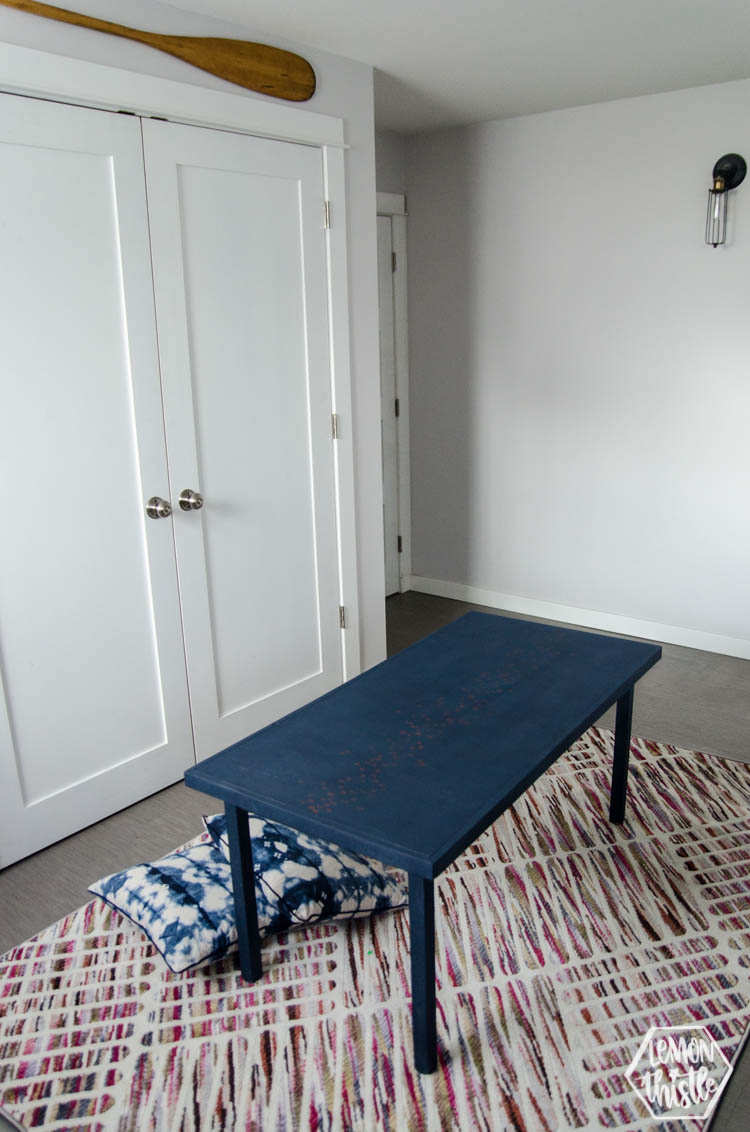
So there you have it! I’m so glad I tested out this whole chalk style paint business in a sprayer on this simple piece because now I’m ready to try it on something a bit more complicated (I’m looking at you, spindled chair!). I’m also so glad that we finally gave this table a fresh coat of paint and took some time to clean up the kids’ playroom. I hope you enjoyed the post and that you take the time to check out the other posts in the challenge! I am loving these fun projects the other ladies took on using their HomeRight Finish Max!
Check out the other projects!
Love Create Celebrate Modern Bread Box | The Sweetest Digs High Chair Upgrade | Harlow & Thistle Patio Chair Upcycle | The Learner Observer Painted Hutch

 DIY Watercolour Painting- Modern Bunny Silhouette
It turned out perfectly Colleen! LOVE the copper letter detail! I don’t know what I’d do without my paint sprayer – it’s definitely one of our most used tools!
I love the letters down the middle – it looks like a runner. Also, I’m jealous you can spray outdoors already.
Such A Great Blog. Thank U For Sharing Useful Information About painting.
This Article Really Amazing And So Much Helpful For Me. Keep It Up.