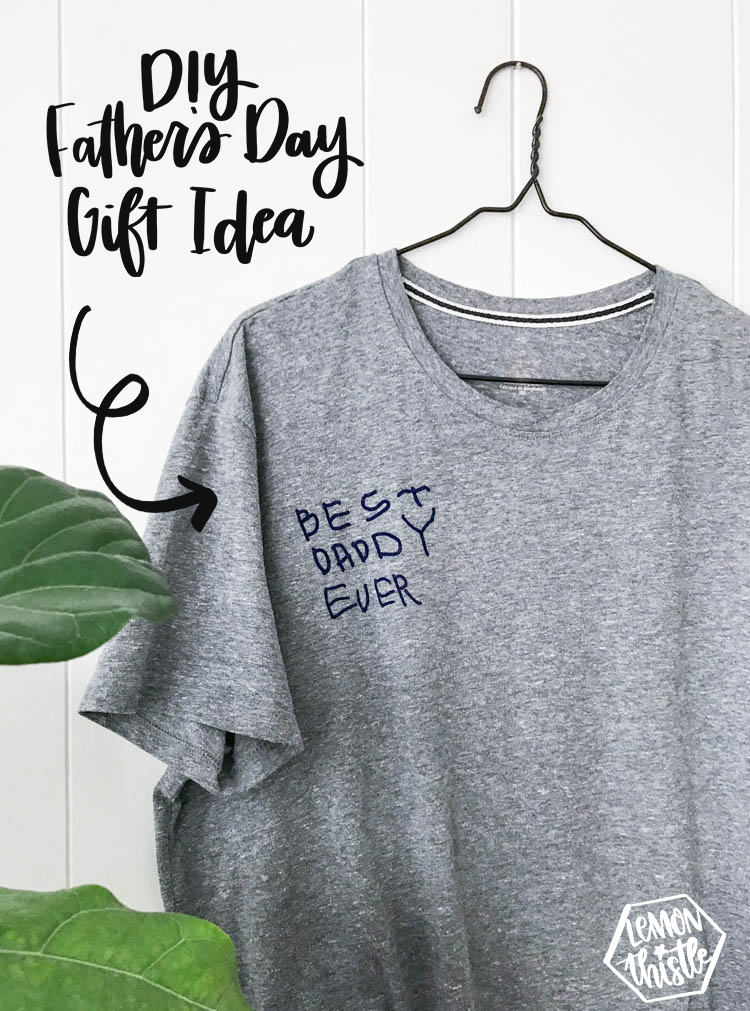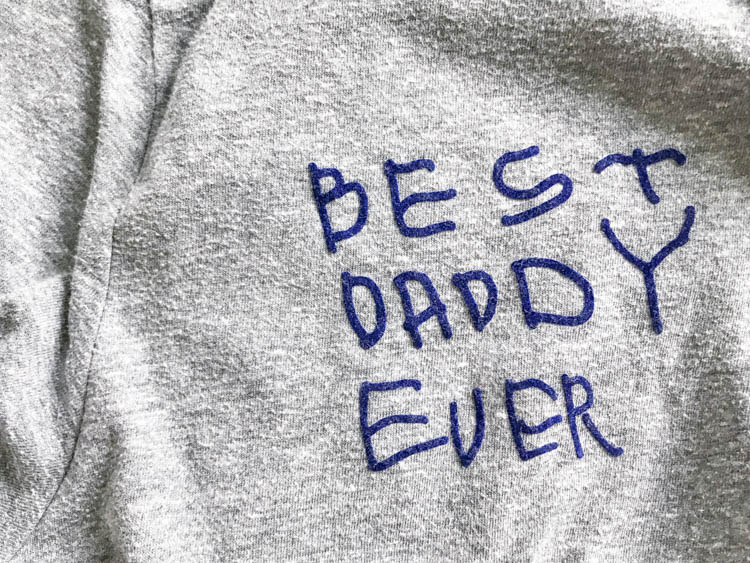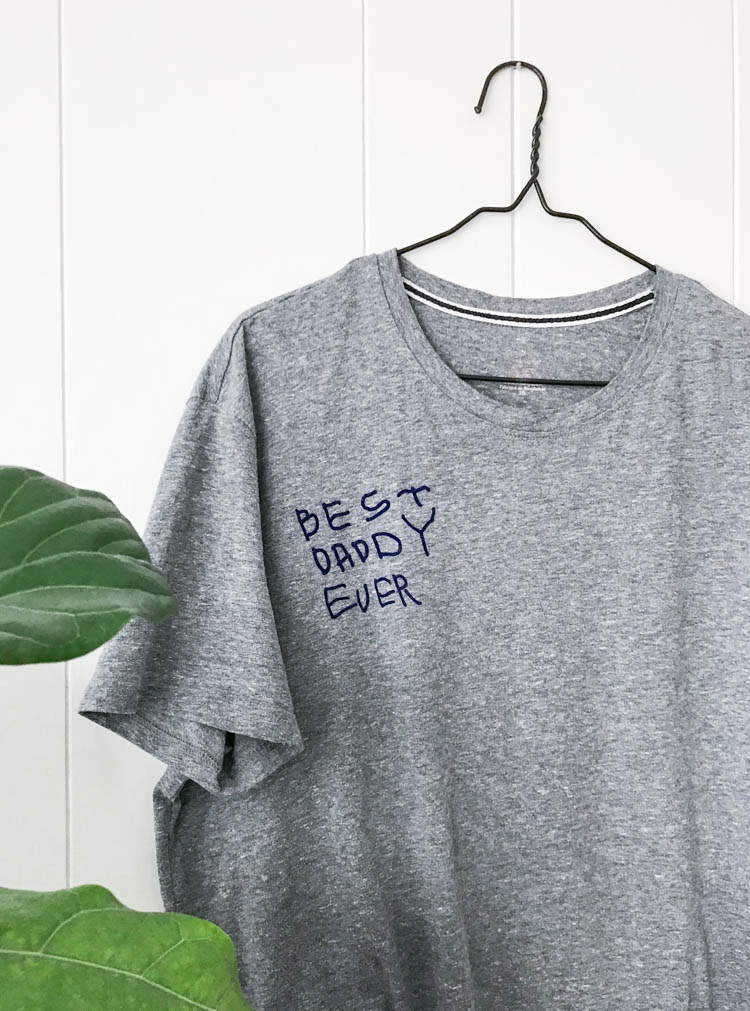
If you’re following along on Instagram, this might not be new to you. A couple months ago, we made this rad tee for Shane for his birthday. But as I’m seeing Father’s Day DIYs and gift ideas popping up, I thought it would be good to share it over here on the blog as well! So I pulled it out of the closet, snapped some photos and am sharing the DIY with you today. It really is the perfect Father’s Day Gift from little kids! You could pair it with one of my printable Fathers Day cards and you’re good to go!
My kids loved the idea of making Shane a shirt, but I knew if we wanted Shane to wear it more than a typical kid made tee, we’d want to make it durable (hello flocked iron-on) and the control freak in me wanted it to look modern and rad. I suggested we make a design to go where a pocket would normally go and they were on board for that- I felt like that was a win right off the bat. If you are less of a control freak… feel free to let them design the whole shirt. Because that’s probably more fun ;)

Alright. Let’s talk about HOW to make this shirt. The instructions on this one are very simple. I actually shared the whole process on my Instagram Stories but forgot to download it to post for you guys. So I have no pictures of this exact DIY… but I have lots of tutorials for you to look at that I’ll link to if there’s a specific step that is a bit confusing for ya. Good?
The first thing is to get your kiddos to write out ‘Best Daddy Ever’ or whatever you’d like to say on the shirt. I let my kids write this on my iPad Pro, so I had a PNG image to use but if you’re writing on paper, just make sure they use a dark colour (black is best!) and then you can take a photo to use.
I have a WHOLE VIDEO tutorial on how to upload your own designs (including a photo of writing) into Cricut Design Space if that’s something you haven’t done before! There’s even a link to the same tutorial for Silhouette users.
Once you have your design in Cricut Design Space, make sure to mirror the image for iron on material and cut it out. Then it’s just weeding and ironing it on. Part of the fun of this project is letting the kiddos help out (since it’s a gift from them!). They really feel so proud to give dad a gift that they worked hard to make.
This tutorial shows how to use stripflock heat transfer vinyl on fabric using this exact same process. It has photos of every step :)
Here’s the things I let the kids help with:
- Drawing the design, of course
- Hitting the ‘GO’ button on the Cricut
- Weeding (it’s more work for them to help, but this is their favourite part)
- Ironing it on (I use a Cricut EasyPress, so I let my older daughter lift it onto the shirt and the younger press the ‘start’ button)
- Peeling back the clear plastic backing once cool
Does that stress you out? Haha! I know- it’s going to take you 10x longer to let them help. But they’ll be so darn proud of it. Just make sure to teach them safety (with the weeding hook and with the iron/heat press) and you’re good to go. Even my 2 year old loves to help weeding and pressing buttons. The more we do crafting like this together, the easier it gets.

For this project, I used flocked iron on vinyl (Standout Vinyl sent me a sample pack of theirs to test out- thank you!), my Cricut Maker, and my Cricut EasyPress. You can use any iron on vinyl you choose.
If you make this- share a photo with me! It would make my day :) @colleenpastoor or colleen@lemonthistle.com

 Mermaid Hand Lettering Practice Sheet Printable
Filled with good quality and beneficial information. Thank your very much for sharing
such a valuable content.