In this beginner guide to painting interior walls with a sprayer I cover everything from prepping walls for painting, masking effectively, choosing a paint sprayer, and cleanup!
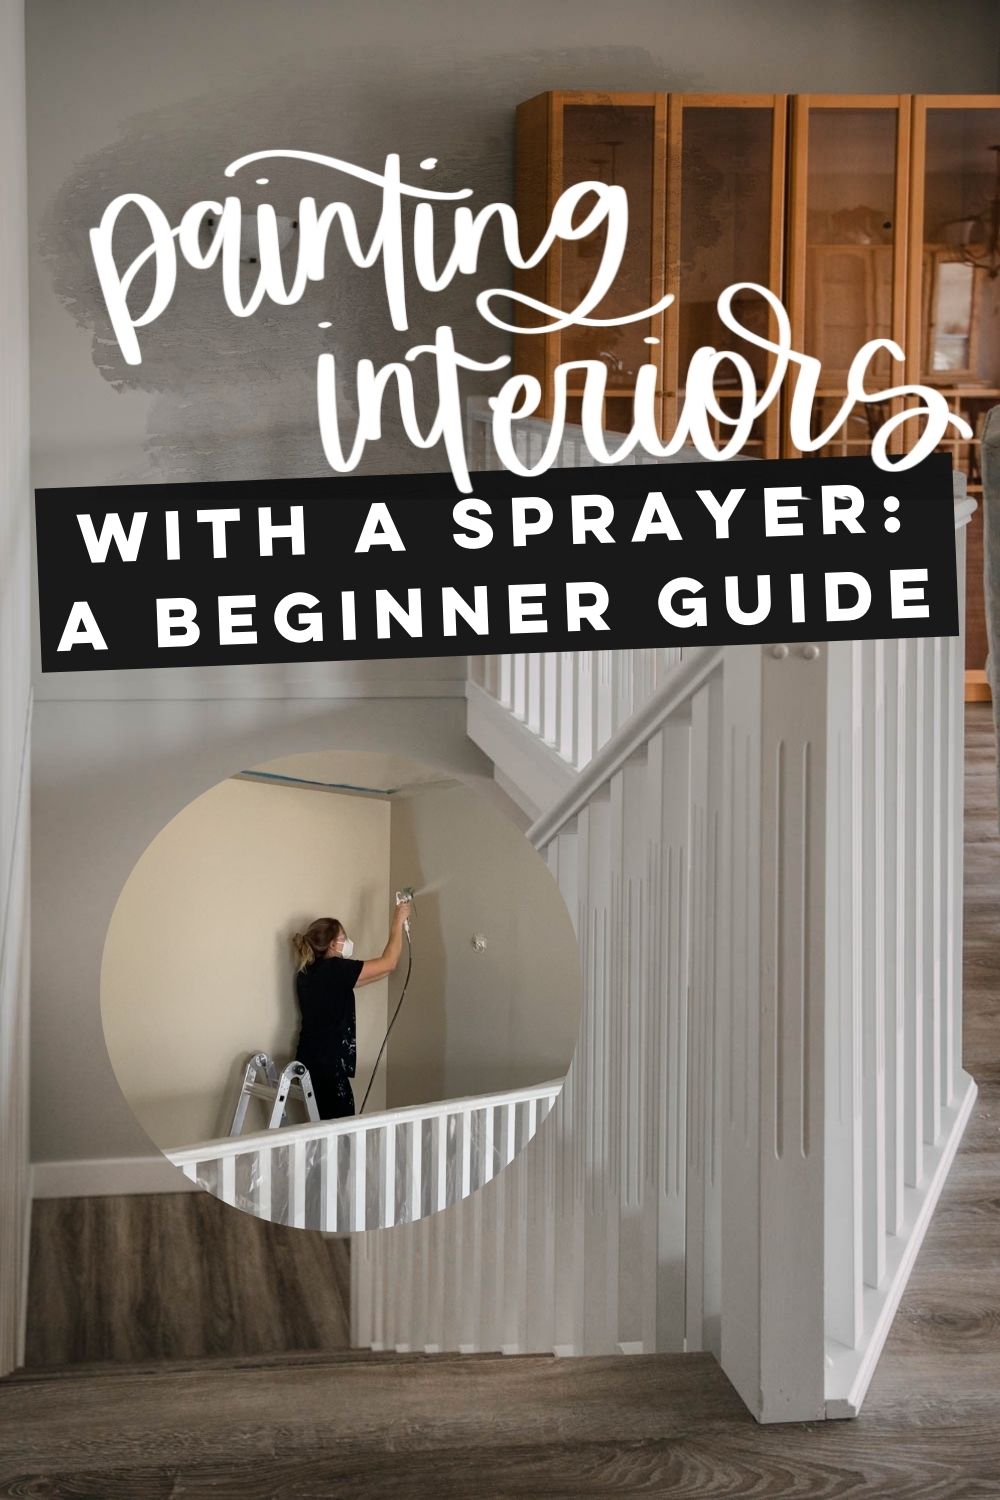
Over the past couple years I’ve completed more than 20 paint sprayer projects, blogging many of them here and sharing tips for specific projects along the way. From painting kitchen cabinets to moulding walls to exterior stucco painting and even staining… but I’ve never taken on a project this big. This past month, we put on our paint clothes and helped my mom update her townhouse with fresh paint. The whole main floor of the townhouse with a two story staircase and all the trim that goes along with it.
We painted the living room, dining room, kitchen, stairway, hallway, two bathrooms, two bedrooms, and all the closets. We pulled out our sprayers for the project and put our DIY skills to the test. I thought that I’d put together one major resource of all my learnings and tips for you if you’re considering taking on painting interior walls with a sprayer. Plus share how much brighter the space looks now that we’re done!
This post is in partnership with Wagner Spray Tech. I’ve been using their sprayers for years now and truly love their products. You can see all my policies here.
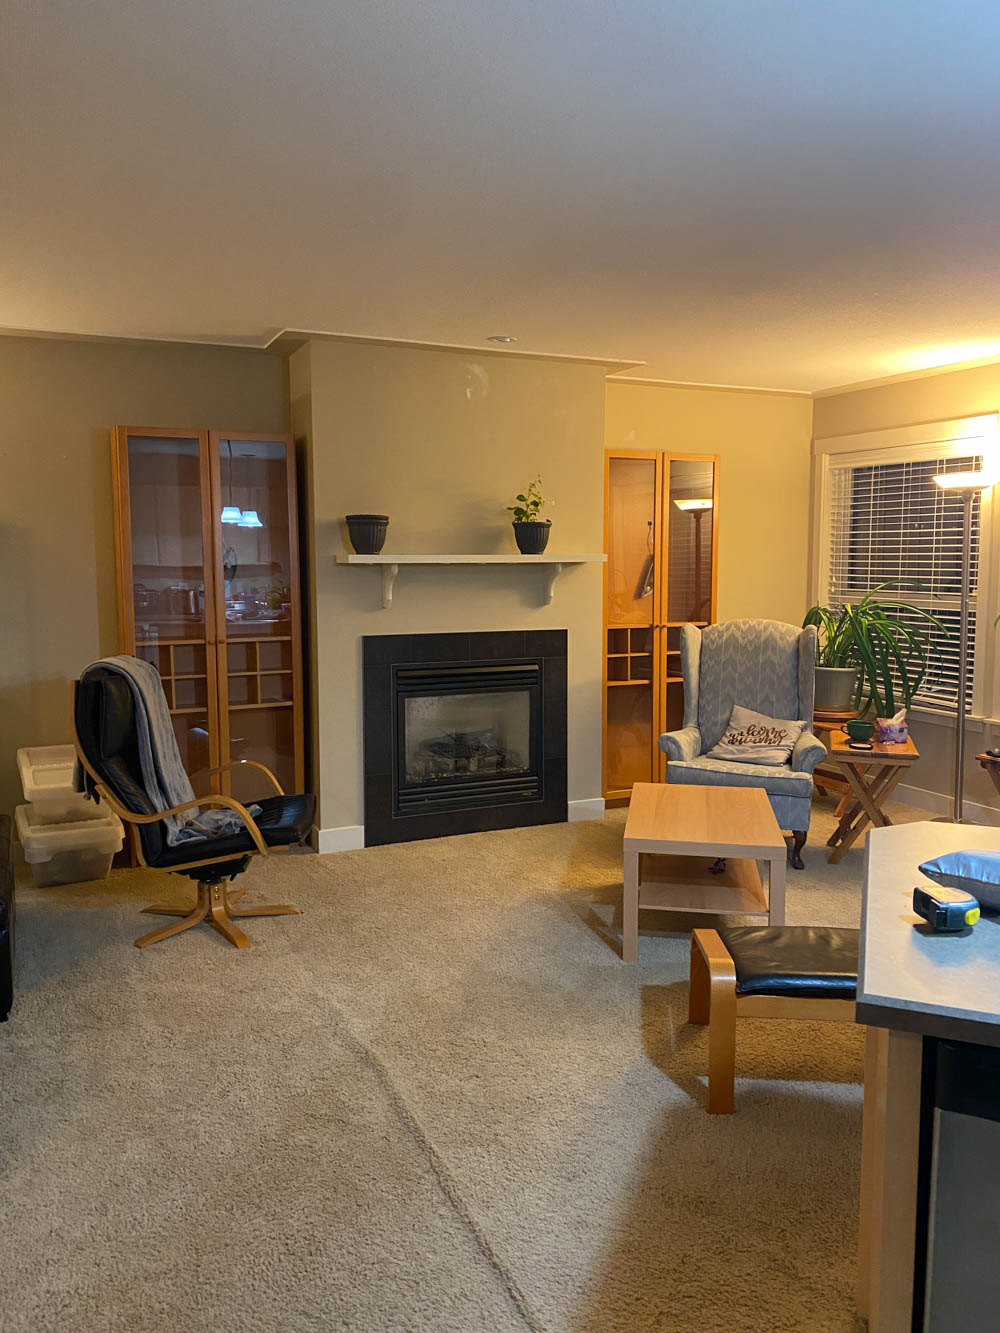
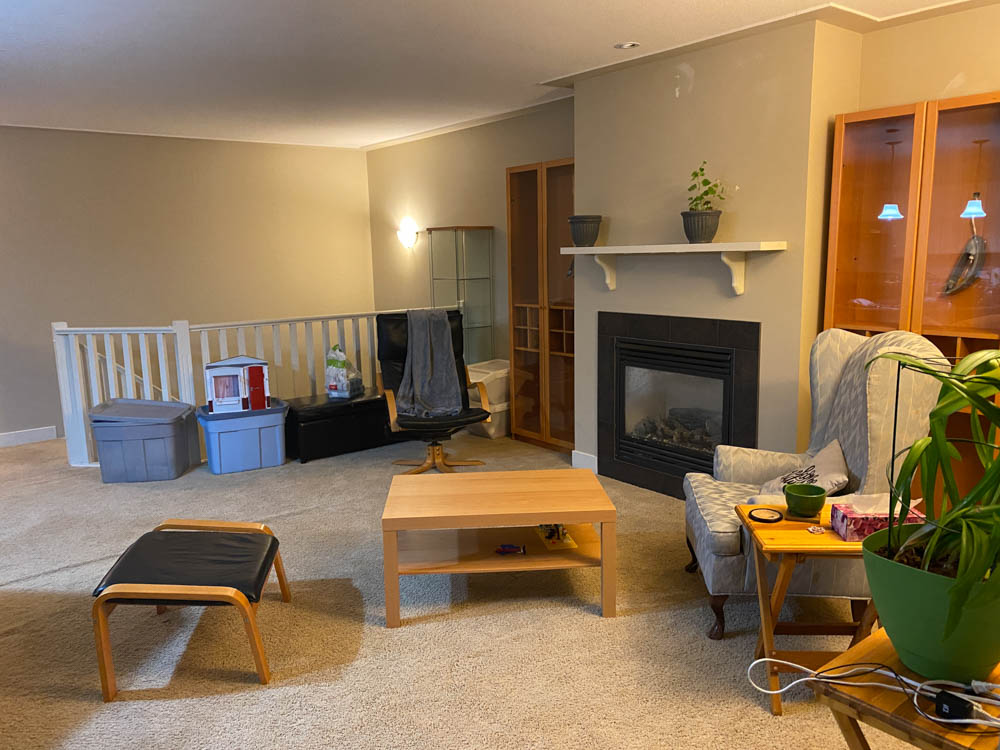
First- a bit of background on the project. My mom moved into her townhouse about 12 years ago. And it was tan… the floors, the walls, everything was tan. My mom has never liked tan but it was brand new so she thought she’d wait… needless to say it was time for a refresh!
The first day we went and helped her move out furniture and tear out the carpet. She’d already removed all of the baseboards to make this go really speedy. We took that to the dump and started chipping out the subfloor from the kitchen. Since it was thinner, it had a subfloor to match the height of the carpet. The new flooring is continuous, so this needed to go!

Day two was chipping more subfloor while I avoided that job and picked paint colours then did all the shopping for masking and paint. We chose Whitewash Oak by Behr for the walls and Minimalistic by Behr for the trim. This is an awesome white- it’s the same one we used in our bathroom!
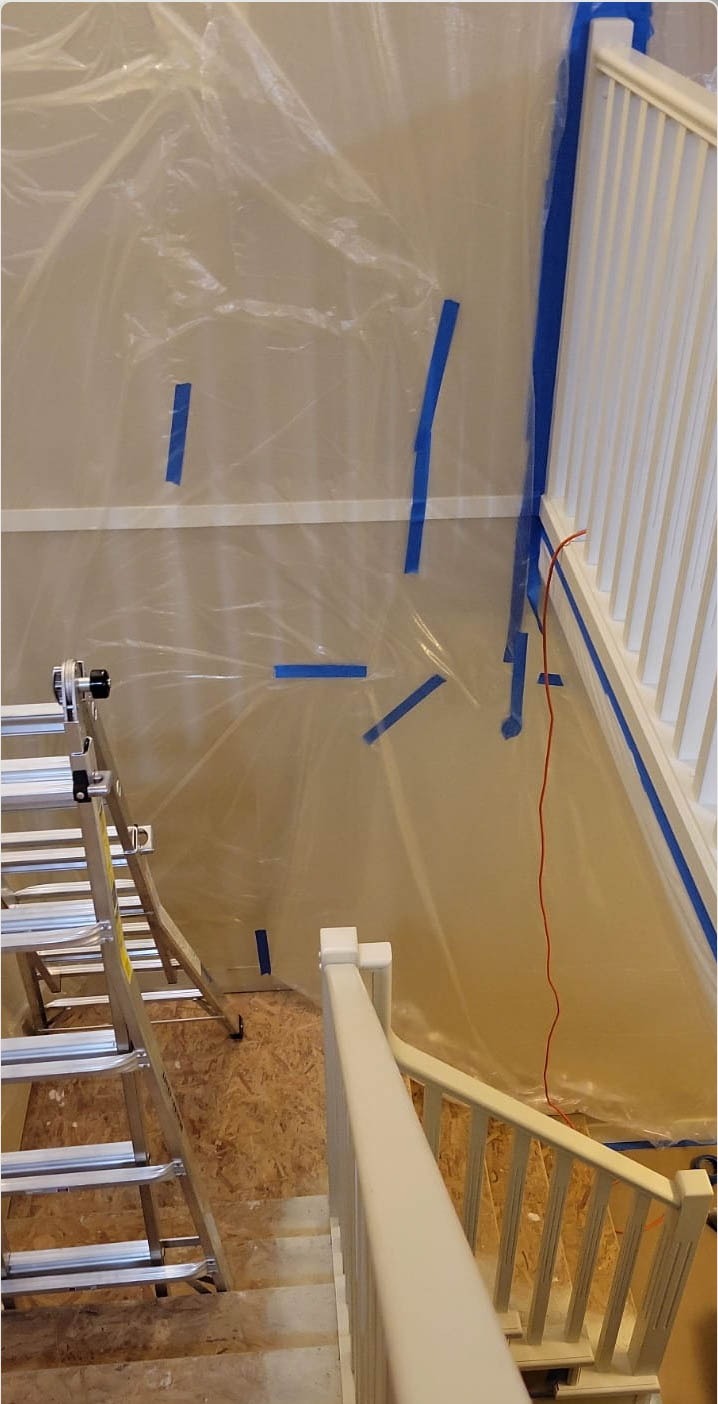
That afternoon, I masked and painted the stair railing. We decided to paint this first just since the masking on the stairs would be so so much faster with the flooring out. I painted this two coats with the detail finish nozzle on my Wagner FLEXiO 5000 (I’ll chat more about that in the ‘which sprayer is best for my project’ section!). We pulled back this masking and got busy preparing all the walls for paint!
How to Prepare Walls for Painting with a Sprayer
It’s always a great idea to wash walls before painting. You can use a mixture of TSP and water and the easiest way is just to use a flat mop to quickly wipe walls. Make sure you get any cobwebs! Splashes or grease behind the stove might require a bit more scrubbing.
Next up… remove any electrical covers, hooks or other fixtures you don’t want painted. I know some people choose to tape off curtain rod holders and towel bars but really, removing them will save you the headache and the paint job will be much cleaner. You can even loosen off wall mounted light fixtures so you can paint in behind the plate.

Patch them holes and dents! My mom was also upgrading her closet systems so we had… over 100 holes to patch. But it’s worth it! Patch any holes with drywall putty and wait until it’s totally dry before sanding. It’s best to do a wider patch than the hole (although thin!) so that as you sand, you can feather out the patch. If your hole is raised (around a screw hole you pulled out for example), you can use the back end of a screw driver to gently compress the drywall edges so your patch can be smooth without leaving bumps. Make sure it’s totally dry before sanding lightly in a circular motion. Don’t over sand! You don’t want to see the exact hole. Run your fingers over the space to see if it’s smooth instead of just trusting your eyes. You can expect two coats of mud/sanding required for holes larger than a nail hole to be happy with the finish.
If you’ve removed the baseboard as you are replacing flooring, also take time to remove the caulk lines off the wall. I use a flat putty knife for this. If there’s damage to the drywall from removing the baseboards, it’s also a good idea to patch these with drywall putty as above.
Then, go ahead and wipe away any dust with a dry cloth (on the walls) and vacuum up drywall dust from patching off the floor. This is SO important if you are using a paint sprayer! A paint sprayer moves air due to it’s high pressure. That dust will blow around and you’ll be covered in no time if you skip this step. I didn’t do a great job of this in my office and definitely won’t make that mistake again.
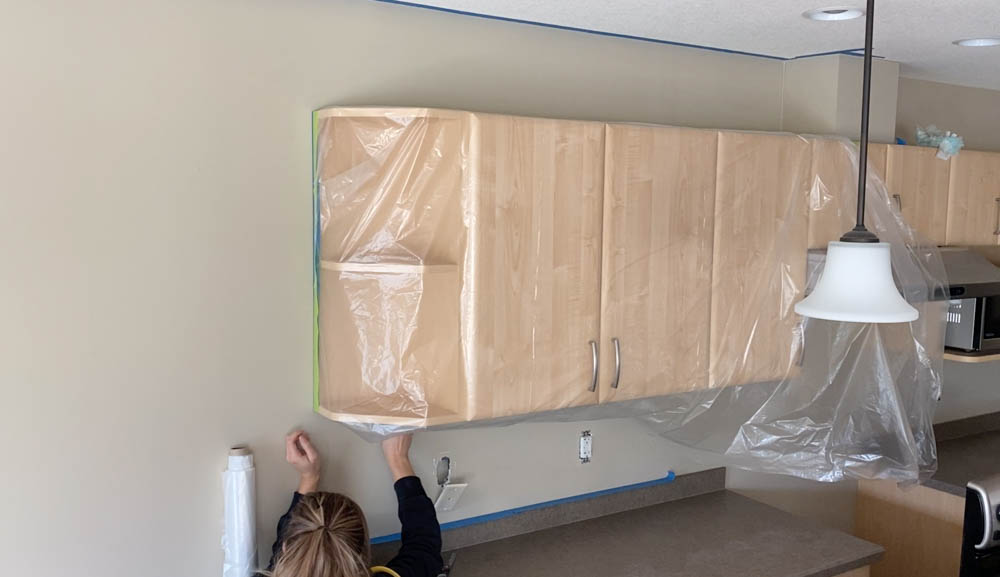
Masking for Painting Interior Walls with a Sprayer
The amount of questions about masking that I’ve received over the past couple years… well, it warrants a whole section to itself. Your paint sprayer project is dependent on your masking. Masking is the process of covering all of the areas you do not want to get paint on. Mask off your ceiling, your trim, your floors, your windows, cabinets… whatever!
Many resources will say you only need to mask about 2 feet on either side of the surface you’re painting, but if you’re painting a full interior space like this, I think it’s a good idea to be generous with your masking. It will give you confidence as you paint, especially if you are new to using a paint sprayer, and it will save you from cleaning up paint dust- the paint that has dried before hitting the surface you are painting. Since paint sprayers spray such tiny droplets of paint (much like spray paint), this is really common and although it can be cleaned off… I just like to follow the better safe than sorry practice. You might also call it doing the work now instead of later when you want to be enjoying your finished space.
The only place this isn’t the case really is ceilings, the dust won’t settle up there. But I do still like to do at least 4′ around the edges of the ceiling. Although, you’ll see in these photos I did more and I’ll explain why below.
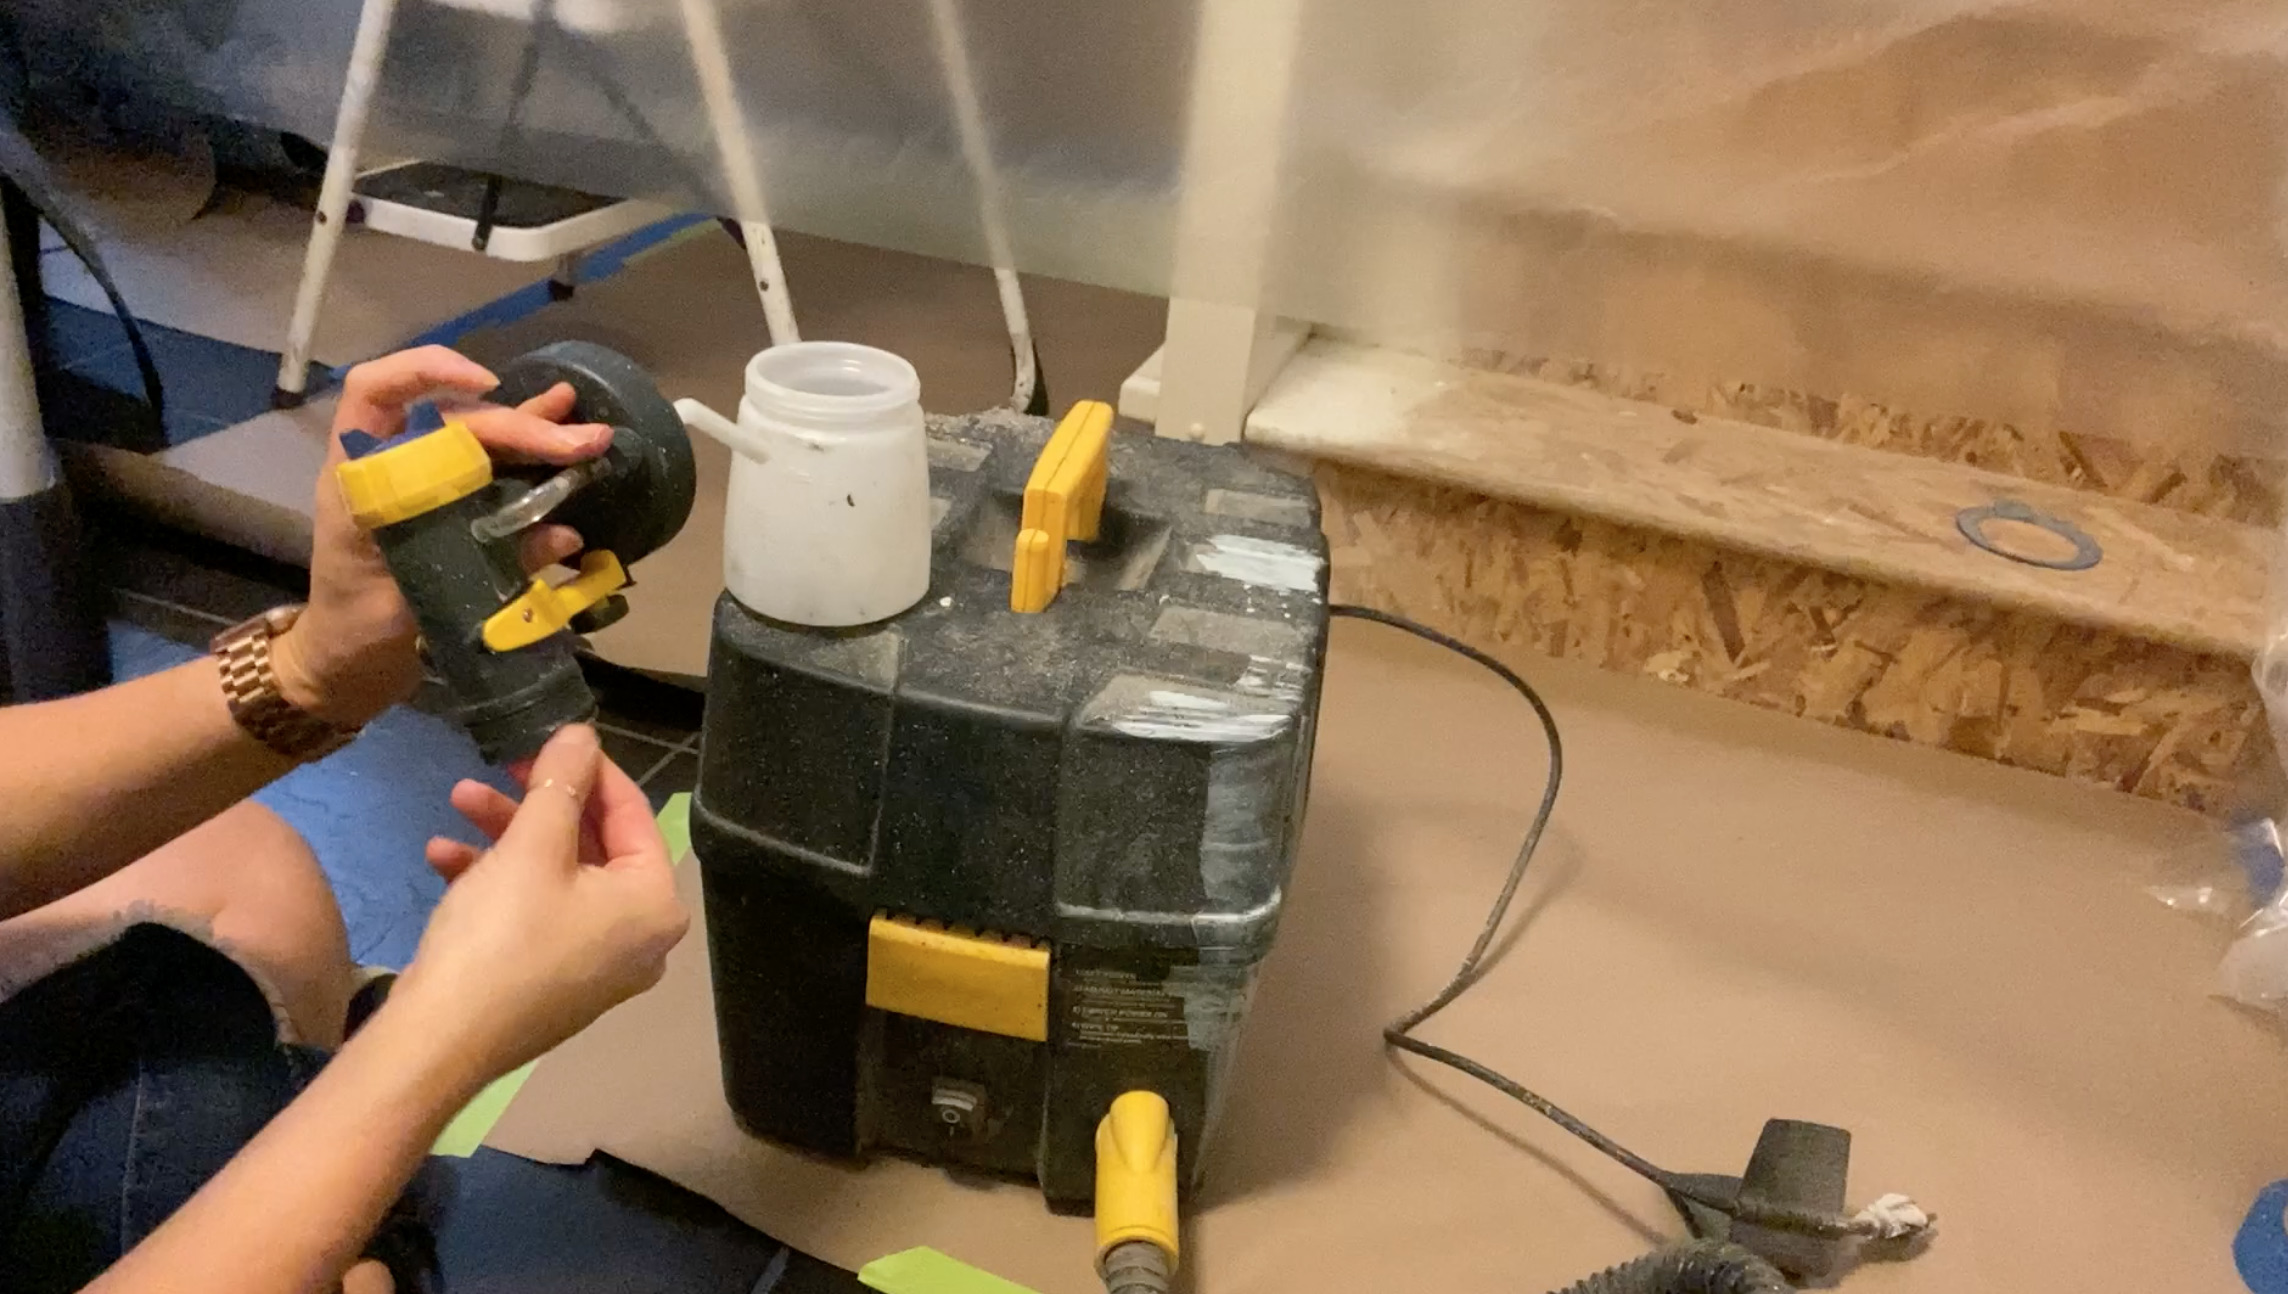
Masking Floors before Spraying
Masking floors is really easy. I love using flooring paper for this. It’s found in the drop cloth section of your hardware store and is basically really thick kraft paper. You might look at it and wonder if it will really keep the paint off your floors, but from experience… it will. I’ve even knocked over a full can of paint and the paper kept the carpet below safe while I cleaned it up. It’s great. Plus, it’s not slippery like plastic so it stays put better and keeps you safer.
You can tape it down around the edges, using rough surface tape if you’re taping to carpet or regular painters tape if you’re taping to hard flooring. You can see that we did this at the bottom of the stairs over the tile that wasn’t being replaced.
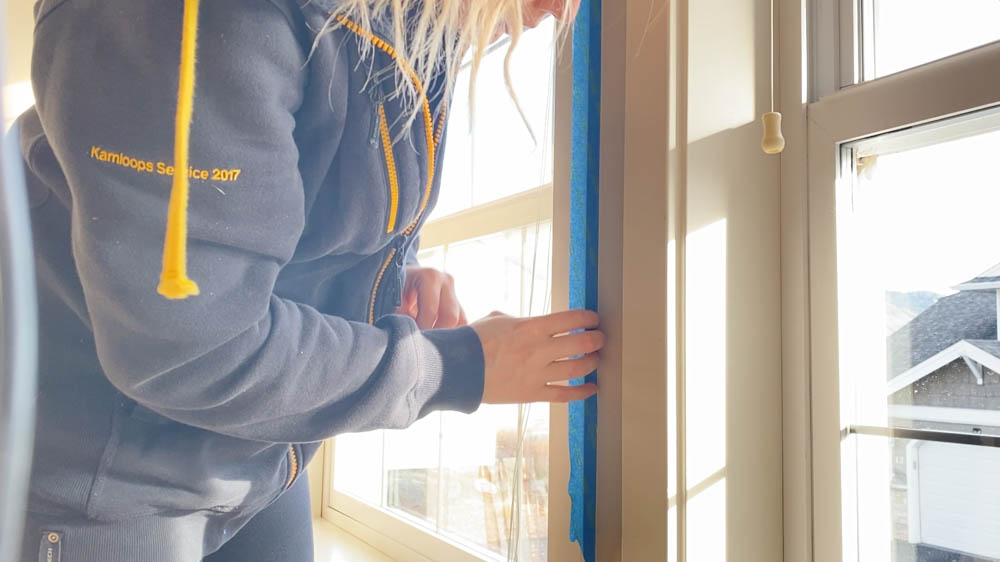
Masking trim before spraying
I find it easiest and most effective to mask the floor and baseboard separately. Put the paper on the floor, then tape the baseboard with plastic overtop. I do this just so that the flooring paper can lay flat and so that when your’e done painting your walls, you can pull the plastic off to paint baseboards without having to change your floor masking.
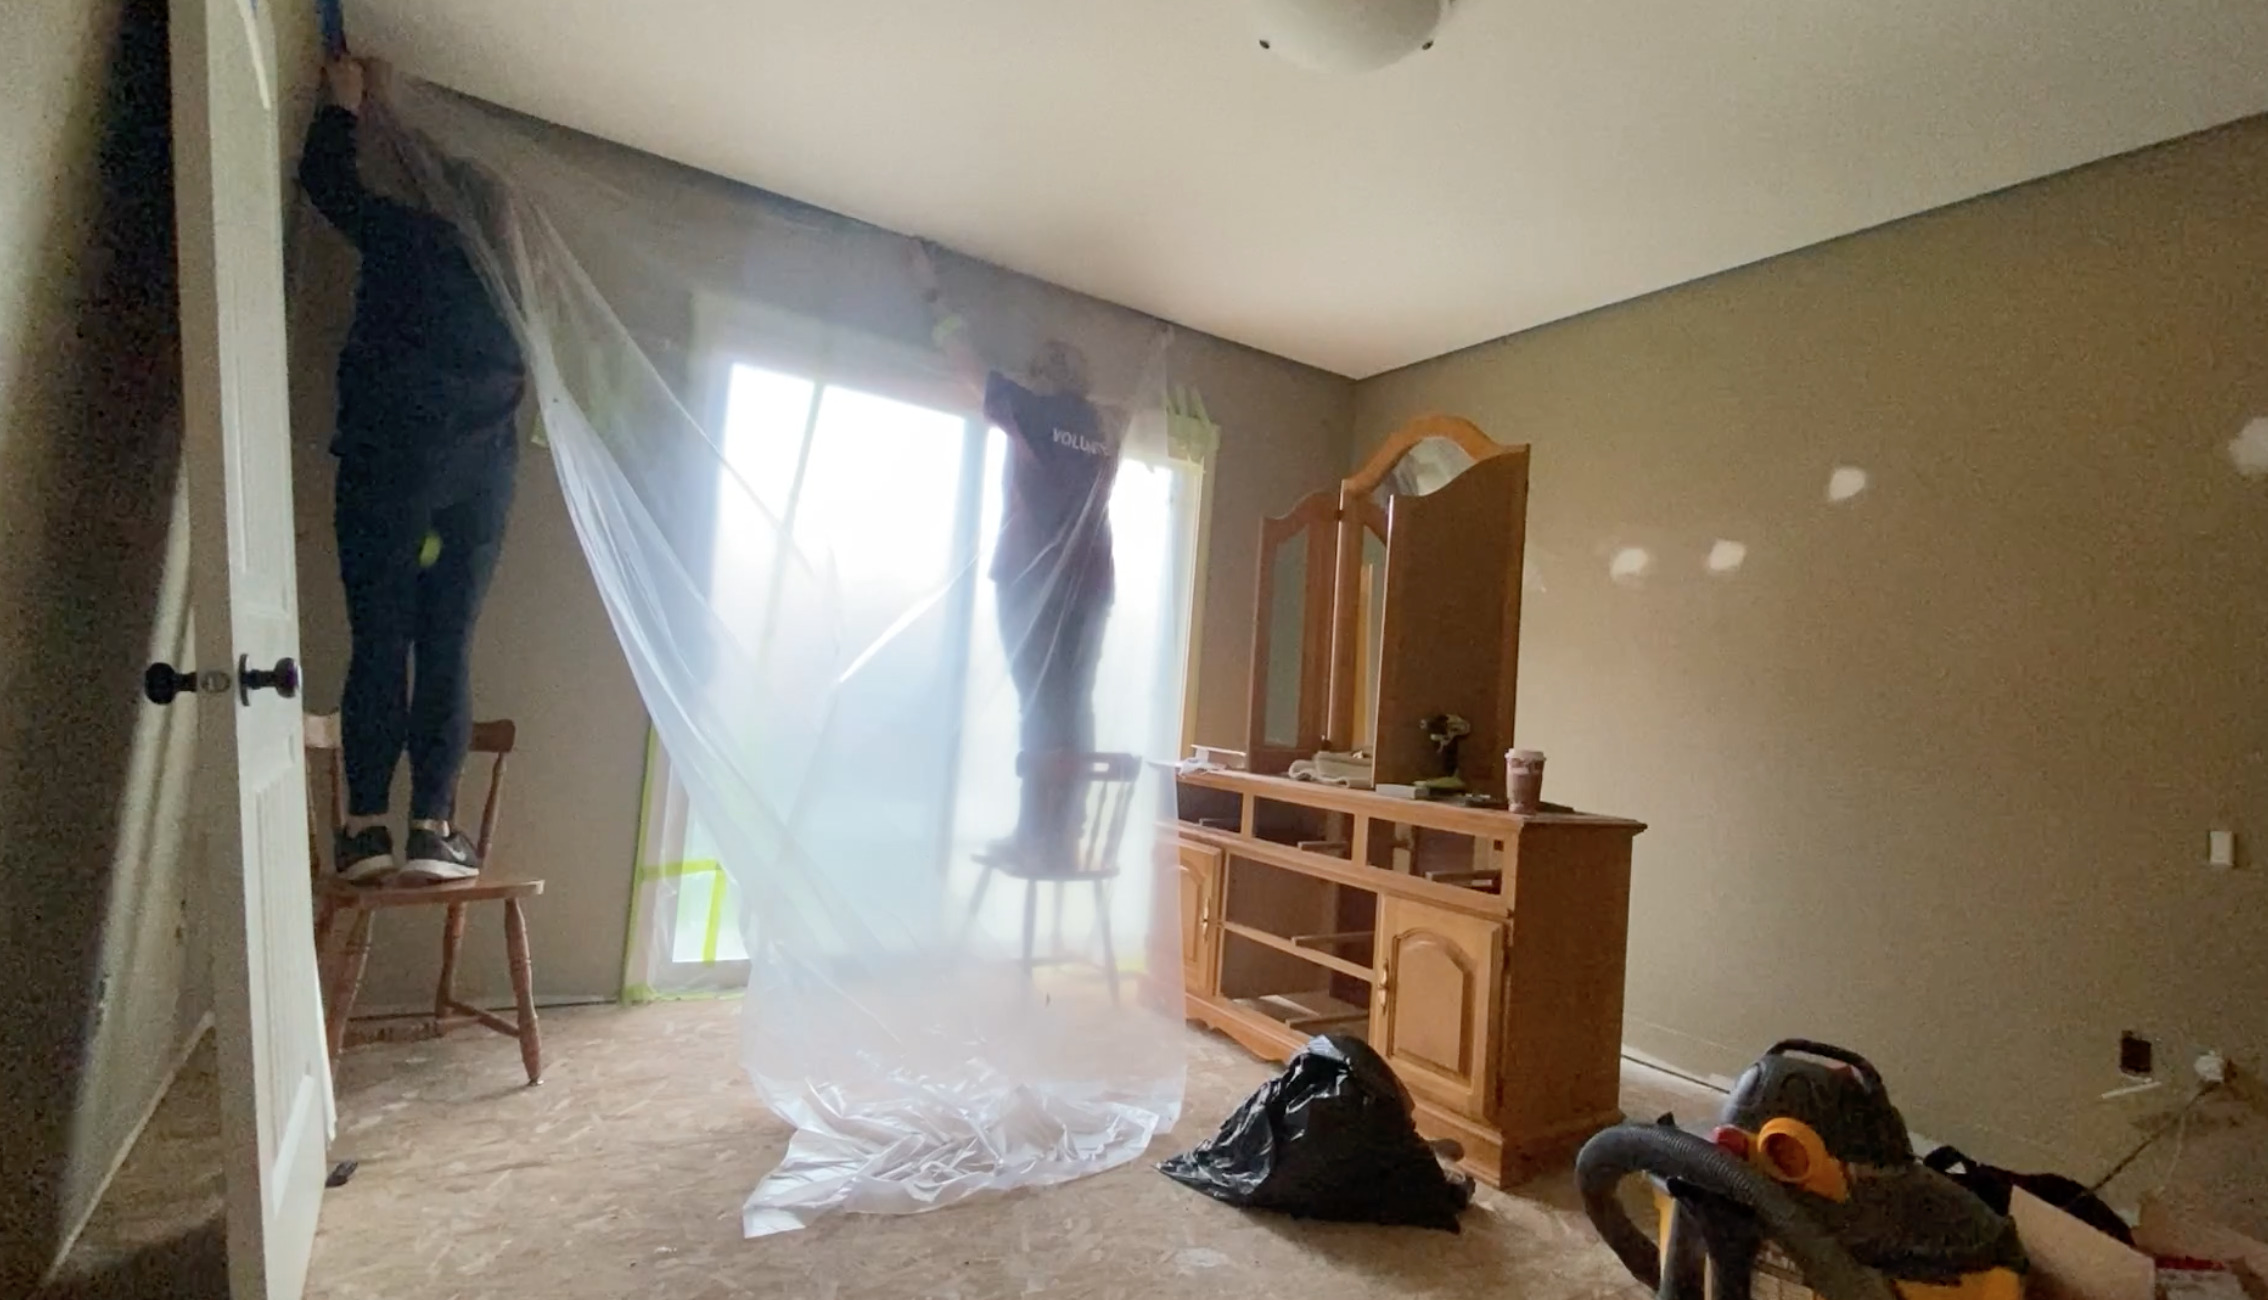
Masking trim around windows and doors, I like to focus on getting a beautifully straight line first, pressing the tape firmly on the edge of the trim. Then I add the plastic second, tucking it under the tape sticking up, pressing that tape onto the face of the trim. You can see this process in my video.
I find managing plastic sheeting and taping in a straight line all at once to be difficult to manage. The plastic sticks to your tape, it’s not perfectly straight so you do it again, the plastic pulls down your tape…. argh! This tip will help you get the job done well without the frustration.
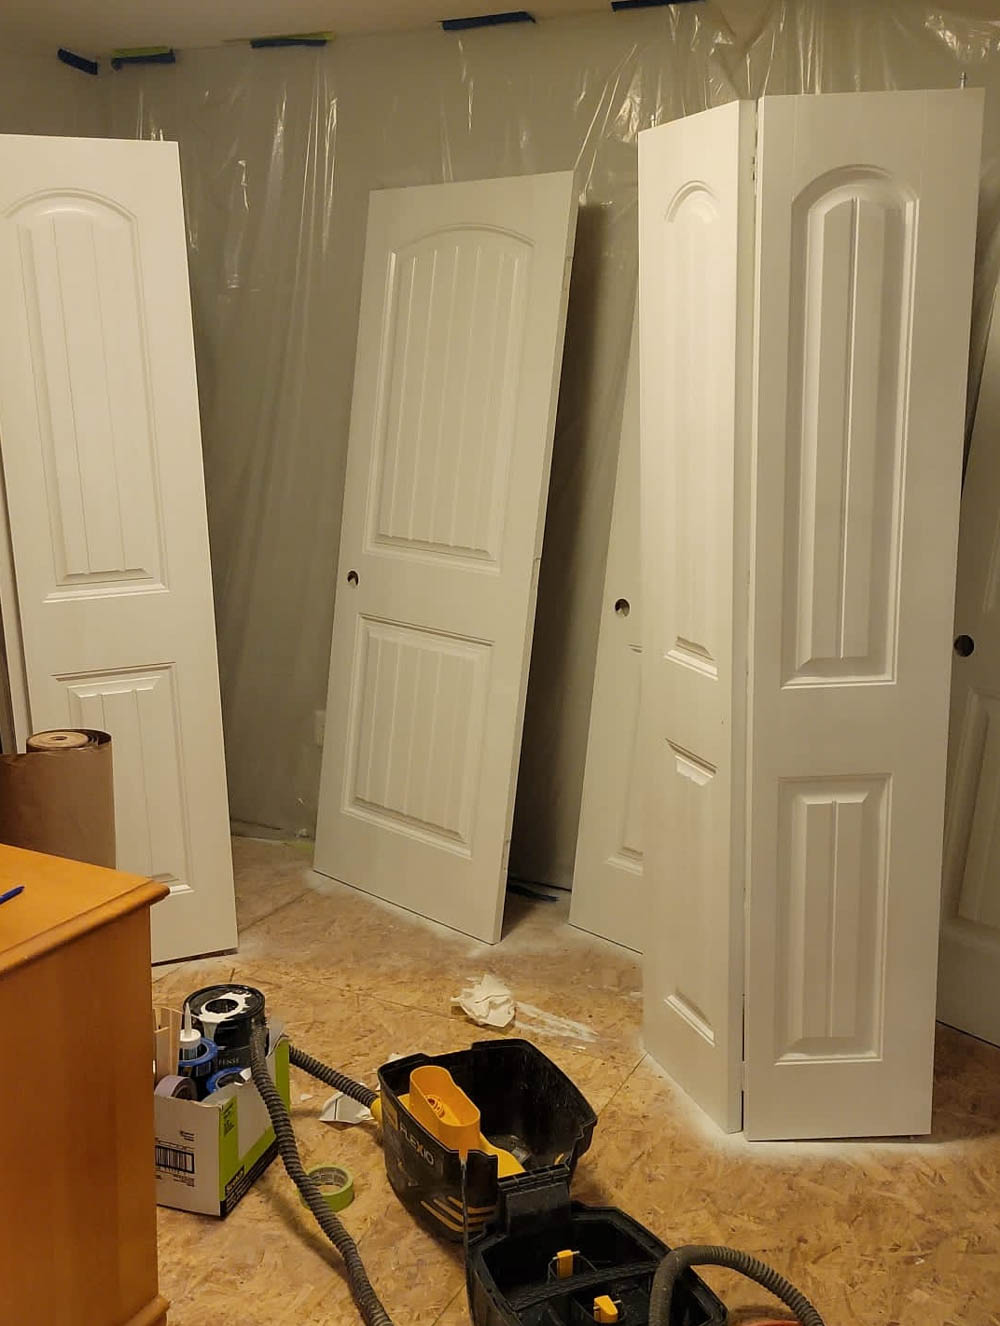
Masking Doors
When you are painting walls with a sprayer, masking your doors is important. If you are planning to paint your doors, you might opt to just pop them off the hinges. Honestly… even if you don’t plan to paint them, if you are painting spaces on both sides of the doors (hallway and bedroom for example), I would choose to pop them off. It’s three pins to pop a door off and then it’s out of your way and you only need to mask the door frame.
Should you just be painting one room, you’ll want to mask off the doorway to the room but you’ll still need to get in and out. I like to overlap two pieces of plastic, taping to the side of the door and the top, then just tacking with tape down the middle so you can easily remove and get through the doorway.
Masking a ceiling when spraying walls
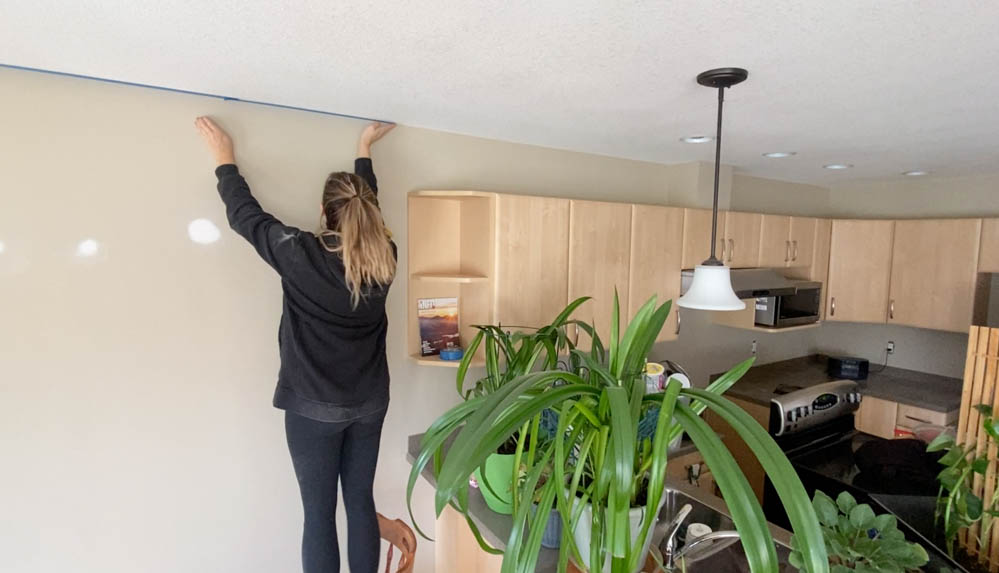
A crisp line where your walls meets the ceiling is one of the perks of spraying your walls with a paint sprayer. But that depends on a great paint job. Much like taping trim, I find it easiest to get a perfect line by laying a layer of tape around the perimeter of the room before taping up plastic. This saves you wrangling plastic over your head while trying to maintain a straight line and this is especially helpful as the weight of the plastic can pull down the tape as you go. I use a regular painters tape for my straight line, pressing it firmly then add the plastic with a stronger painters tape- like a rough surface painters tape. It’s my preference to just run a strip of plastic along each side of the room, usually this covers most of the ceiling. Even though you don’t *need* to cover the full ceiling, I like the assurance and then I’m not cutting strips of plastic down. It also protects light fixtures from paint dust which is a bonus.
If you are only needing to mask a small section of a ceiling (for example, you’re painting a feature wall or fireplace), I would opt for flooring paper as it’s easy to manage and not as wide.
One trick I will share is helpful for those of you who have uneven paint lines at the top of your walls from past paint jobs. If the paint is on the ceiling in many spaces or in a wavy line, take the time to tape 1/8 of an inch or so into the ceiling instead of right where the wall meets the ceiling. This will give. you a crisp line without having to go back and touch up the old paint job once you peel back your masking.
When to wall off a space with plastic for paint spraying
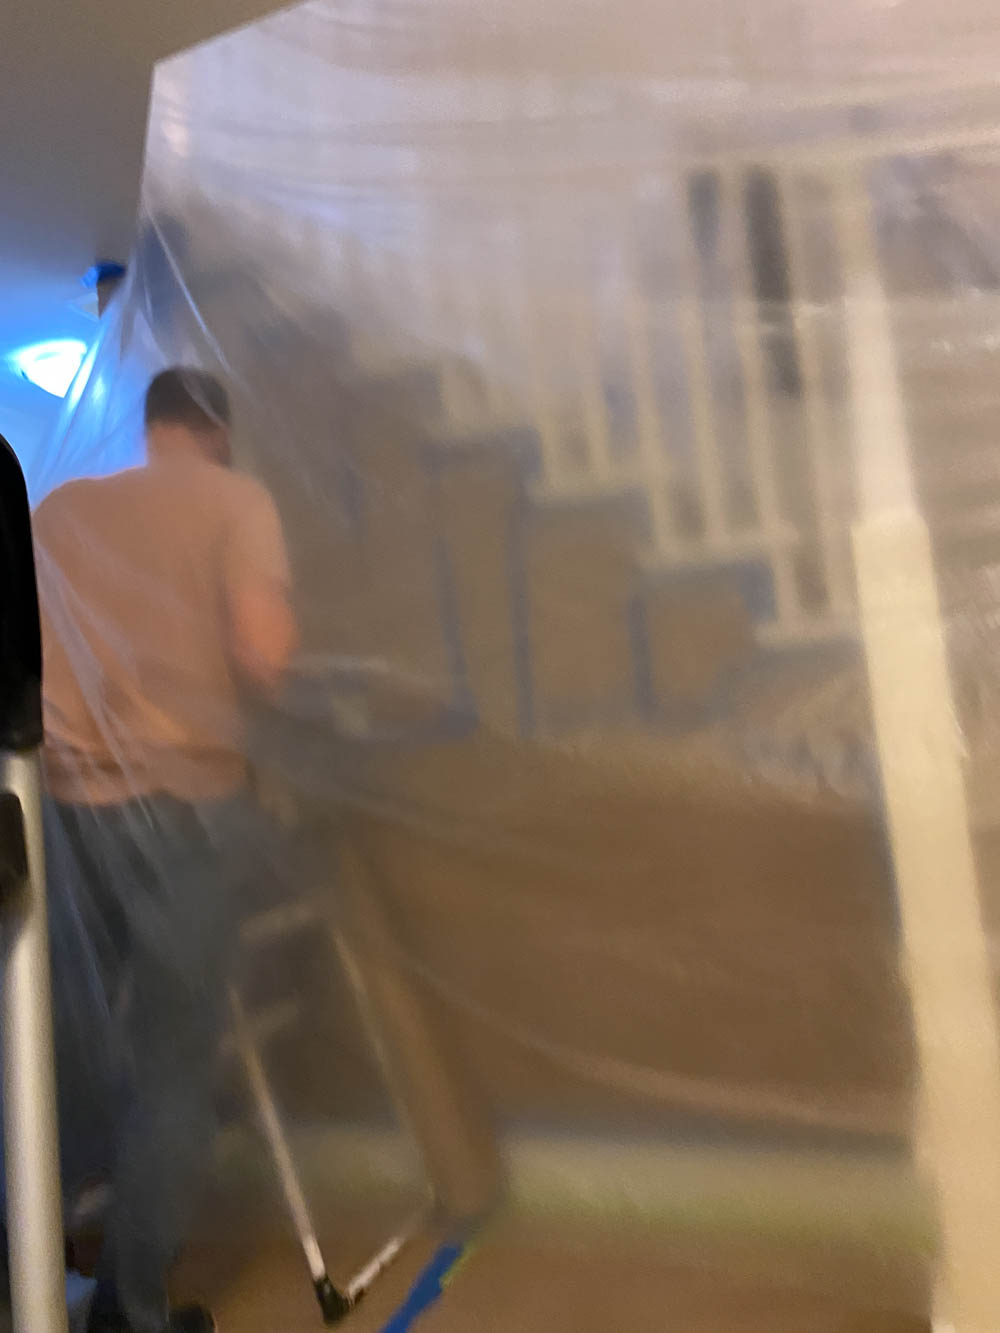
At the bottom of the stairway, we walled off the space with plastic. This separated the space we were painting from the space we were not. We do this on projects where we are painting just part of one room. You can see we did that here when we painted our fireplace, and here when we painted our doors. The chance of overspray getting on things is low as paint sprayers are pretty direct, but the dust that we talked about above can float in the air and end up on all your surfaces. If you want to avoid a wicked dusting job, definitely wall off anywhere you want to avoid getting dust on. You can tape to the ceiling or use staples. Also tack it to the floor with tape to keep the plastic from blowing up in the air from the paint sprayer and prevent it from doing it’s job.
Masking Materials for Paint Sprayer Projects
The more projects I take on, the more partial I become to certain products for masking. I’ve already mentioned flooring paper for floors and plastic for ceilings, windows and doors. The plastic I prefer is also in the drop cloth section and comes in 8ft wide rolls. The rolls themselves are 4ft long and the plastic is folded in half. These seem to be the best bang for your buck and are easy to manage, masking off areas quickly. The 8′ width makes them easy to wall off areas as most ceilings are 8′ high.
There is also pre-taped plastic available that makes masking even faster although that comes with an additional price tag. You can see how I use it in this project- so efficient!
There’s also a few kinds of painters tape available. Which kind of painters tape should I use? For most things, the regular old painters tape. I prefer to get a decent quality one- it won’t peel up your paint or surface it’s taping to but holds long enough to get the job done. You might find that it’s not strong enough for some surfaces, however. A rough surface painters tape is great for surfaces like cardboard or textured countertops. It will hold much better- I use this all the time. I also use it when taping plastic to a straight line of painters tape I’ve already applied. It holds the weight of plastic much more securely than regular painters tape. The last kind of painters tape that I love to use is delicate surface painters tape. It’s great for surfaces that were painted within the last few weeks as it takes some time for paint to fully cure. I wouldn’t count on this to hold plastic up however.
Can I mask ahead of time for painting?
I often get asked if you can mask one weekend, paint the next. I’d suggest you not. We often mask the day before, paint the next, and even then we do sometimes have painters tape start to loosen. I recommend going around and pressing the tape firmly to make sure there’s no gaps before painting if it’s been more than an hour or two since masking! This is not the case with tape just on it’s own, but especially if it’s holding plastic up.
M
Which Paint Sprayer Should I use for Interior Walls
There’s two main types of paint sprayers you can get affordably for home use. A High Efficiency Airless Sprayer (HEA) like the Wagner Control Pro 130 I used and a High Volume Low Pressure (HVLP) handheld paint sprayer like the Wagner FLEXiO 5000 I used. Both types paint sprayers work awesome for interior walls and which you choose should really just depend on how big the project and what other projects you plan to take on with your sprayer.
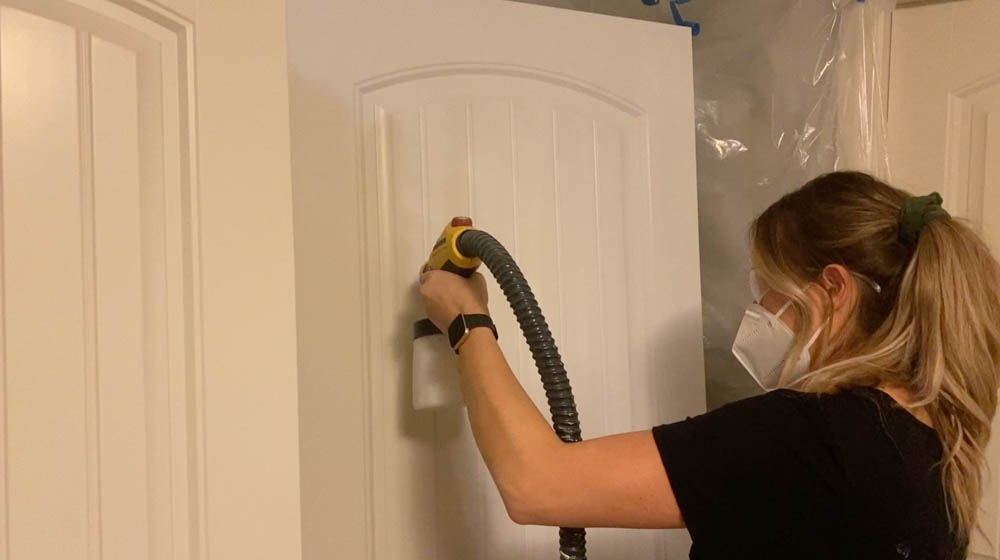
Let’s start by chatting about the HVLP sprayers (like any of the FLEXiO series of sprayers from Wagner). These are handheld sprayers which means the paint is held in the gun. This makes clean up super easy- no long hoses! But it also means that you’re physically carrying that paint as you spray, so it holds less than other sprayers meaning refills are more frequent. These sprayers have many adjustments you can make to get a fine finish or a heavy finish in your spray job. You can adjust the air pressure and the material flow (how much paint). You can also adjust how wide or narrow your spray pattern is as well as if it’s vertical or horizontal. Since there’s so much control, it’s great for a wide variety of projects.
Most FLEXiO sprayers also come with a detail finish nozzle which allows even greater customization of how fine your spray pattern can be. This makes it great for furniture, trimwork, detailed projects… anything really! These sprayers can be used with paint or stain and honestly… I’ve used it for so many projects and it’s my favourite for most. You can see it used in this bedroom makeover, this bedroom makeover, this deck makeover with paint, this deck makeover with stain, this fence stain tutorial, this solid stained playhouse, these kitchen cabinets this stucco exterior, this brick fireplace, and these doors… to name a few ;) I’ve used it for many more projects personally as well.
If you are just starting out with a paint sprayer- this is a great option for you. All the pieces come apart for easy cleaning and maintenance is pretty minimal on them. This is the sprayer I used on doors and trim in this home makeover.
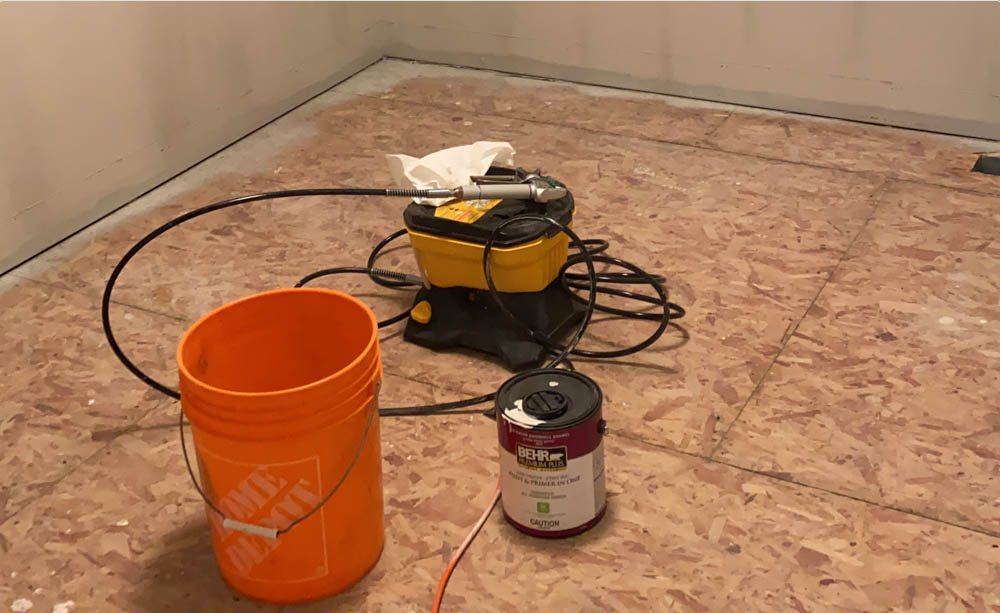
HEA sprayers like the Control Pro 130 in this project are a bit more industrial in size and style. You can dump a full can of paint in the tank and get to spraying. There aren’t adjustments for paint flow or spray pattern other than vertical or horizontal. It let’s out a thicker spray of paint than the handheld sprayers in my experience. This is great for coarser materials like stucco but also a great way to paint an interior space QUICK. This is what I used for the interior walls of this home makeover, in this store makeover, and on this stucco house. This one is honestly a dream to work with, it’s a smooth (although thicker) finish and so very quick. You can paint a room in 5 minutes flat. The downside to this one is that you need to move quickly and avoid meeting spray lines so it’s not too thick. This can be challenging in something like a hallway where you have lots of doorways to work around. I ended up with a couple drips I needed to touch up as I learned how to work with this sprayer in a tight space.
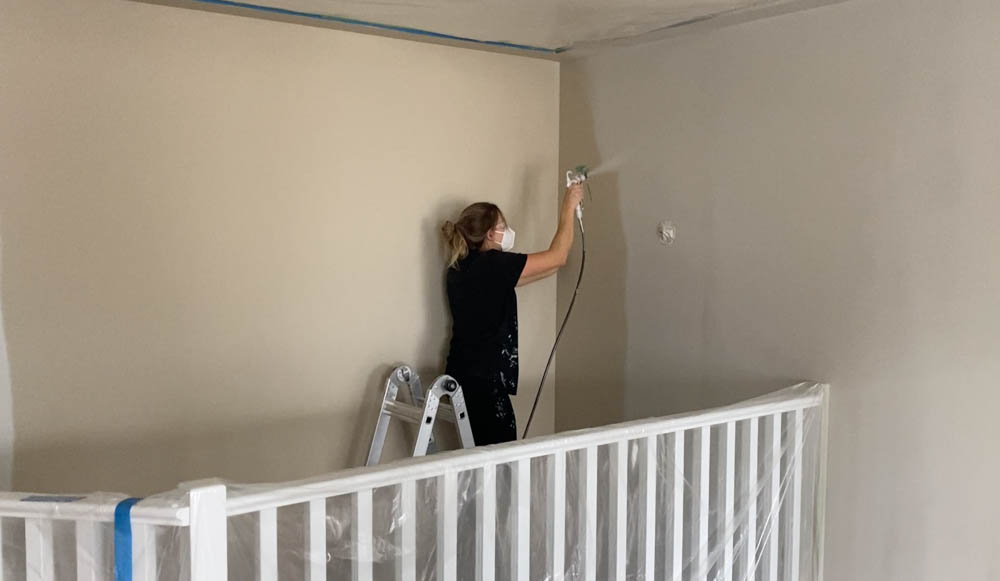
I love that the tubing is long, allowing me to work a full room without moving the container of paint once. I could also leave it on the ground while painting the two story staircase without having to carry the weight of the paint up the ladder. It made such quick work of this job, I definitely would choose it again for a makeover where I’m painting several rooms like this. The only other consideration I’d point out is that it does require a bit more maintenance. After cleaning it properly, you need to prepare it for storage with an oil. It’s not a huge process, but if you are looking for a grab and go, low maintenance sprayer- the handheld option might be better for you.
How to paint interior walls with a sprayer
Well, you fill the sprayer and spray it. But more specifically, here’s some tips to make the process (and finish) smooth and stress free.
My first tip is to read the instruction manual on your paint sprayer. I know this sounds basic but I can’t tell you how many DMs I’ve had where someone is asking me to help with a paint sprayer problem and they haven’t read about how to properly clean their sprayer or troubleshoot it. It’s worth the 5 minutes!
Assemble your sprayer properly and make sure all the pieces are clipped on tightly. This is especially important for the yellow piece that changes the direction of paint spray on the FLEXiO series. If that clip isn’t clicked all the way on- it could spatter on you.
If you are using a HEA sprayer, make sure you prime your sprayer before use. This will help everything work smoothly!
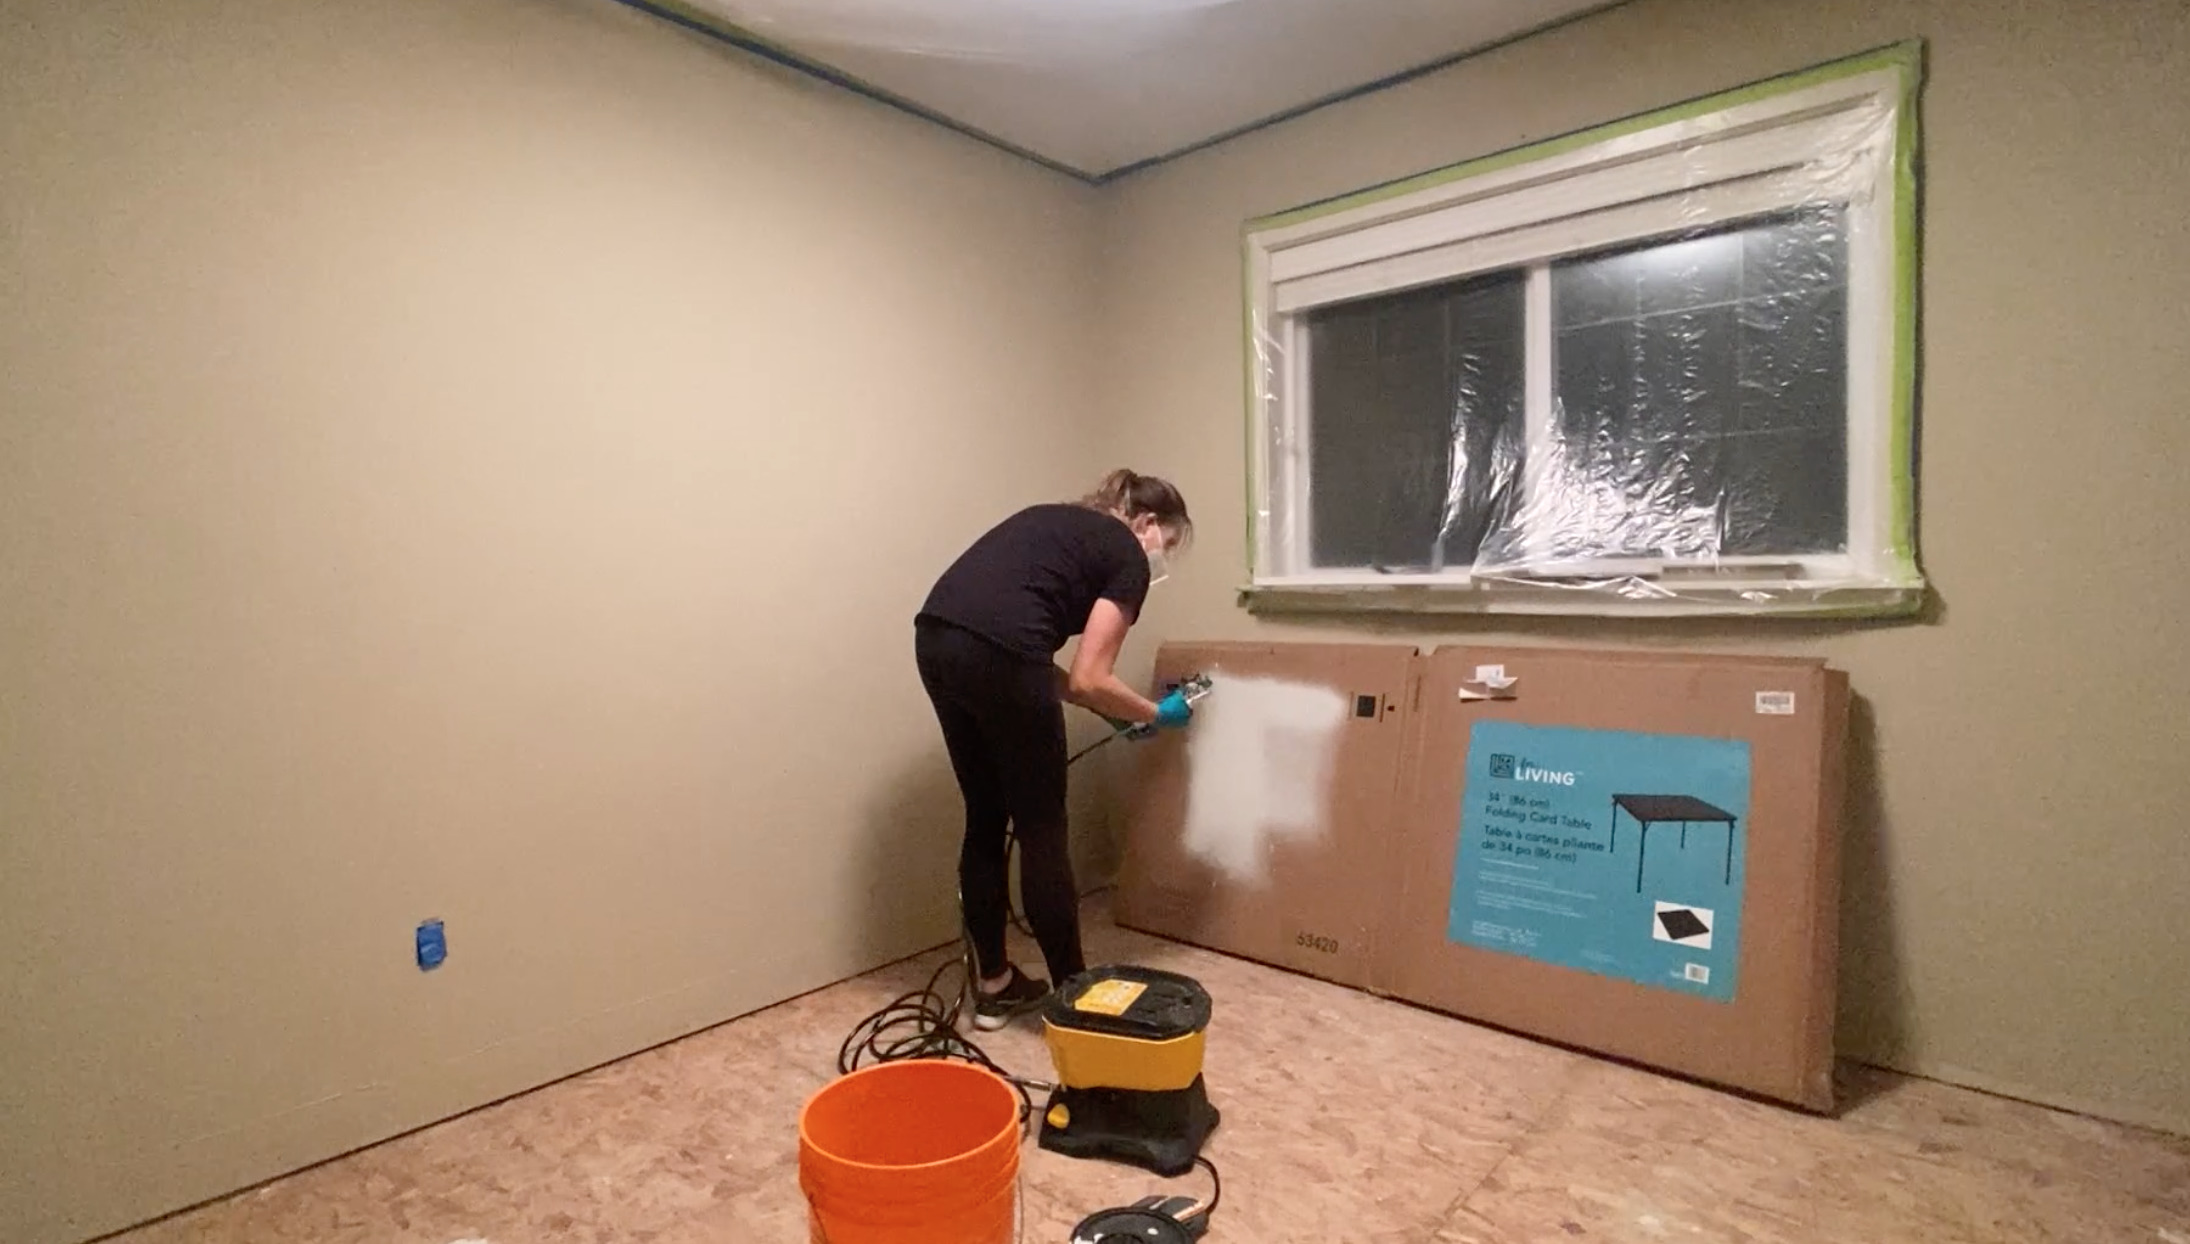
Then, and I can’t stress this enough… test your spray pattern on a scrap piece of cardboard or flooring paper. If you’re using a handheld sprayer with adjustable settings, take time to play with them to make sure that you have a finish that you’re happy with before ever painting on your surface. For walls, I recommend a high air pressure and a medium to high material flow. I always start with a high air pressure and a mid material flow then adjust until it’s *perfect*.
You can paint either horizontally or vertically with either type of sprayer by adjusting the cap of the spray gun. I prefer to paint walls in an up and down pattern (squat instead of bending to avoid back pain!). Make sure to overlap each pass a little bit so you don’t have gaps but also don’t stress too much about it because a second coat will hide all ;) To avoid heavy paint or drips at the top and bottom of your wall, spray a little off the wall towards the masked floor and ceiling as you move to your next pass. You don’t need to spray a whole wall in one go. Feel free to take your finger off the trigger, adjust your grip and whatever else you need as you go.
When your sprayer stops working so great, that’s usually a sign that it’s either low on paint (easy fix!) or it’s getting a build of of dried paint on the nozzle. In this case, turn it off and give it a quick wipe (this girl uses her shirt but you could be professional and use a cloth ;) Never put your hand on the front of a sprayer while it is on, the pressure is dangerous.
How much time and paint does a Paint Sprayer Save
This definitely depends on the project, but let’s look at what we saved here. I was able to paint a room in 5 minutes once it was properly prepped. 5 minutes a coat! 10 if it’s a larger room… that’s wild if you’re used to painting with a roller and cutting in. You skip all the cutting in and that in itself is a win. That said… you do have a significant amount of time to mask properly. I still think that it’s worthwhile to mask and spray if you are doing a full room or larger project. Especially if you are the type of painter who tapes before the cut in… you’re going to be happy to put that tape to work and save time on the painting!
Okay so here is where I’m hesitant to give you a firm answer. From my research, I’ve read spraying takes more paint than rolling. But in my experience on an interior project like this? It’s just not the case. Besides all the roller refills… this whole space took us only 5 cans of paint. If we were painting this with a roller, I estimate we would have used 8. Again, this was 2 bedrooms, 2 bathrooms, 3 closets (including a walk-in), a small kitchen, living room, dining room, and two story staircase.
What to expect for Clean Up from Paint Sprayer Indoors
The last thing to consider is clean up. When you’re painting with a roller, you just need to toss that roller and tray liner. With a paint sprayer, you don’t need to toss anything (yay!) but you do need to dump your paint back into the can and clean your sprayer. Honestly, cleaning a paint sprayer isn’t as difficult as it seems. The first few times in might seem overwhelming, but once you get to know your sprayer and which parts the paint goes through and touches, it can be pretty efficient. 5-10 minutes, probably. It’s important to do a great job of cleaning your sprayer to ensure it will last a long time and work beautifully for future projects.
The only sprayers I’ve had issues with are ones I’ve let friends borrow and I just have to assume weren’t cleaned the best. When I chat with followers in my DMs, the most common thing that we come down to when troubleshooting is that they didn’t know they had to scrub the inside of the sprayer with a little brush (it comes with the sprayer) and they rushed through cleaning it the last time they used it. The great thing about the handheld paint sprayers is that they are all plastic. So a good scrub with a paint thinner and you’ll be ready to roll again. The HEA sprayers do require the cleaning up front as they have smaller pieces that the paint is going through and a long hose. If you choose to use a sprayer, choose to do a great job of cleaning it too!
As for the rest of the clean up? Well, you really just have to remove masking! If you’ve taped while rolling, you’d need to do the same.
I hope that this has helped answer some of the questions you might have about painting interior walls with a sprayer. Let me know if you have any questions in the comments and I’ll do my best to answer!
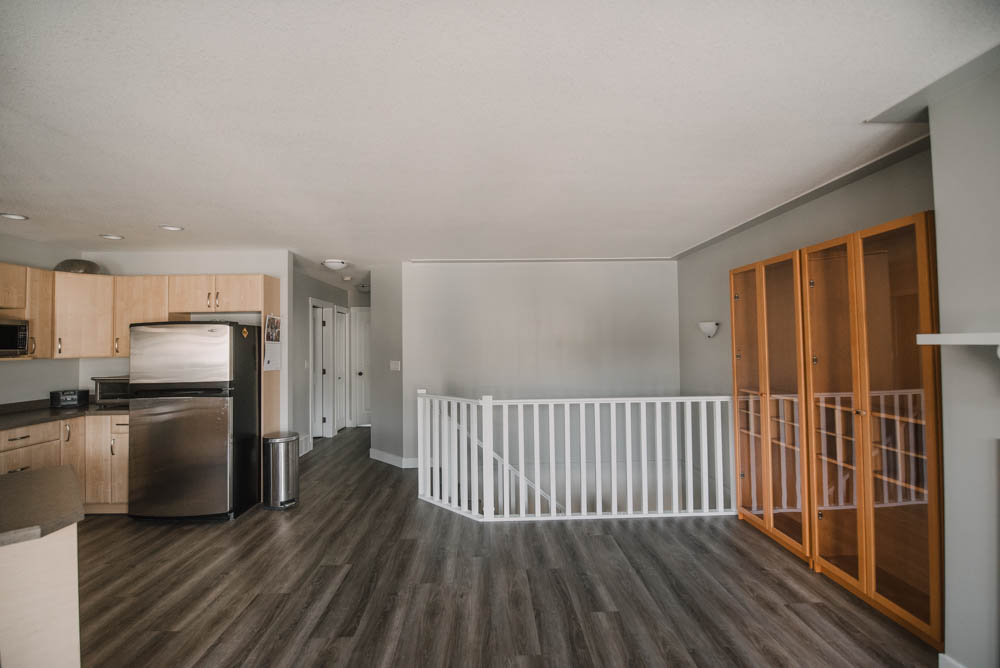
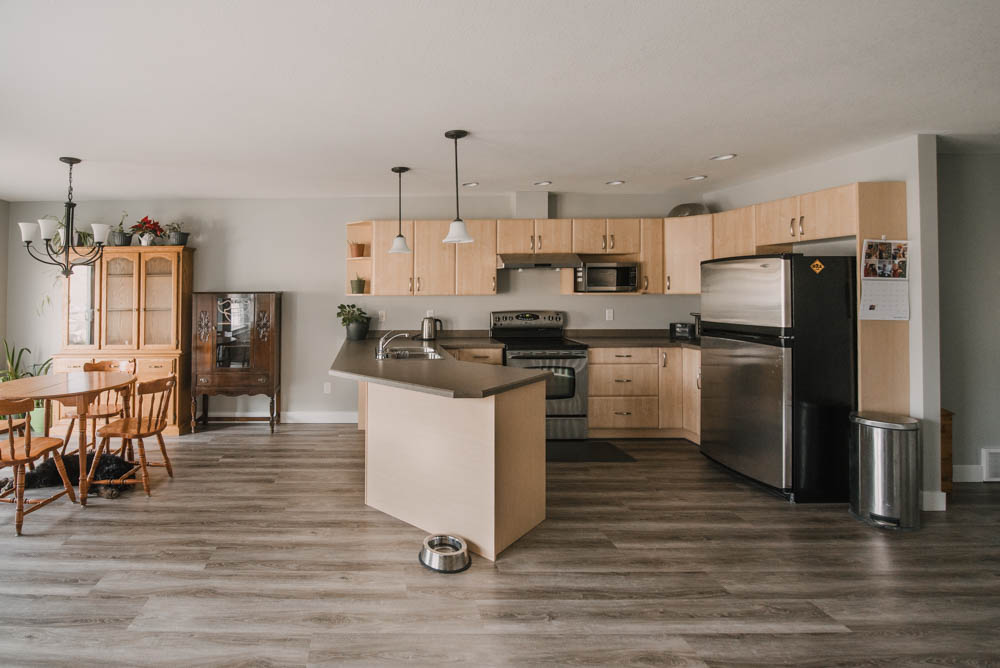
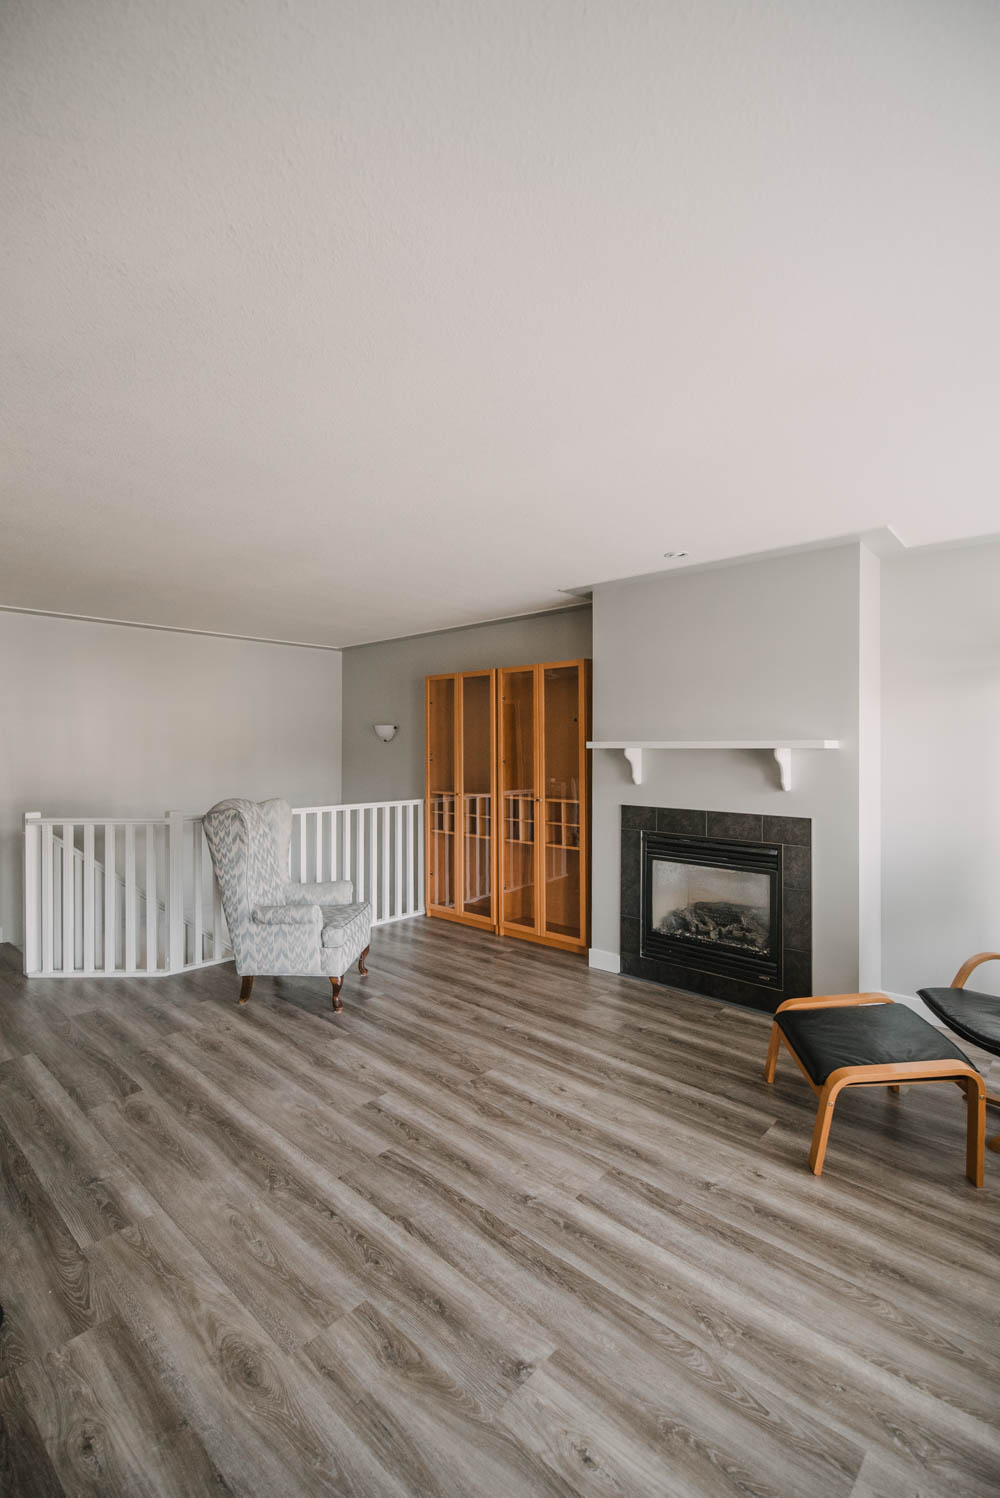
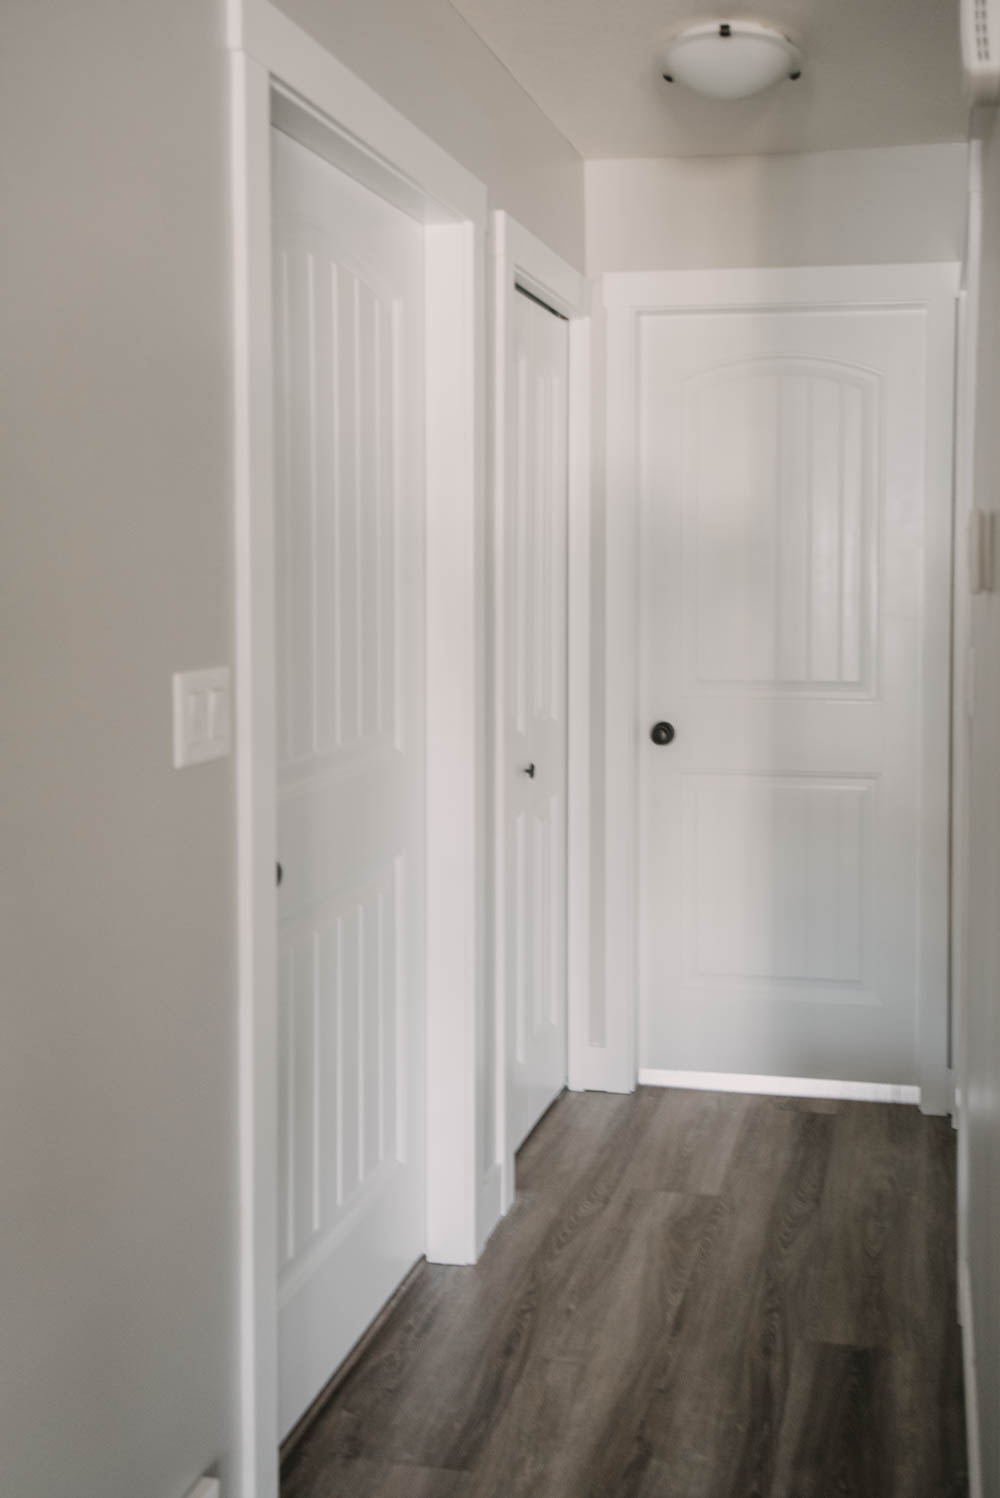
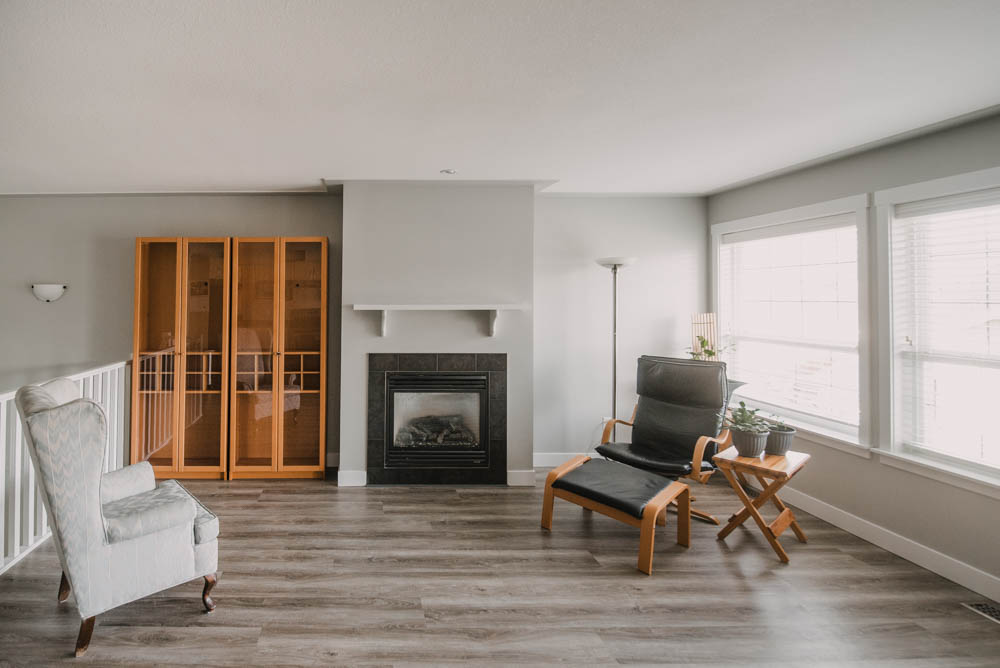
As for my mom’s place, here’s how it looks with the fresh flooring and paint! She’s waiting on some new furniture and I can’t wait to see it all complete and moved back in! It’s amazing how much some fresh paint can make a difference. The tan walls and almond trim didn’t look like too dark of a colour, but the yellow undertones sure made it feel darker in there. Painting the trim white and the walls a lighter grey instantly brightened the space. The power of paint sure is incredible!
Big thank you again to Wagner Spray Tech for partnering on this post so I could share all these tips with you!

 8 Modern Dollar Store DIY Christmas Decorations
Thanks for a great article! I have had a long and steady relationship with the paintbrush, but I feel we might have outgrown each other, and I am curious to try spray painting. I will save this article and come back to it.
As for the floors, you mention you mask the floors with heavy duty paper, but in the pictures it seems you have used wood-panels. Is there a reason for this? I have some of those laying around, and they are great because you can use them as often as you need, but you would need a lot in the right shape, no? Isn’t it quite heavy on the resources?
thanks
Trine from
Hi Trine! My mom was actually having her flooring replaced in that space- that’s just the subfloor you’re seeing :)
Hello, I have someone spray painted my staircase. He masked the surrounded walls up to 4′ up the wall and sectioned off the entry to other rooms with plastic. Above the staircase is white non-wooden shutters. After sprayed with white paint color, I can see the whole room cloudly and this is a different room that was sectioned off from staircase. So I can imagine the room where the staircase is would have major paint dust up beyond the 4′ that was not masked (especially the shutters).
What is the proper way to clean off the paint dust and even the wall? Thanks!
Hi kim, I haven’t had that issue! I’d say try TSP and a spin mop on the walls so you can reach high :)