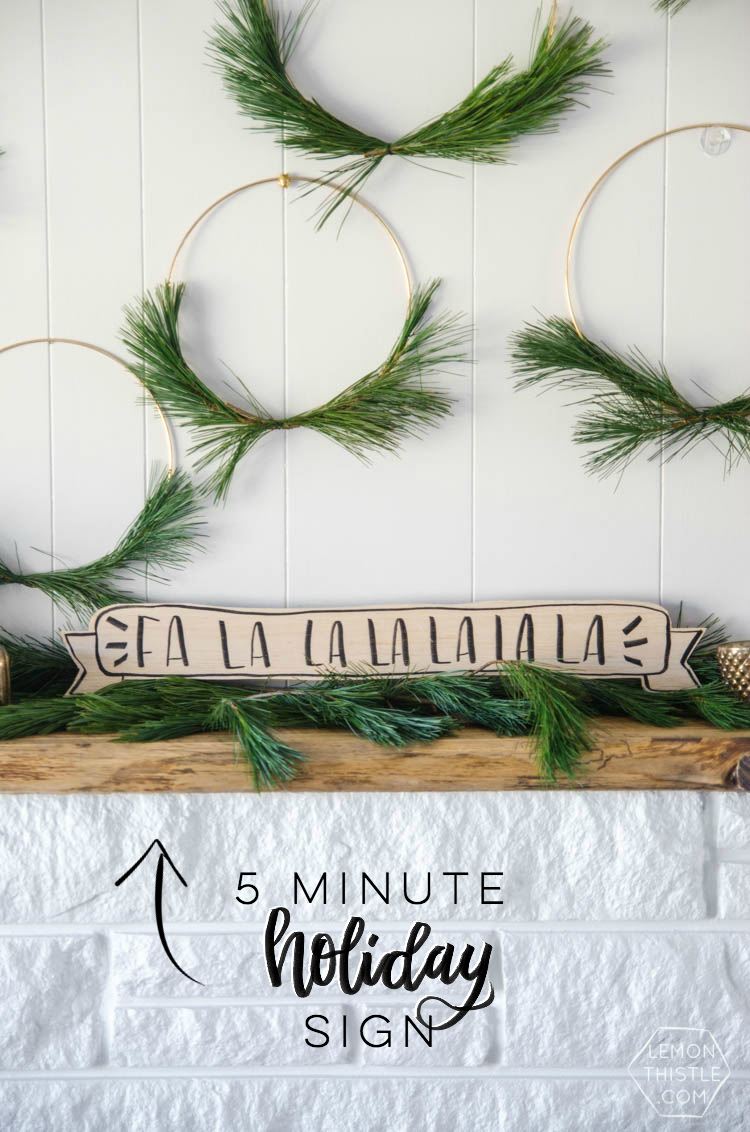
I almost feel silly sharing this DIY, you guys… it’s really, really darn simple. But that’s what makes it rock! I whipped this baby up when I was photographing my simple holiday hoop wreaths (y’know those things all over the wall) and all of my Christmas decorations were still in storage. I needed something fast but I wanted it to look totally rad. This banner is even better than I’d hoped (given all the planning I put in) and really suits my style. I feel like the style that Shane and I love in our home has changed so much since we bought all of our holiday decorations 7 years ago, so making pieces that can tie together our every day home decor and Christmas decorations is on my to-do list. This banner combines brush lettering and natural wood… two of my favourite things in home decor! And would you believe that it took me less than 5 minutes to make? And NO power tools.
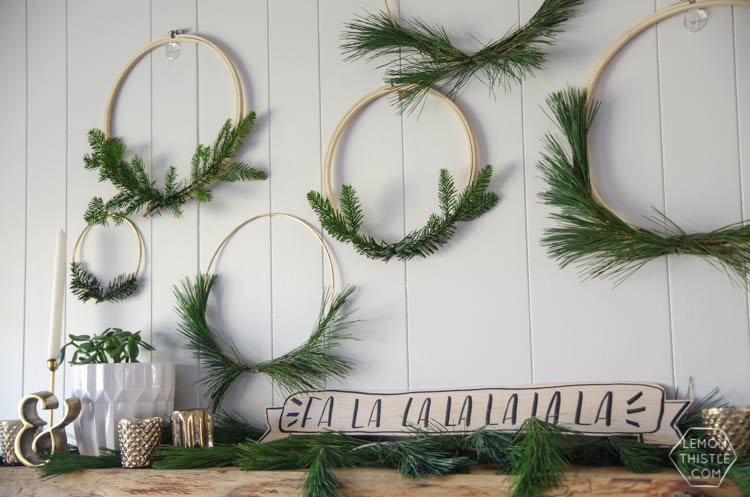
If you have never worked with balsa wood, you’re in for a treat. This stuff is a crafters dream (if you like easy!). I’ve used it to make holiday ornaments (and am making more next week!), a baby mobile, and wicks for my candles. It’s pretty darn versatile and it’s affordable. One $5 sheet (they’re long and skinny like shown) got me my candle wicks, a couple tags, and this banner. Ready for me to give you the comprehensive how-to?
Here’s what you’ll need to make your own DIY holiday banner:
- Balsa Wood (I used 3/32″ from Michaels)
- Pencil
- Craft Knife
- Cutting Mat
- Marker (I used a Tombow dual brush pen
BUT a sharpie brush pen would have been best)
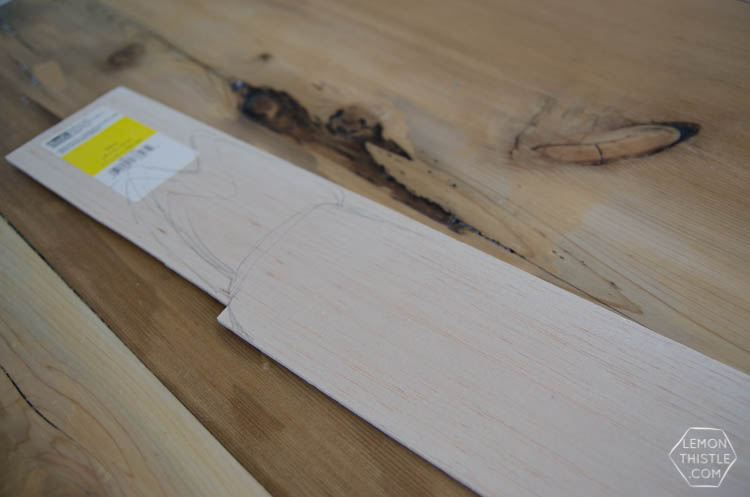
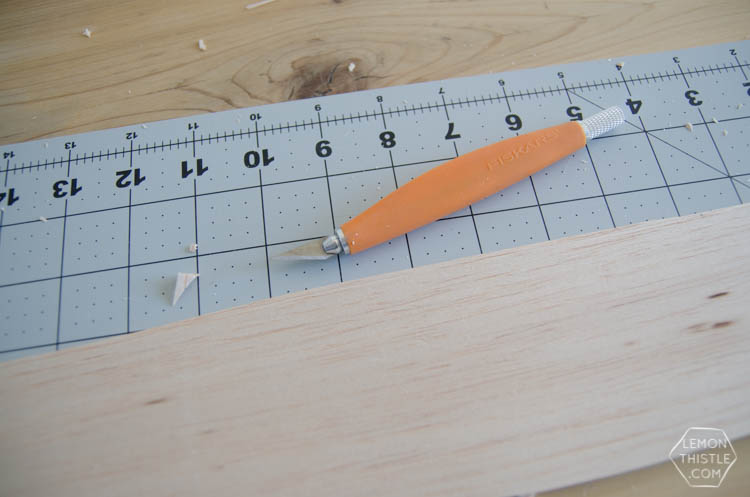
Start by sketching out your banner on the back of your wood (the side with the sticker tag, that residue never really comes off clean). I freehanded this and love the natural feel it gave, but you could print a template from online as well. Transfer it to the wood by tracing on top of your paper with a pen, the wood is quite soft and it will leave a noticeable indent for you to cut along. Then, you guessed it! Get cutting! I’m going to tell you a secret… I broke mine. This wood is super soft. But it was one of the tips so I just glued it back on with super glue. I can’t even tell where that was any more, it’s pretty forgiving wood!
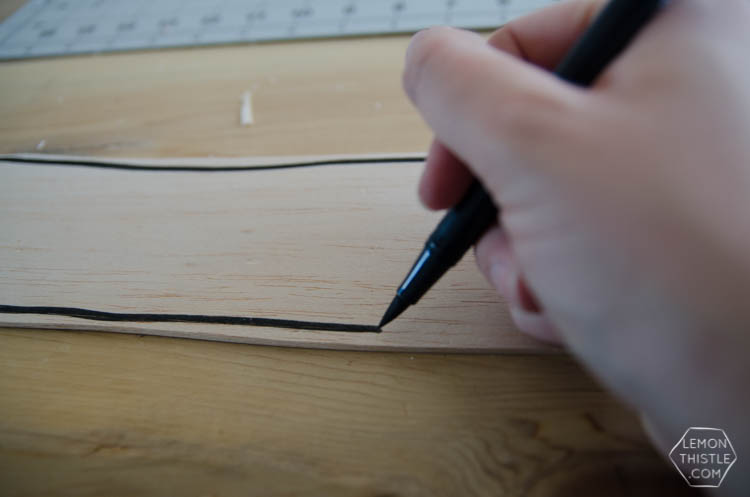
When it’s all cut (and glued back together), use your pen and trace the banner outline. I made sure to free hand this line and make it a bit organic (not super straight). I chose a brush pen because I love the variance in thickness it gives. If you didn’t have a brush pen (you probably should get one) you could use a regular sharpie. I used an older Tombow dual brush pen (my favourite pens) that I have but it would probably fray the tip of a new one… so I’d recommend using a Sharpie brush pen. Write your phrase on and set it up on your mantle or wall. DONE.
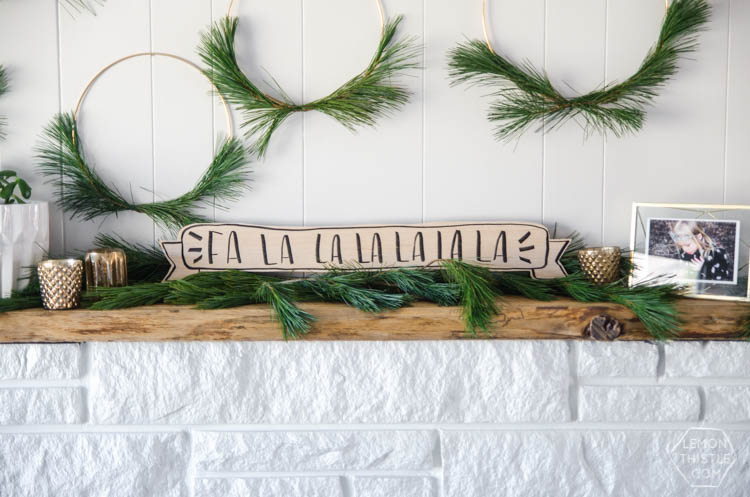
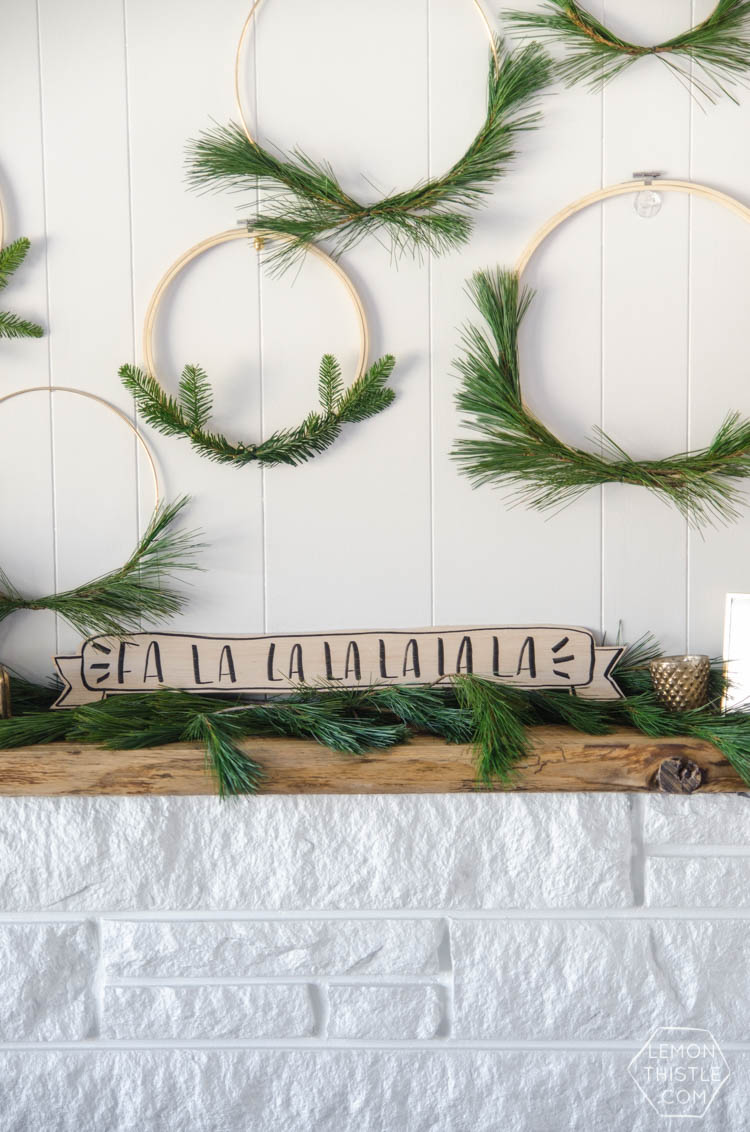
So easy, right? I am in love with the look of this DIY holiday banner look and have a few more crafts in mind for the holidays using the same method. What would you make with this wood?

 15 Rad DIYs that Incorporate Brush Lettering
Love this idea! I would like to do this for multiple “sayings”. I never thought about using balsa wood.
Happy Birthday would be great too.
Happy Birthday would be so great on this! I’d love to see if you do make one :)