These 4 simple tips will get you taking better photos of your kids in no time- with the phone or camera you already have.
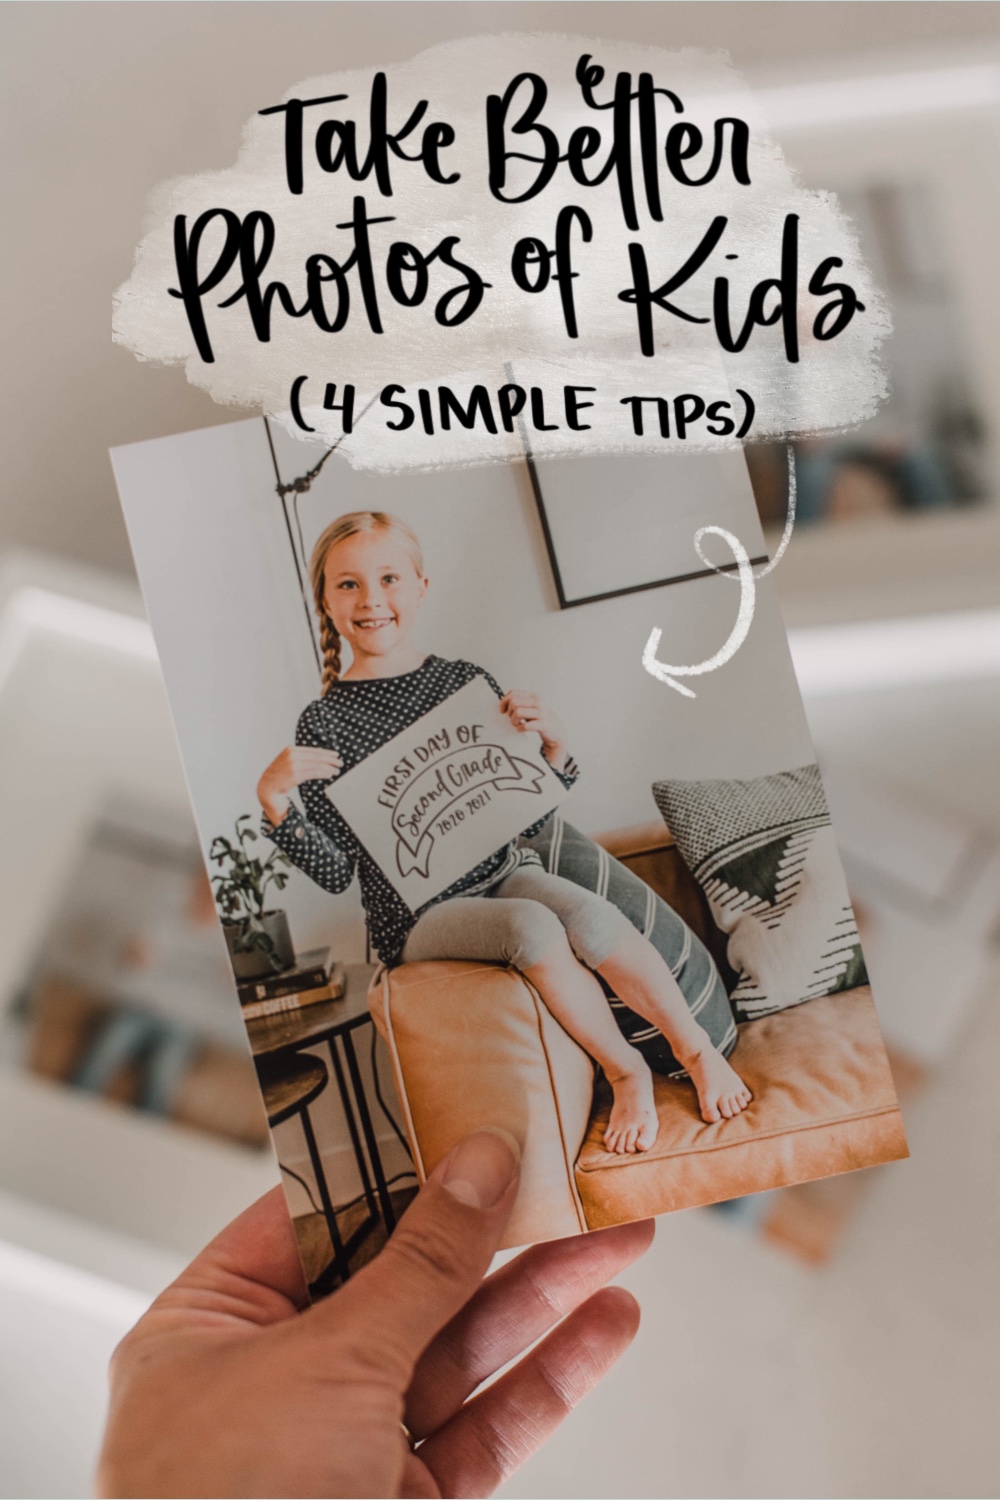
I’m a sucker for photos and for documenting our days and our special moments as a family. I hire a photographer anytime I can (usually once a year) for family photos, but the rest of the time? I’m the one snapping photos. With back-to-school sneaking up, I know first day of school photos are one of the times even families who don’t take as many photos as this snap-happy mom like to capture photos to document the day. With that in mind, what better time to share some tips to help you get better photos of your kids? Or anyone, really ;)
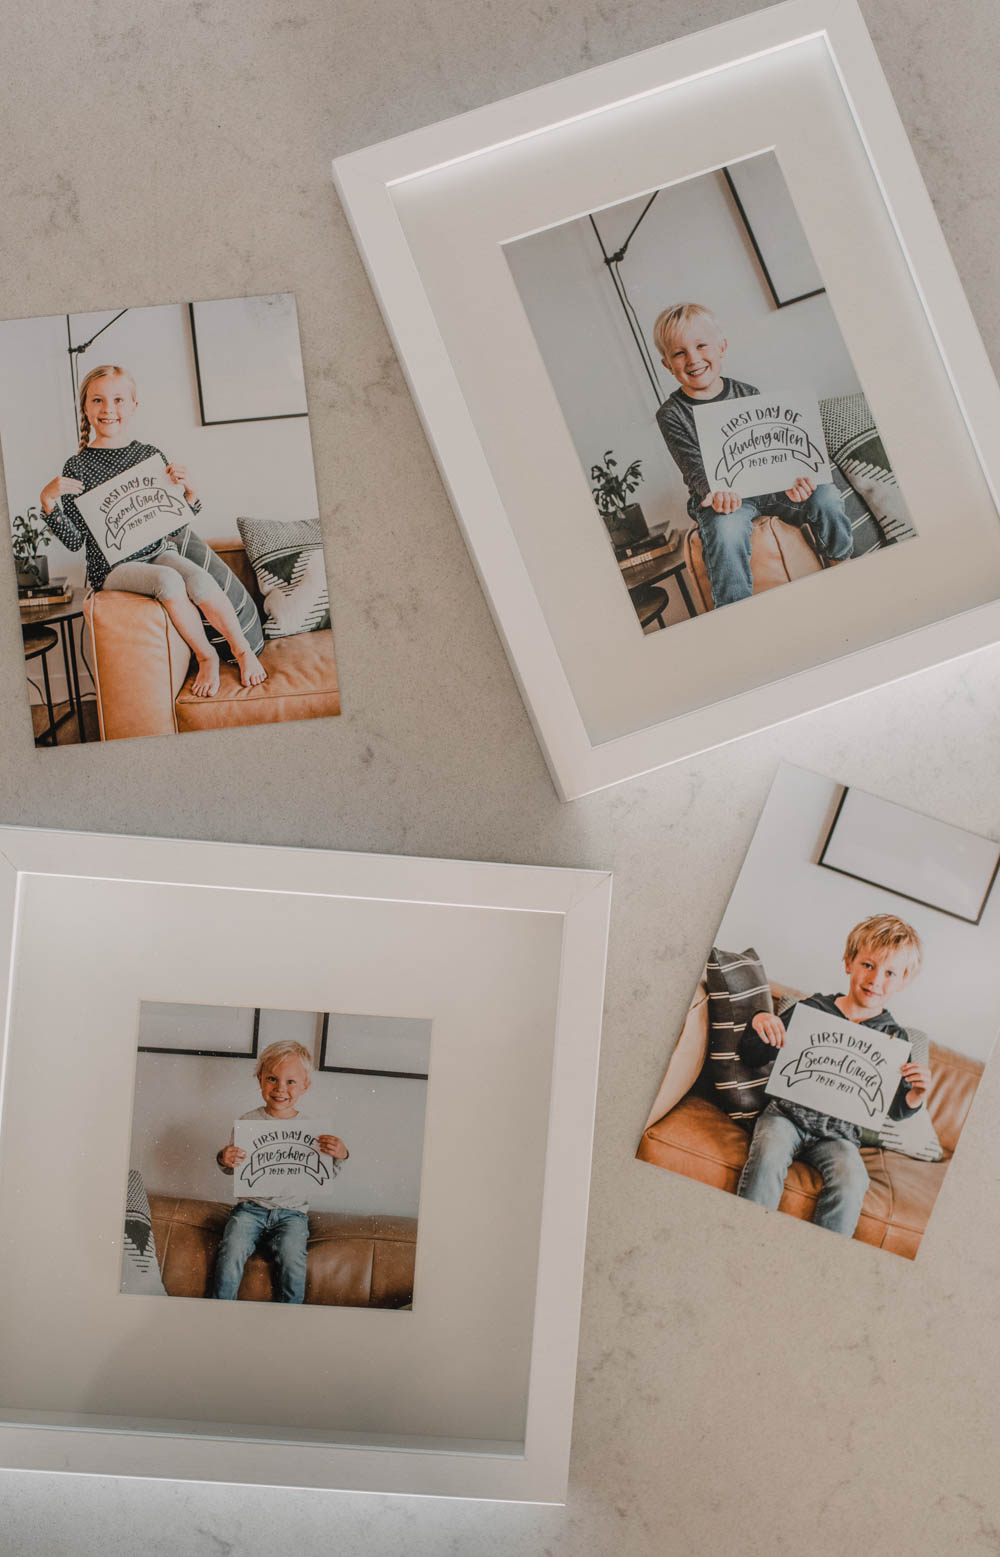
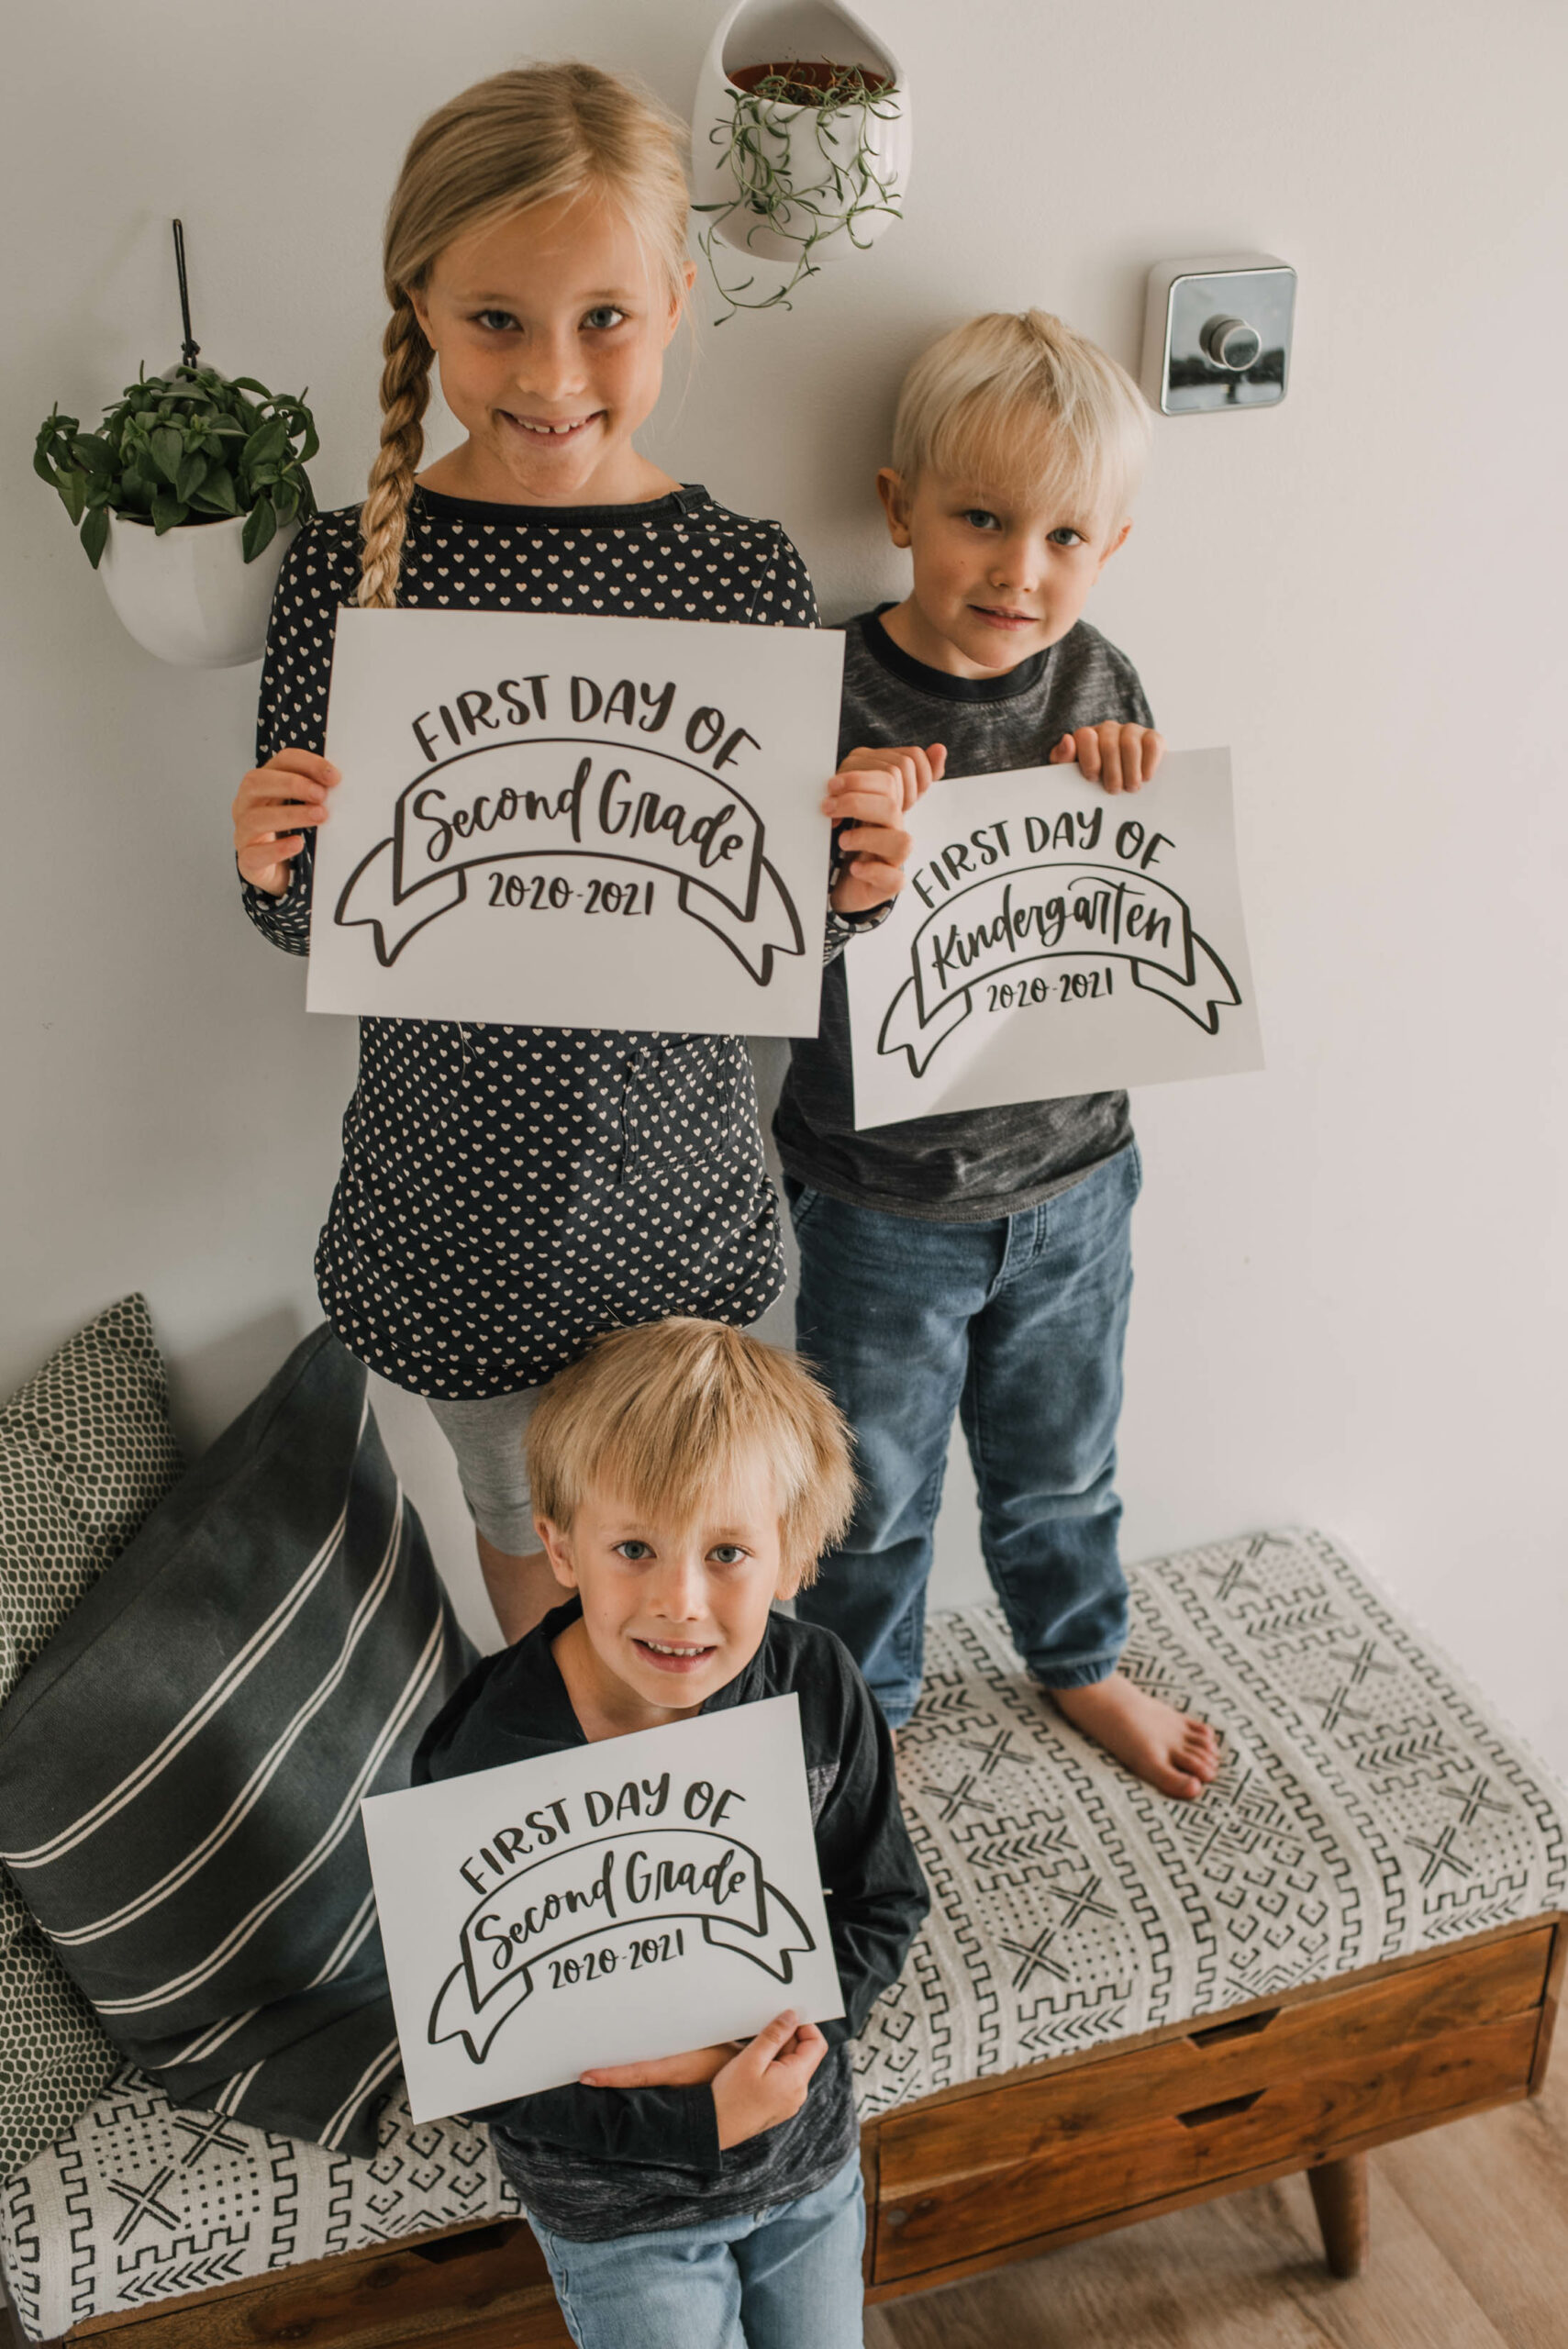
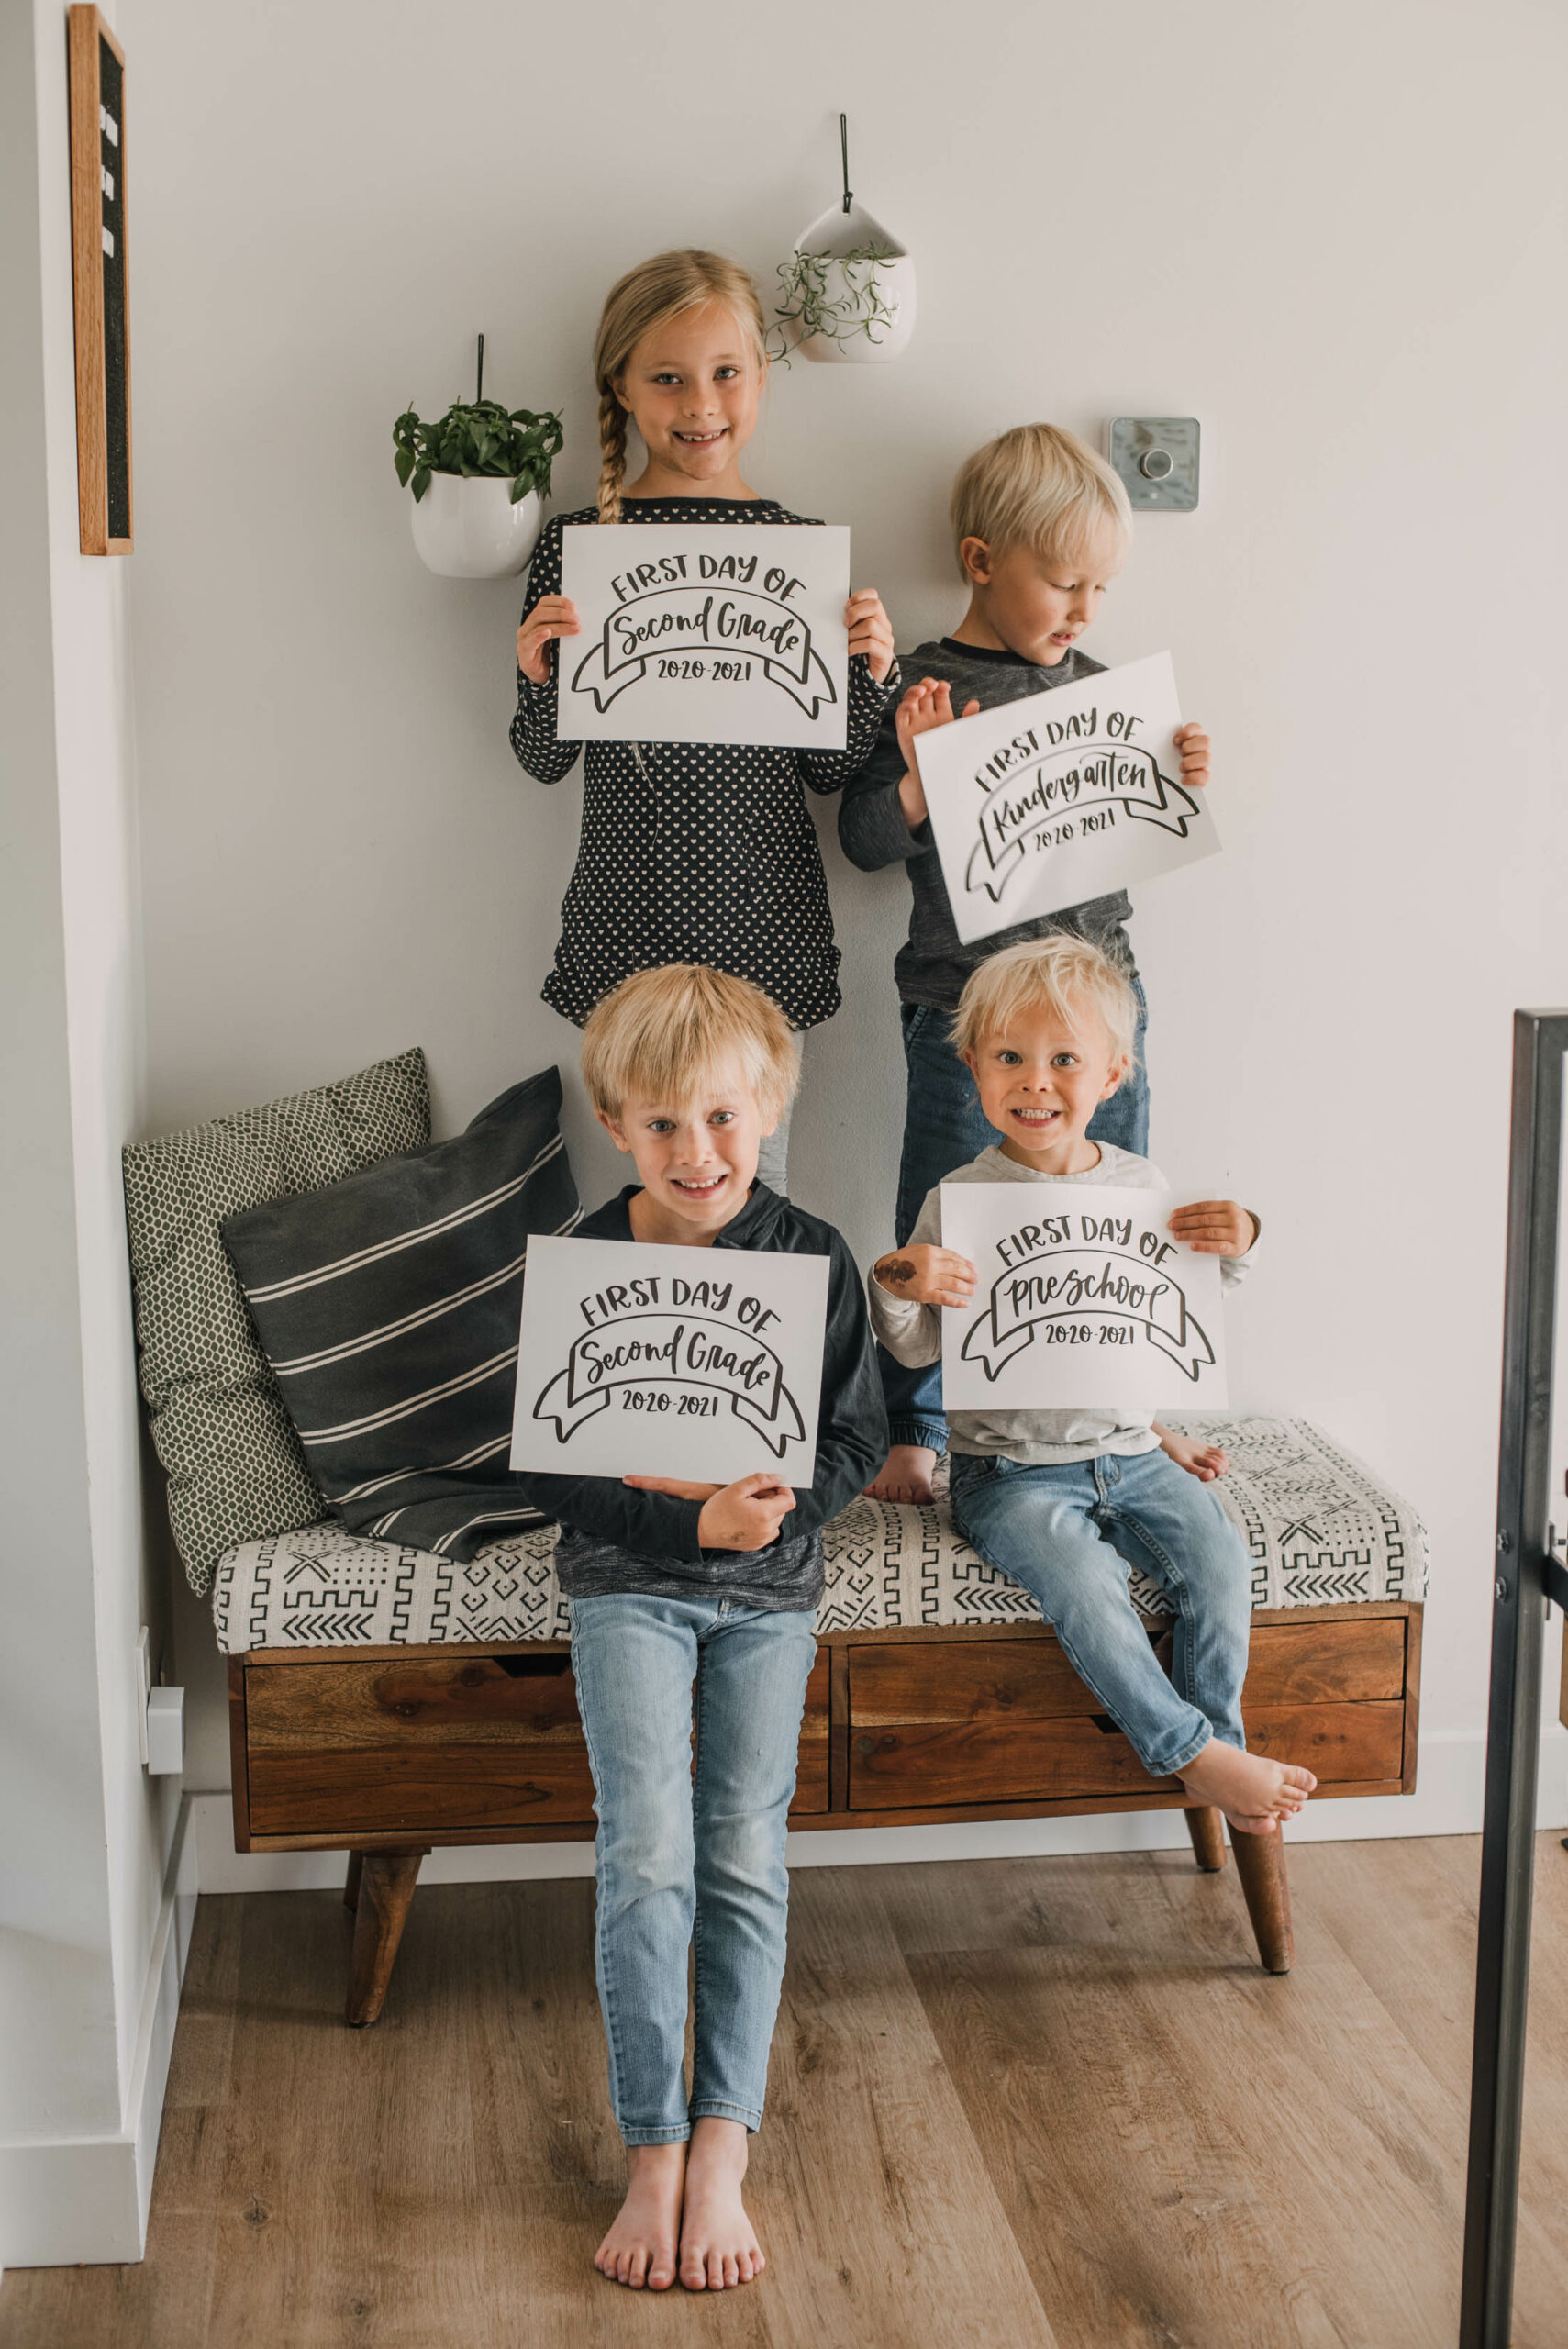
If you missed it- the signs featured in this post are a free printable (there’s first day AND last day ones!) that you can grab in my last blog post RIGHT HERE.
I used my DSLR for most of these photos but these tips have NOTHING to do with your camera and everything to what you do outside of it. So you can rock it with your phone as well. Then if you’d like some tips on editing them- I do have a full blog post about editing with your phone as well!
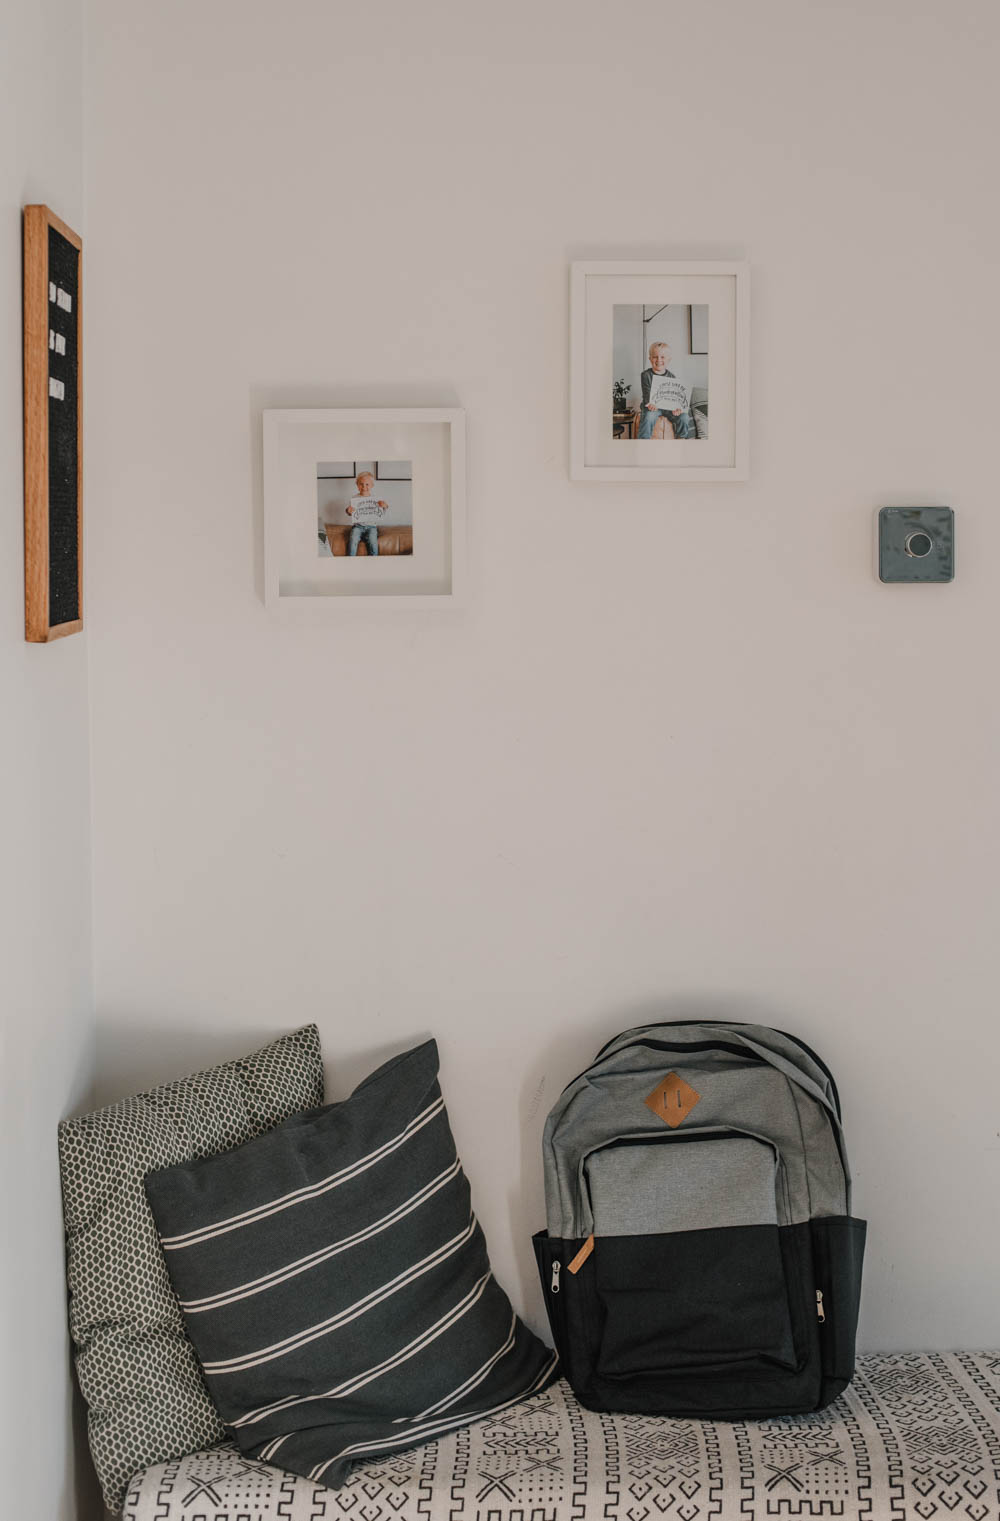
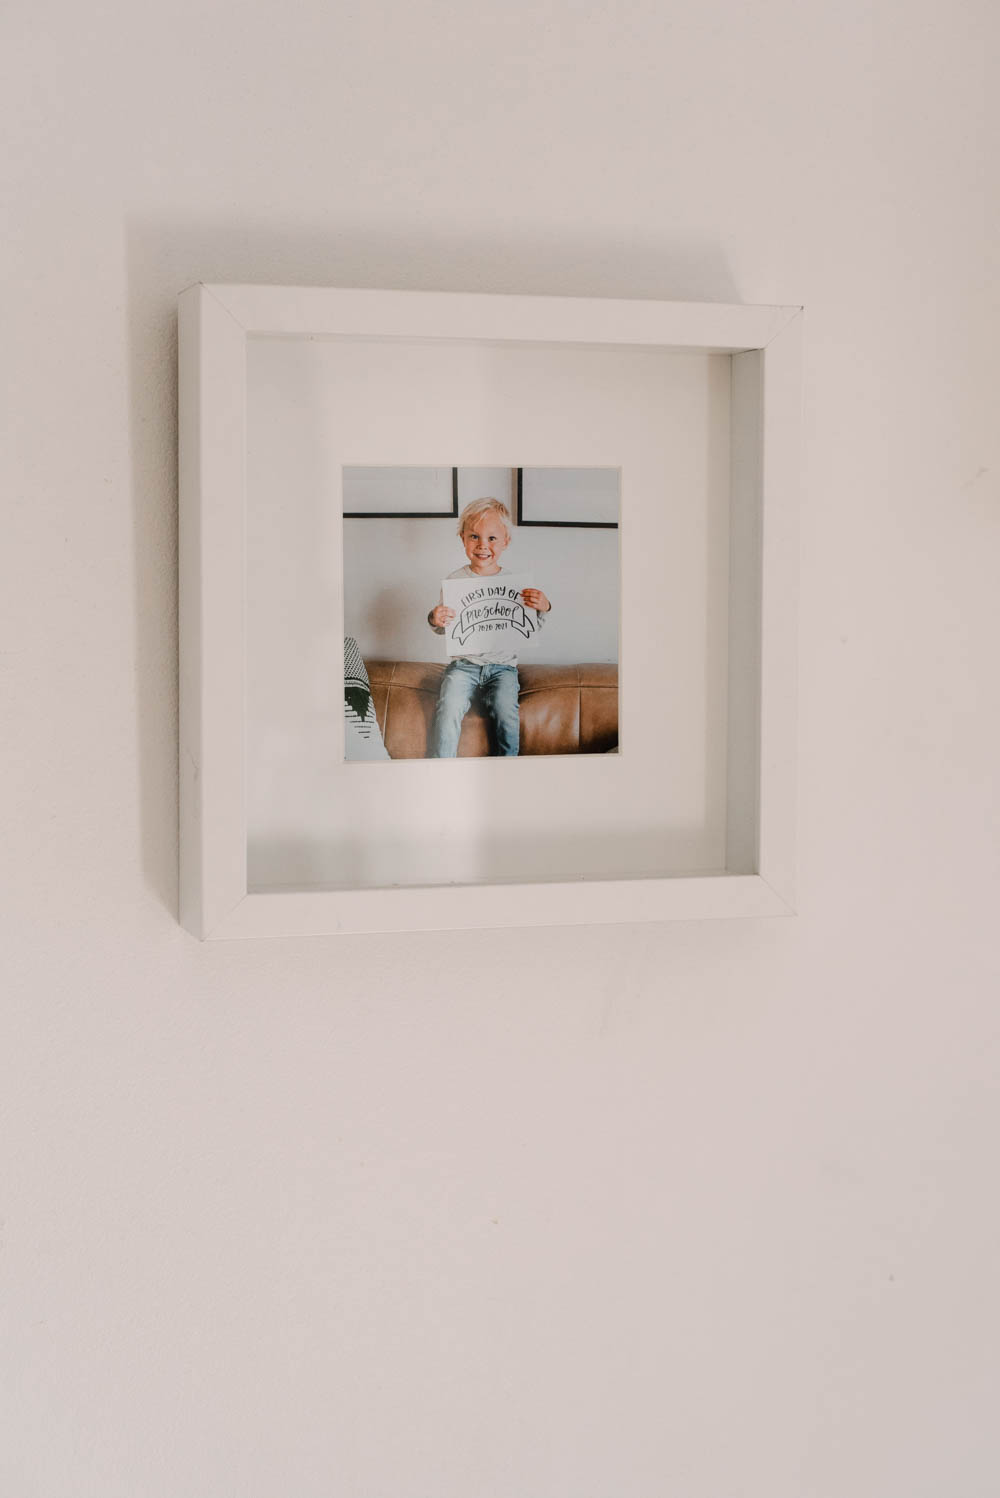
I’m so excited to partner with Walmart Photo for this post (and video!)- all of the prints featured in this post were printed with their Same Day services which are so handy when you’re not wanting to wait to have your photos!
Okay, so I’ve broken down the tips into just 4. But there’s subpoints of each that I think are so helpful so make sure to read through! I wanted to keep it simple with only four but really could have written 10- ha!

INSIDE LIGHTING
I take most of my photos inside my house these days, but when I first started photographing people, I always made sure to go outside for better light. Now that I understand how indoor lighting works a bit better, I’m so happy to share these tips with you. It really shouldn’t be as hard as we can make it!
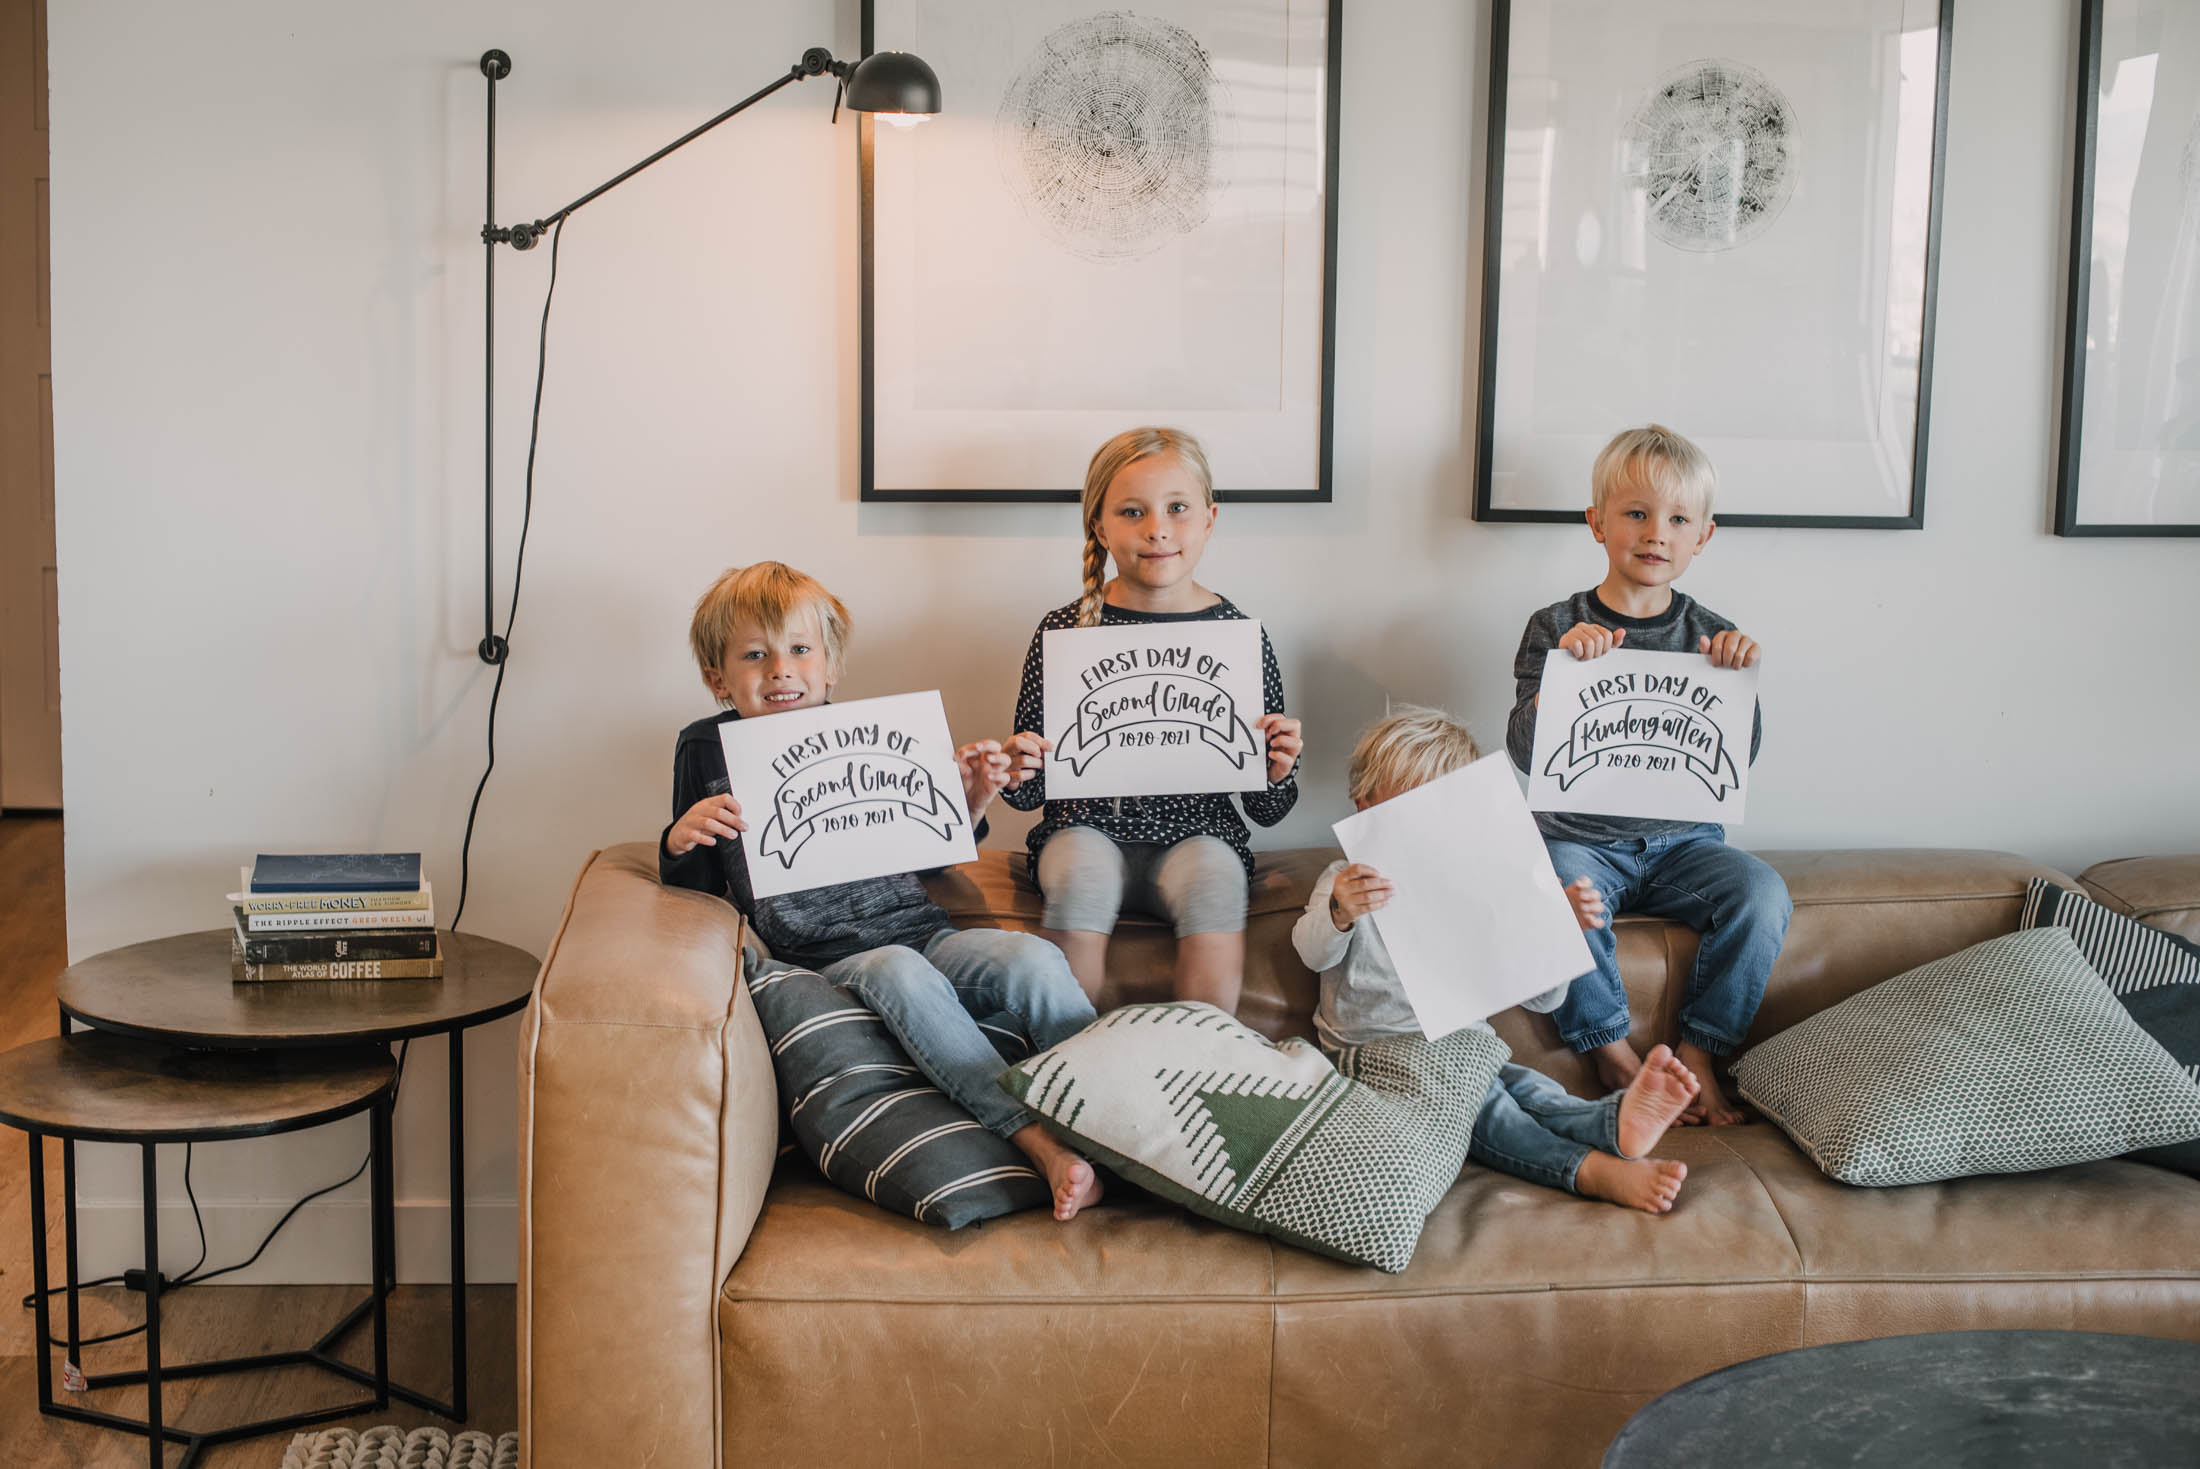
- OK, first but perhaps most importantly… turn off your lights. Yeah, I know. It sounds crazy. Unless you’re photographing at night, you should try it. Overhead lighting is generally not flattering, it causes circles under the eyes (shadows) and a shadow under your nose. You can also get weird light casts that make it hard to correct to a natural skin tone. I’m not saying it’s impossible, but give it a try. It’s a little thing that makes a difference.
- Look for side or front lighting. So with your overhead lights off… open those curtains! And put your kiddos where they’re getting light from the front or side. Or best case, both sides ;) This light will be way more flattering on their little faces!
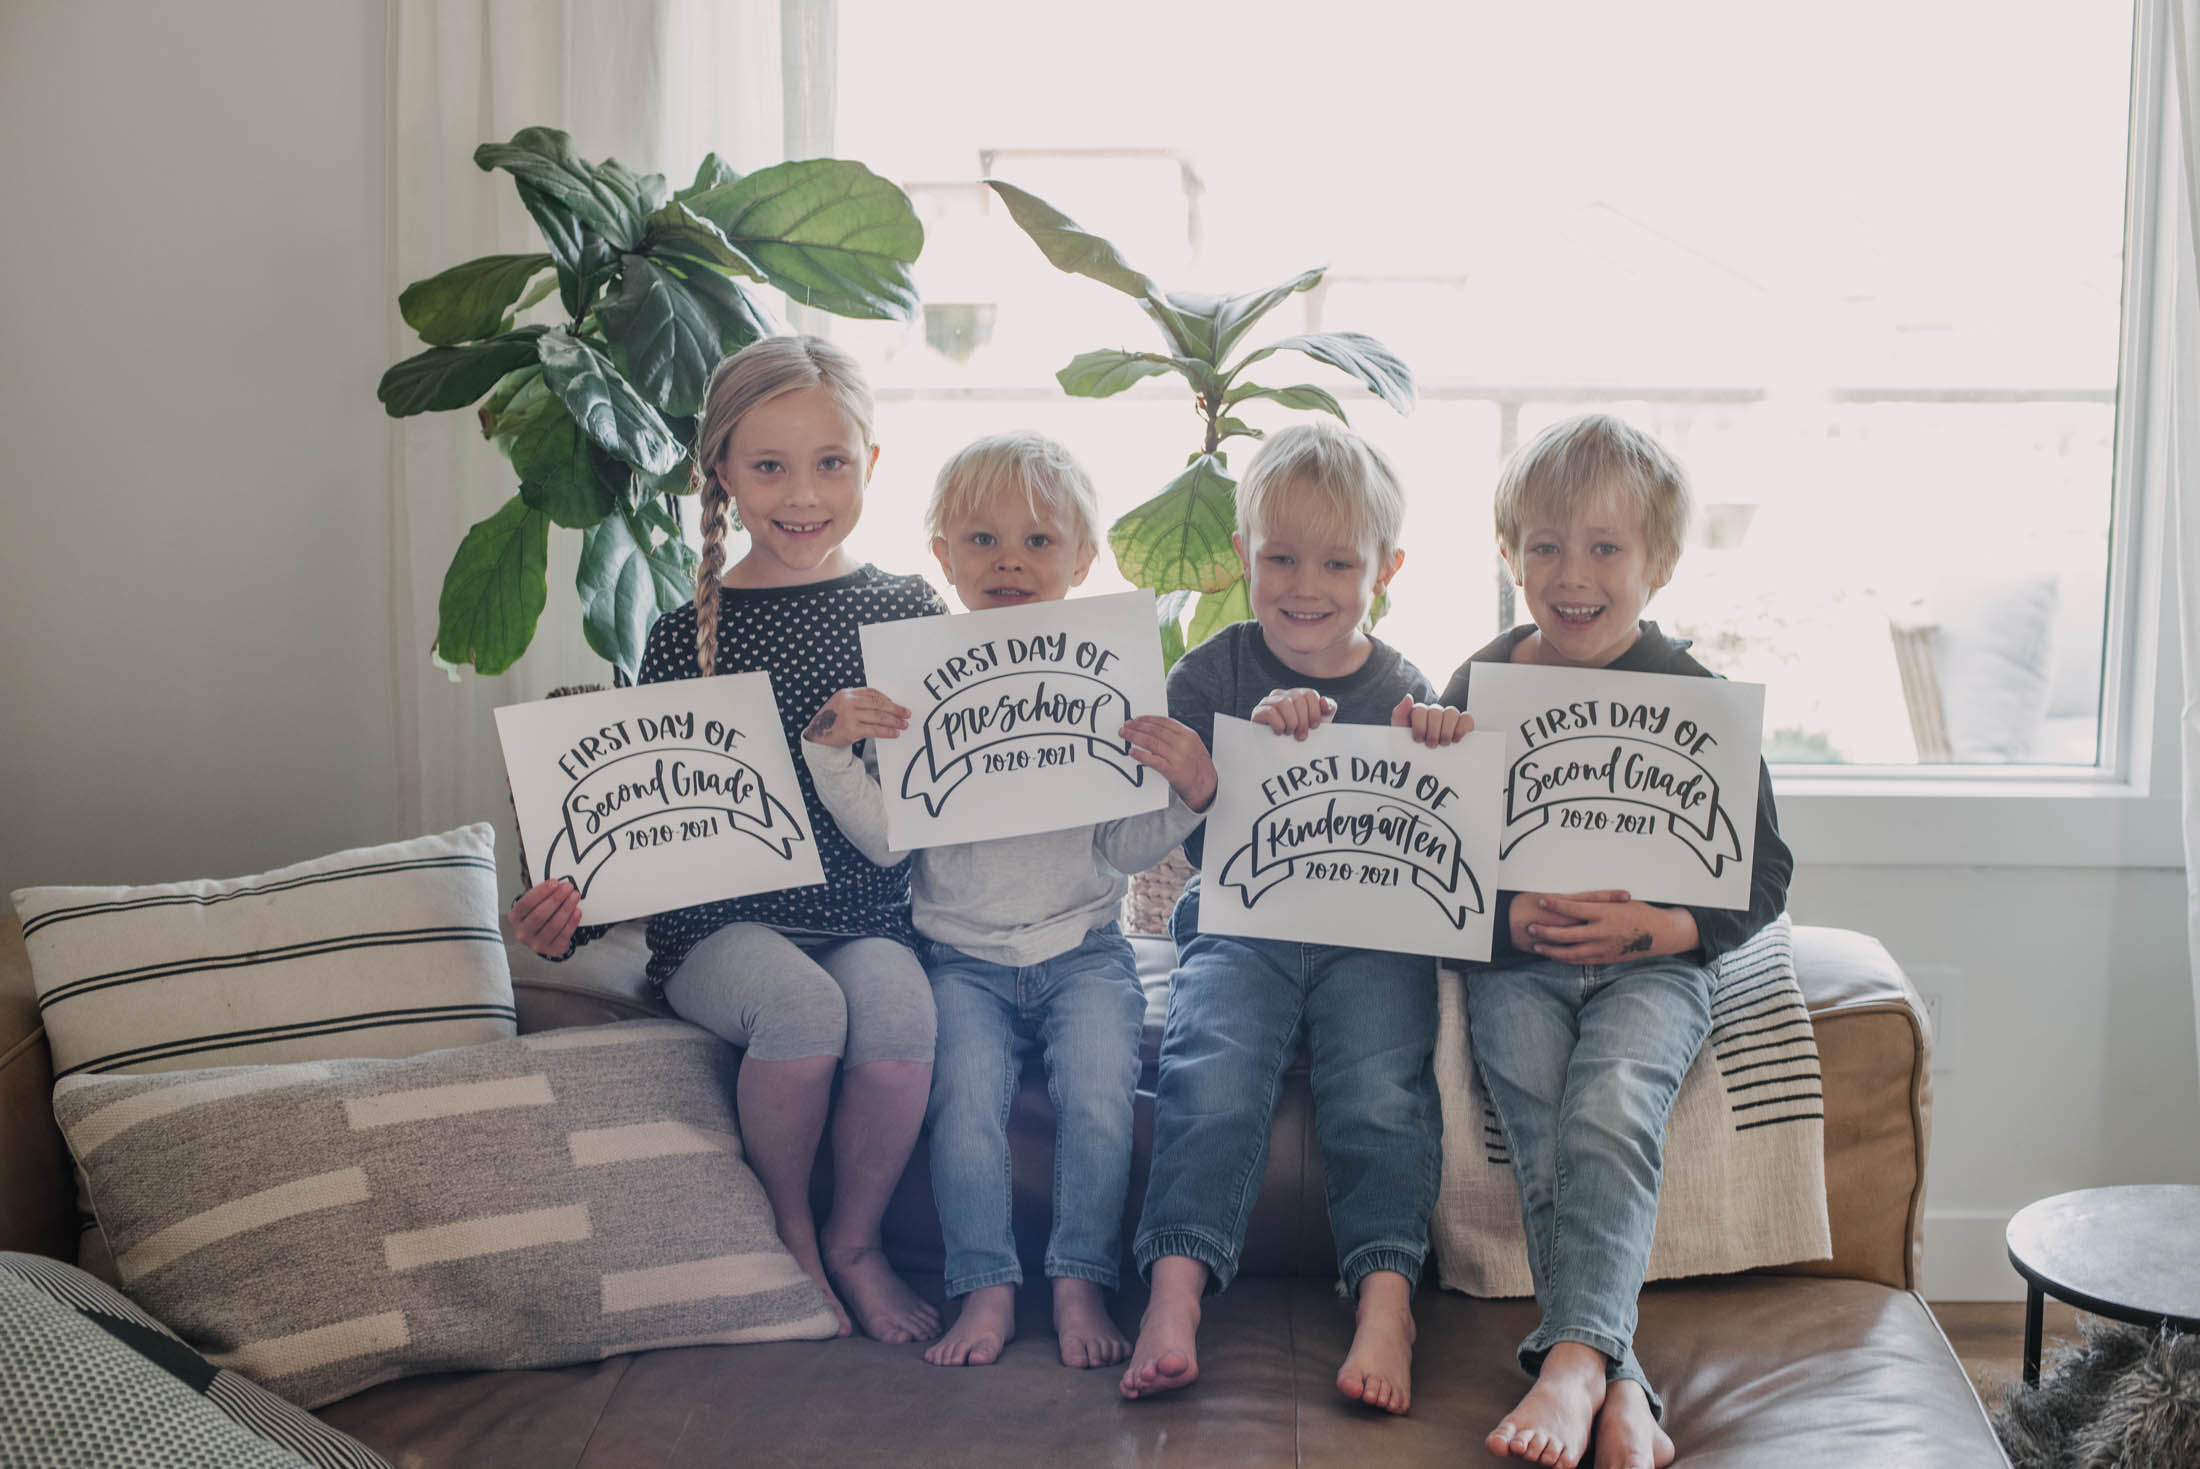
- Why not right in front of the window? I’d generally recommend to avoid back lighting for photos like this. You can get a super cool halo effect (you know, that golden hour look) but you could also end up with blown out edges (where the photo’s so bright it loses detail) where you lose part of a kiddos head or hair OR your camera or phone could focus on the window for its exposure and then your kids will be super dark.
OUTSIDE LIGHTING
When I started photographing families and babies years ago, I always, always shot outside. It’s so much brighter! But there’s a couple things to keep in mind.
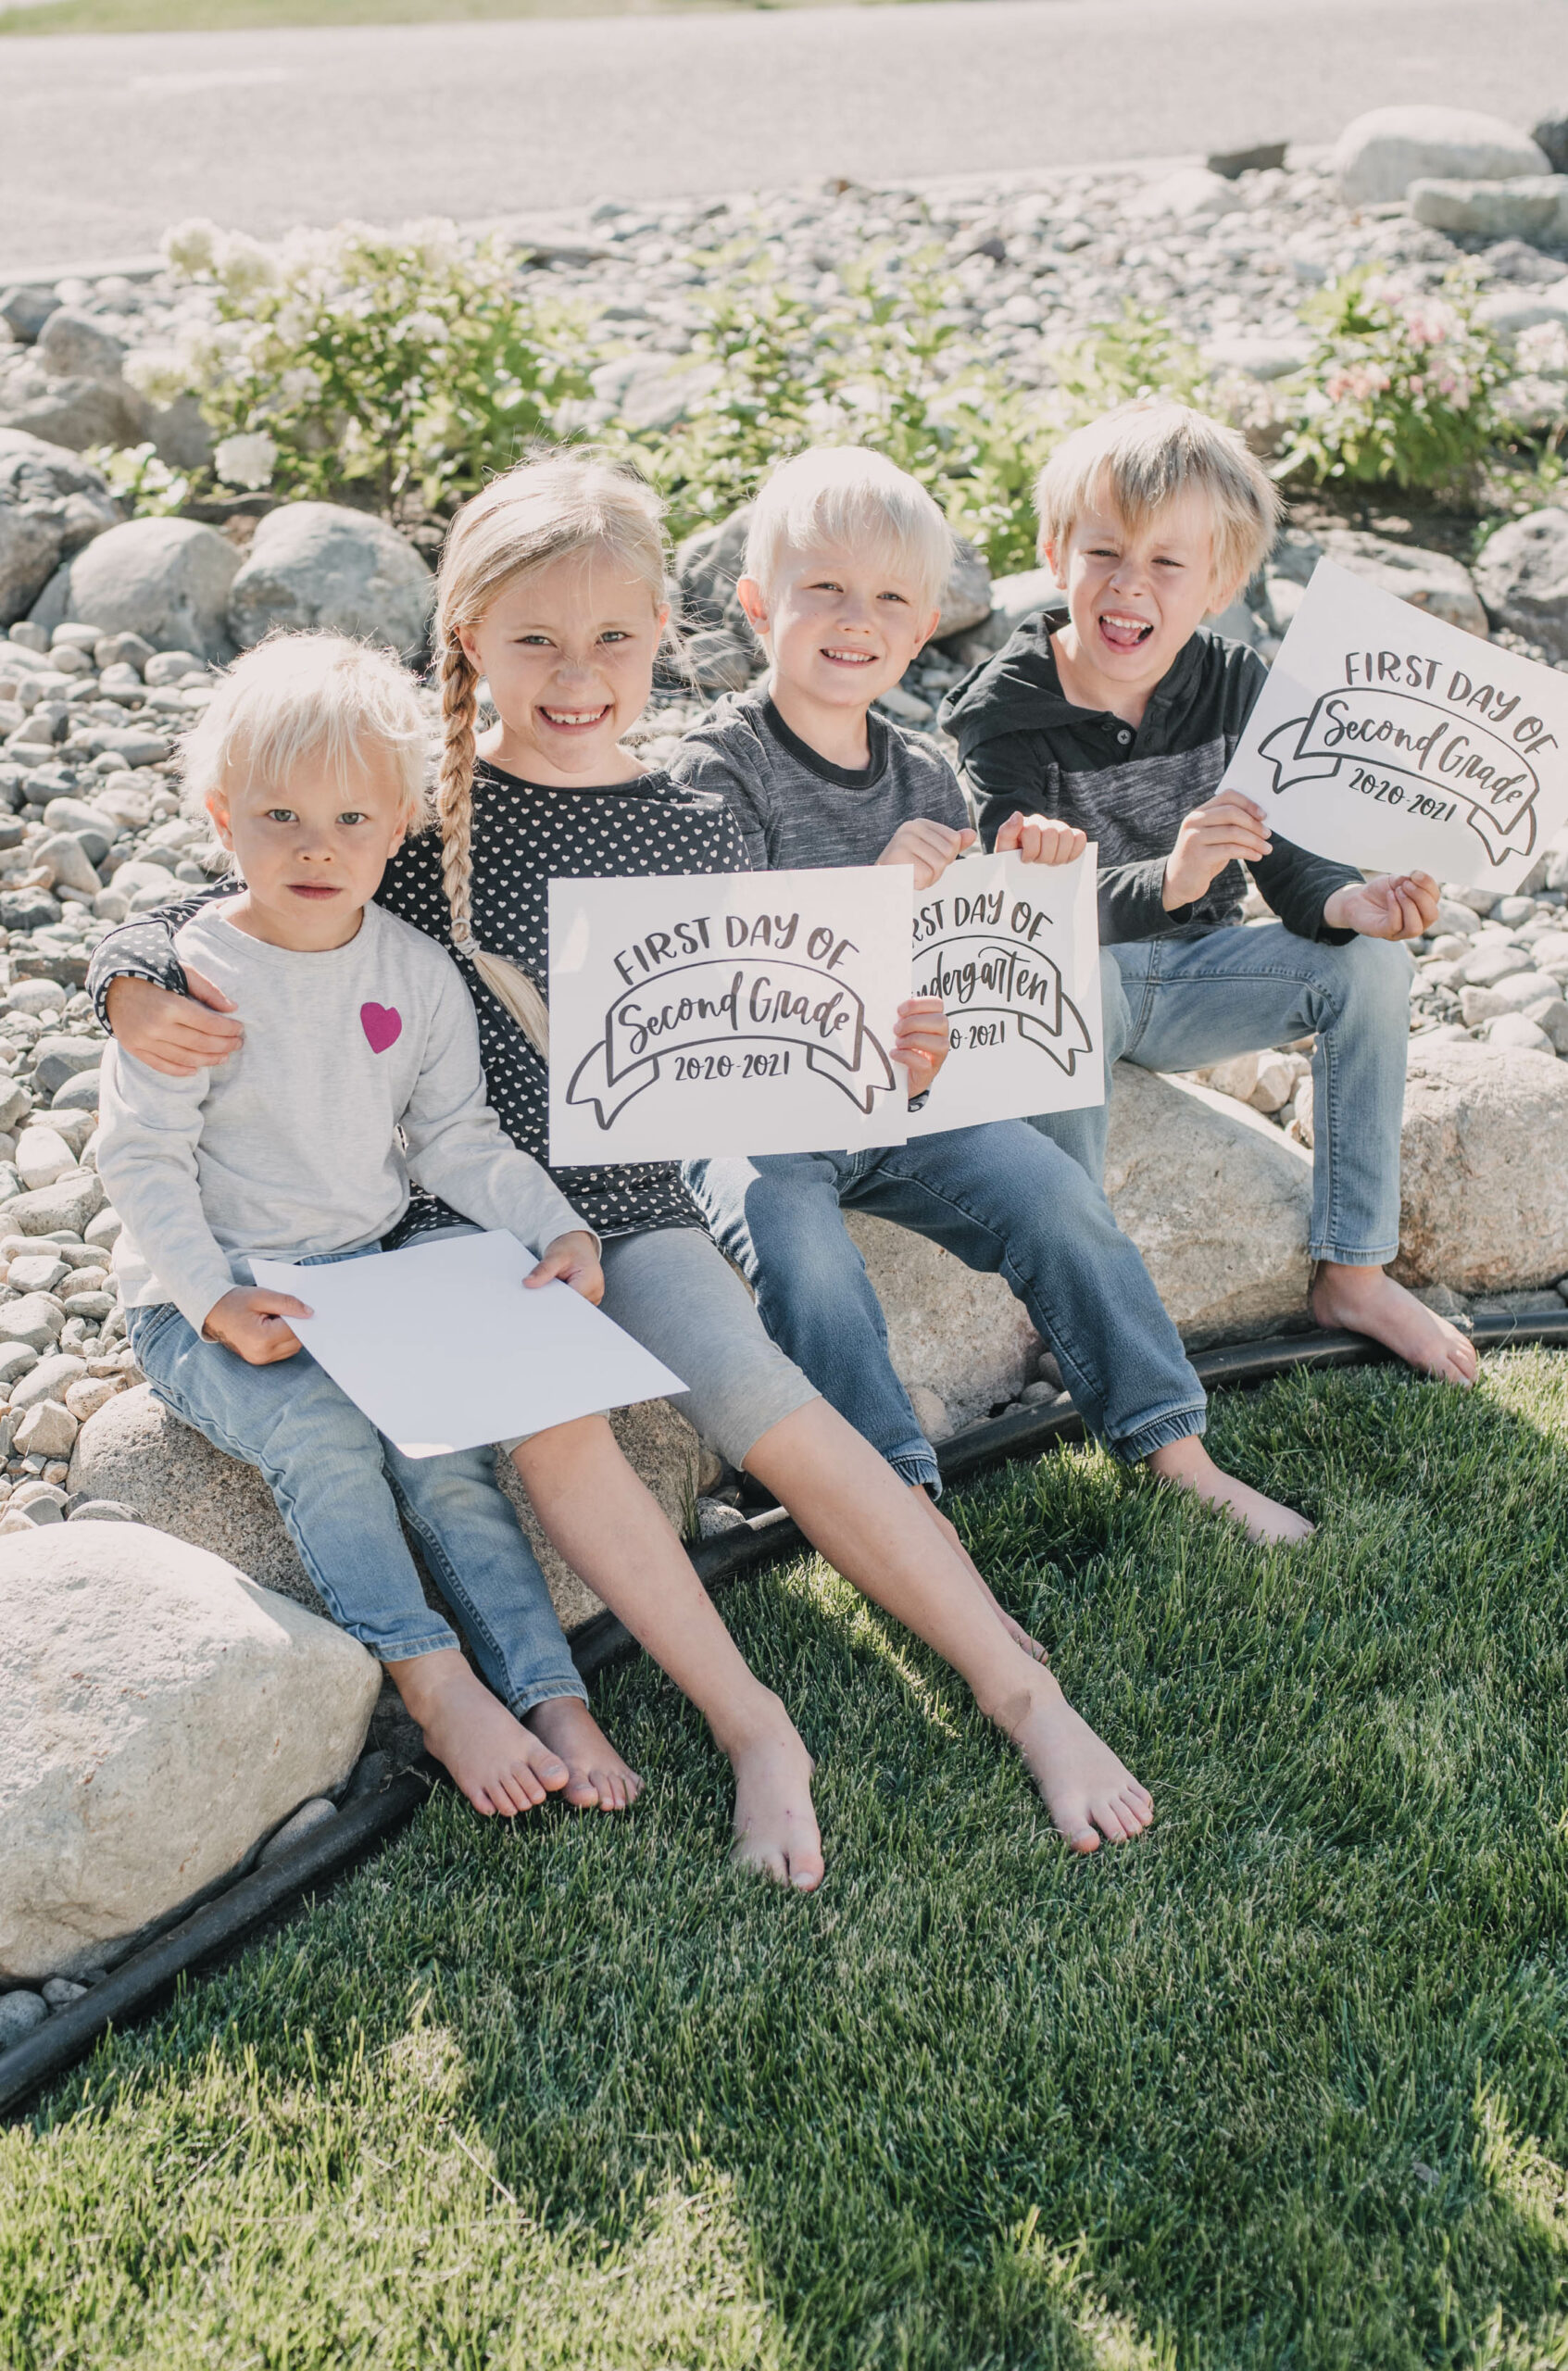
- Seek shade! Yes we want bright but we don’t want so bright that people are squinting. Or eyes closed. Or eyes watering trying to keep them open. Bright sun also means harsh shadows on the face.
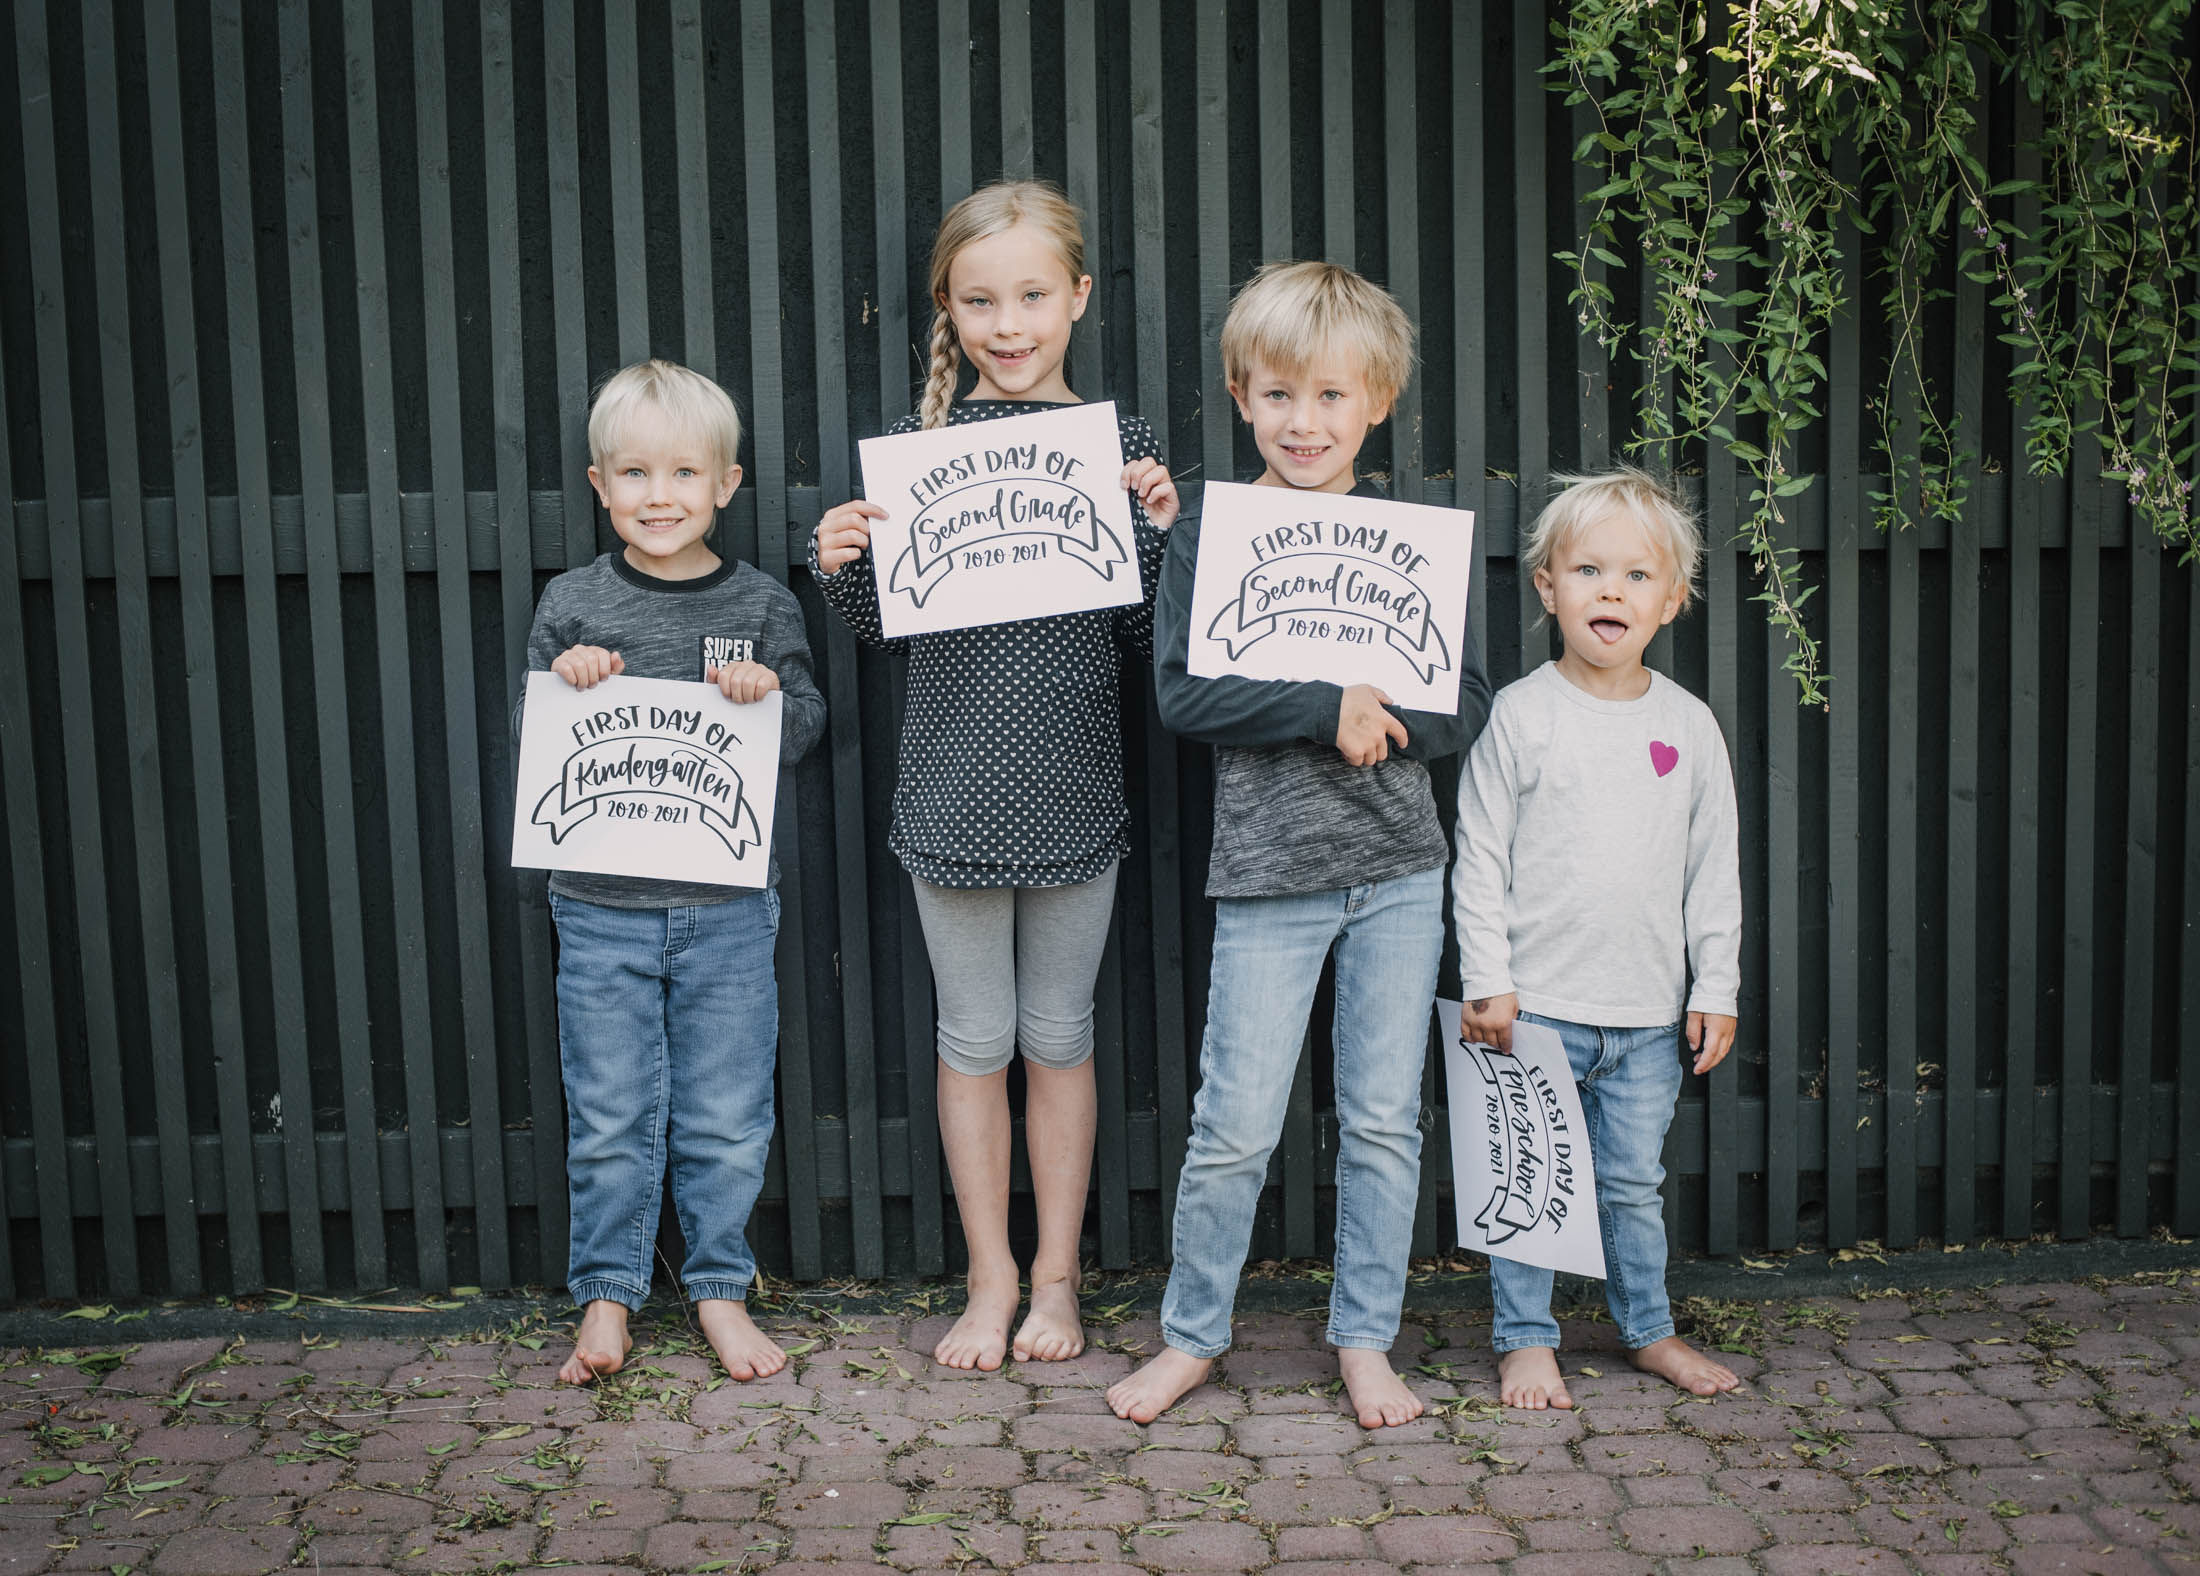
- Pay attention to your background and shadows. Okay so we’ve found shade- yay! Make sure that it’s full shade, not shade from a tree that has leaves casting shadows over the face. That will bug you when you print the photo out. Also make sure there’s no power poles right behind your kids, sticking out of their heads like antlers. If you’re having a hard time finding a neutral background, garage doors are easy ones and so are bushes. We used our cedars at our last house and in this one we usually end up in front of our retaining wall.
CROP IN + CLEAR THE CLUTTER
You know how the photos we have from when we were kids are generally wider angle shots and your eye has to sort through the clutter to figure out who or what is the focus of the photo? Let’s cut the clutter.
- The easiest way to do this is to just get closer. I’m sure your whole front entry is beautiful, but if the point of your photo is your kid and the sign- take a step closer!
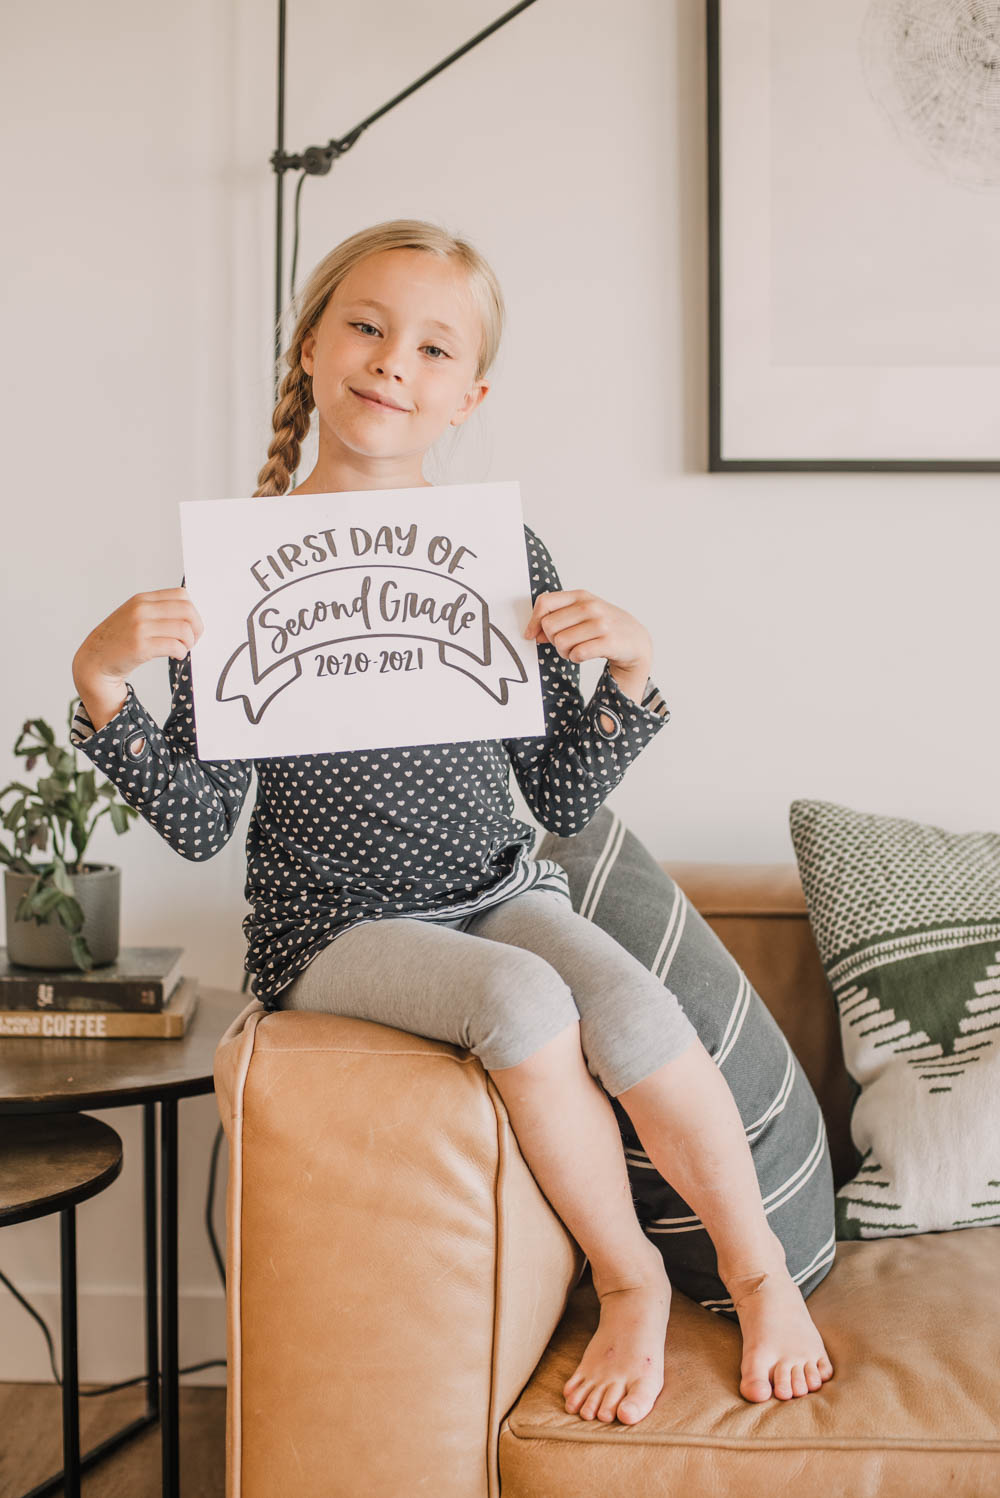
- Next up, clear the distracting clutter. We all have it. This could mean kicking the brightly colored toys out of the frame or just dropping to their level to get a cropped in shot from their waist up (no messy floor in sight!). OR if you’re outside and don’t want to get the neighbors cars in the driveway, have them sit and you can stand, just have them tilt their chins to look up at you. Perspective is an amazing thing.
MAKE IT FUN
I know that taking photos of your kids can be stressful, especially on such a busy morning like the first day of school. With that in mind, here’s some tips to enjoy it and ensure it looks like they are too in the photos!
- Get down on their level. This just makes faces look good. Kids are more comfortable when you get down on their level and their necks don’t disappear looking up at you. I’m not sure if this is fact but I’ve also noticed my kids don’t get the dark undereye circles from lighting when I get on their level. It also makes younger kids feel like you’re playing with them, instead of just telling them what to do. Win/win! This point is why I suggest having them tilt their chin up to you if you have them sitting while you stand.
- Tell a joke! I always look up a few jokes before I know I am going to take photos of my kids. It’s a surefire win to get a natural looking smile. I’ll tell the joke then as they’re laughing, ask them to look at me and say cheese. It gets such great smiles, really and it’s a lot of fun.
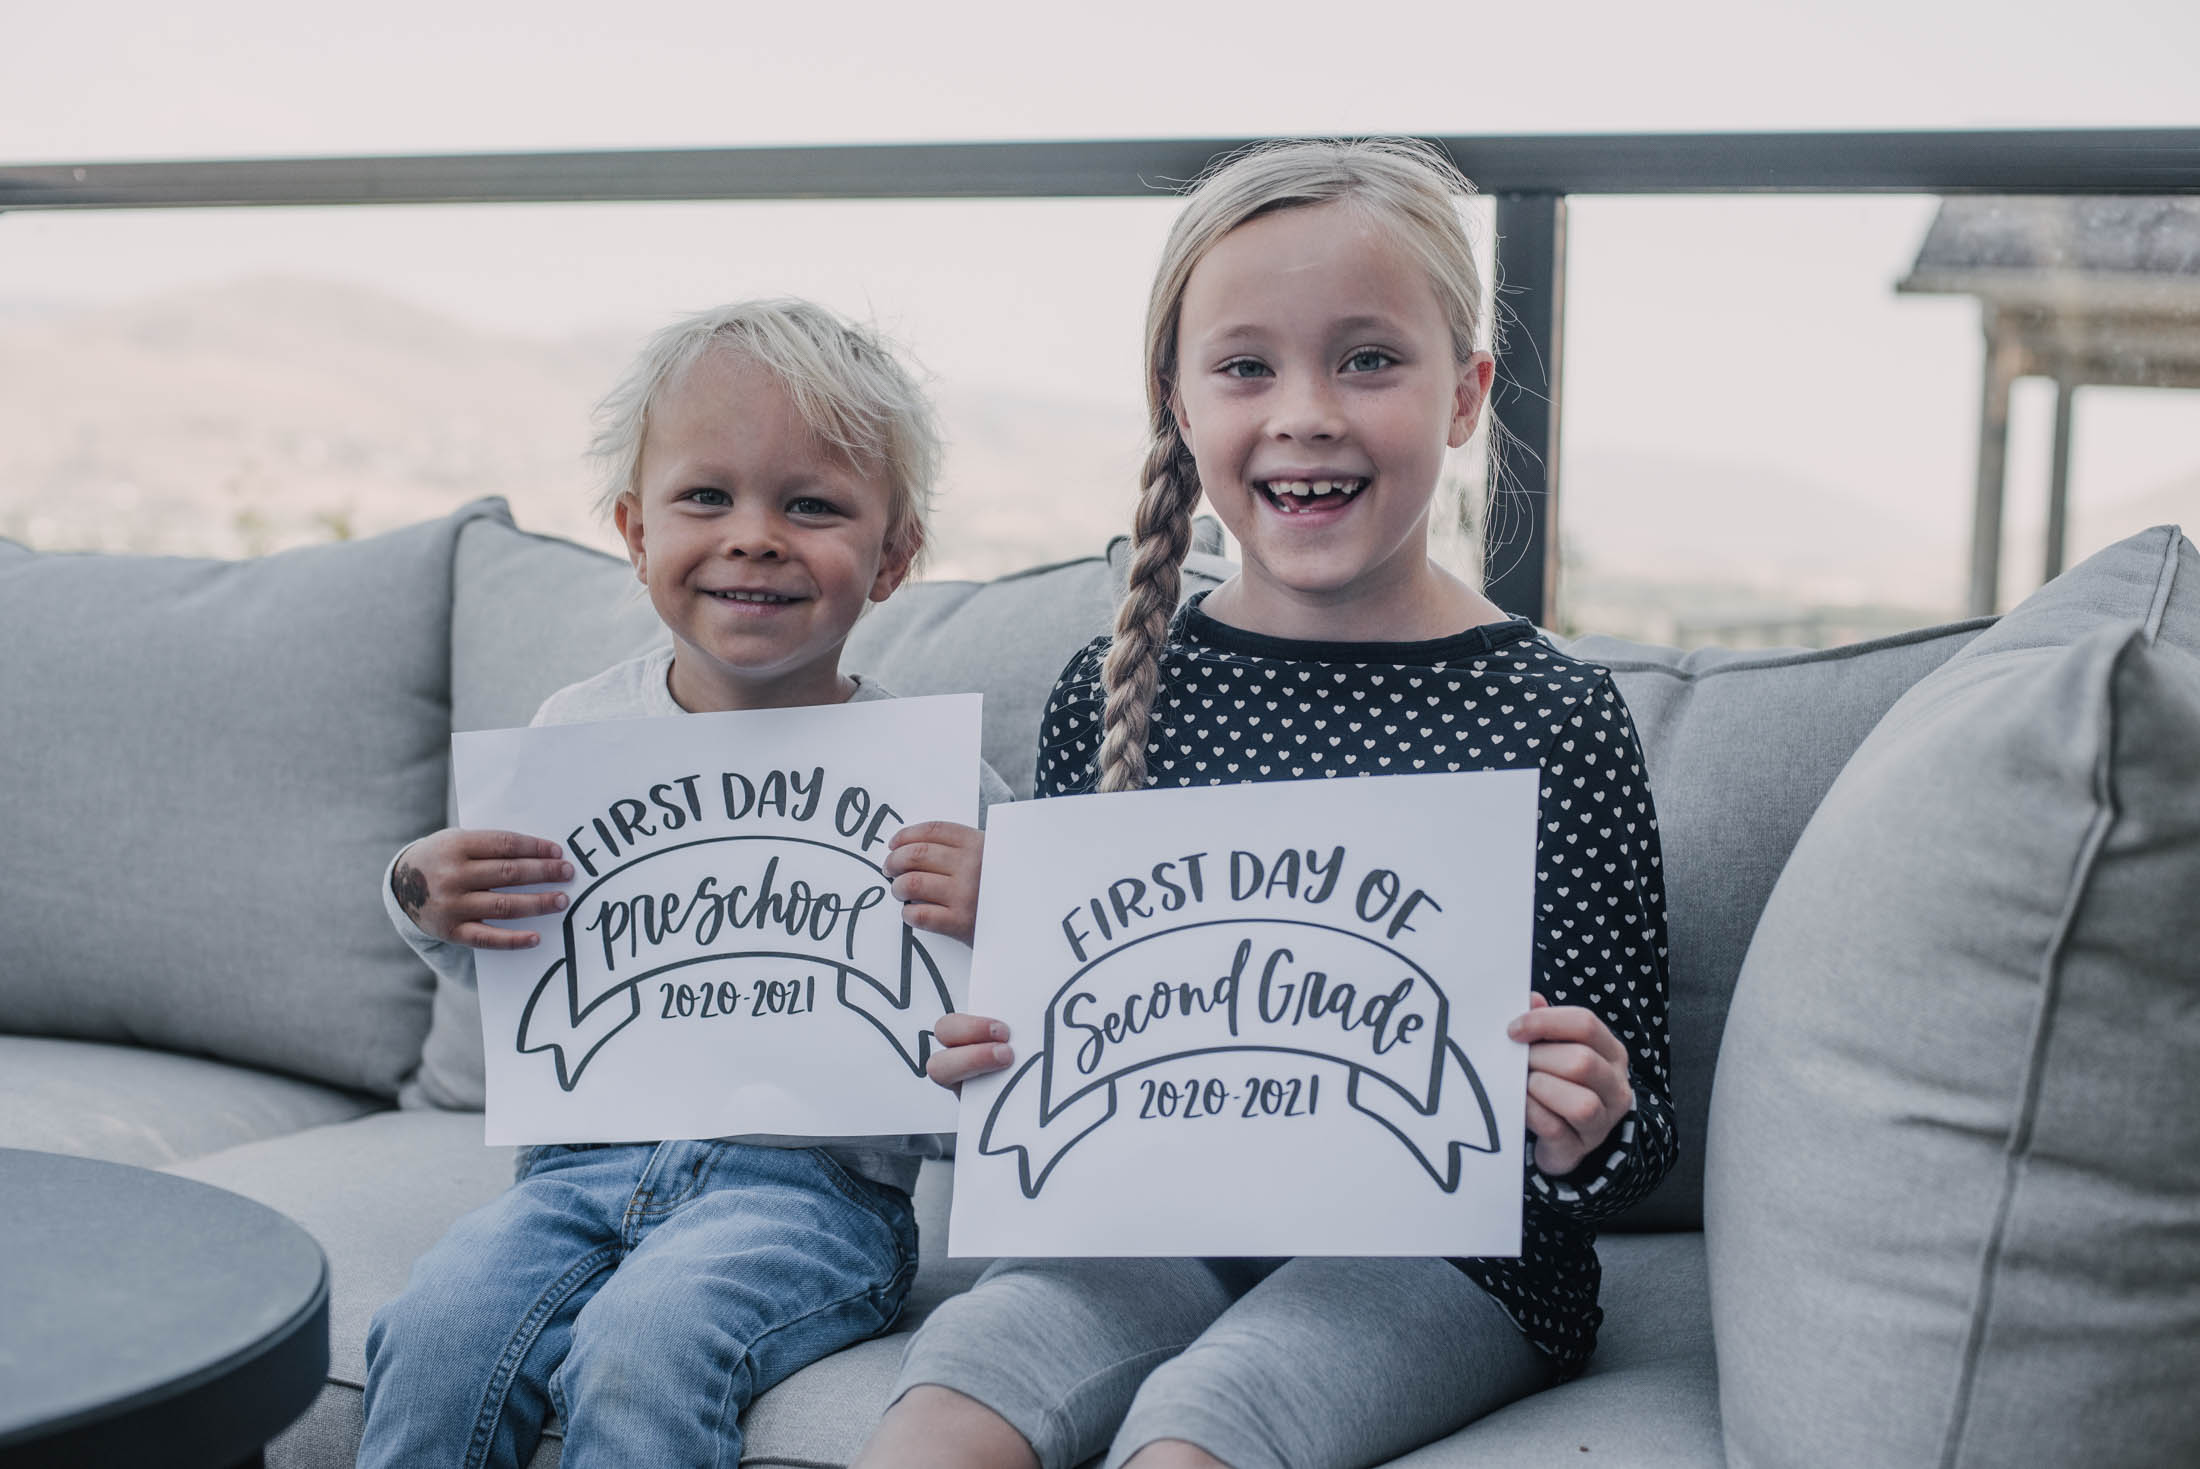
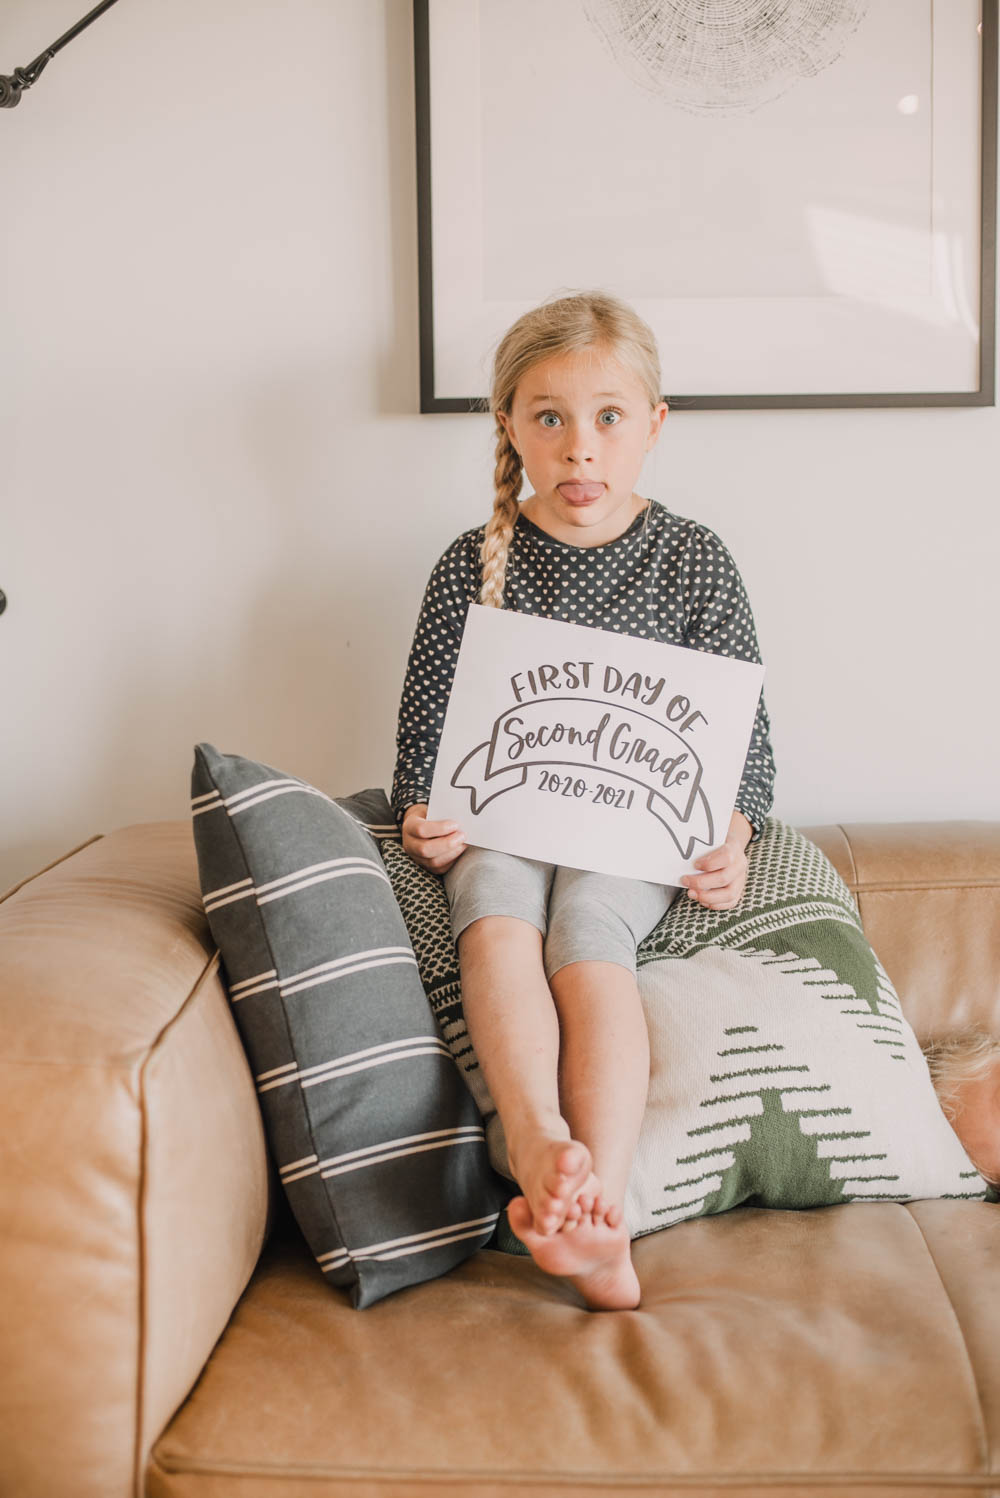
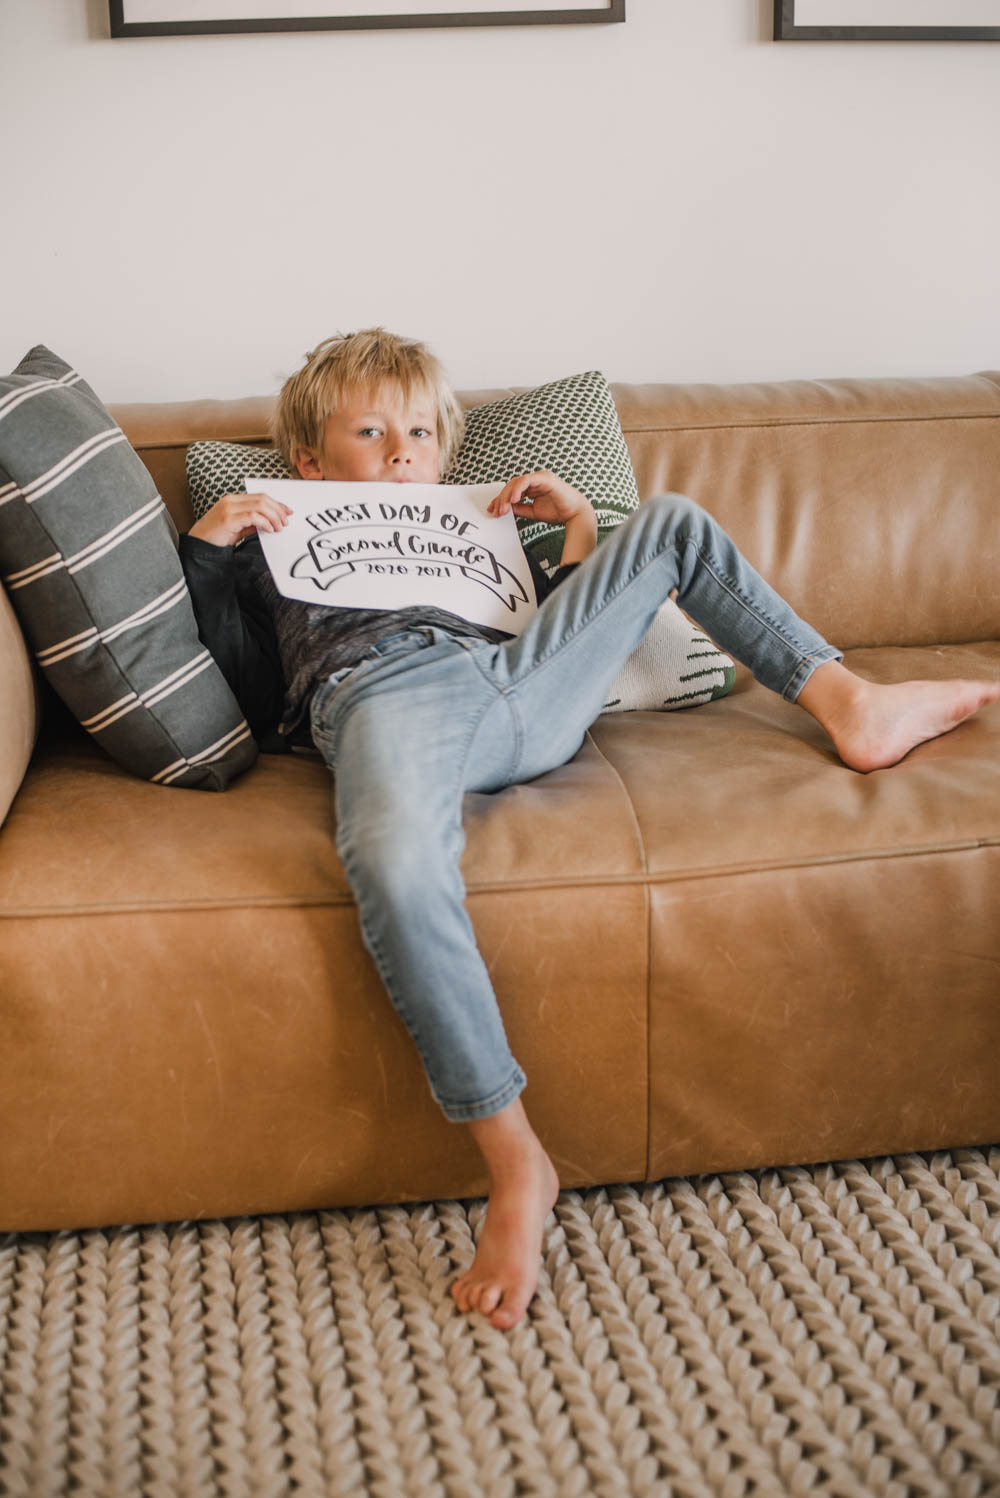
- Let them get the sillies out. If you have a kiddo that just isn’t into having their photo taken, this works great. If they’re feeling goofy, let them get the sillies out. If they’re slouching and grouchy, let them. I like to tell my kids, let’s take turns- how do you want to sit for this one / what face do you want to make for this one? Then, okay- my turn! Please sit up straight and smile nice for this one, then you can do another crazy one. They get what they want and so do you. Plus it takes away their power to make you upset when they do crazy things because you’ve made space for it.
- Lastly… make it quick. Kids don’t want to sit still forever. So the faster you can get through this, the better. Think through these tips so you know where you want them to stand/sit beforehand so all you have to do is grab them for 5 minutes as you run out the door to school!
Whew! Once you’ve taken photos, if you’re looking for some editing tips, I shared my whole editing process for the phone (with a free app!) RIGHT HERE. And then I got my favorites from the bunch printed at Walmart Photo using their same day printing services.
I so hope that this was helpful for you! Bookmark or pin it to come back to the next time you’re preparing to get a few photos of your kiddos- maybe you can even rock your own holiday card photos ;)

 Free Printable Quotes for Kids Learning
Leave a Reply