Sharing the before, after, and process of this exterior home makeover of my friend Troi’s house- a total transformation in just 3 days thanks to paint and a sprayer!
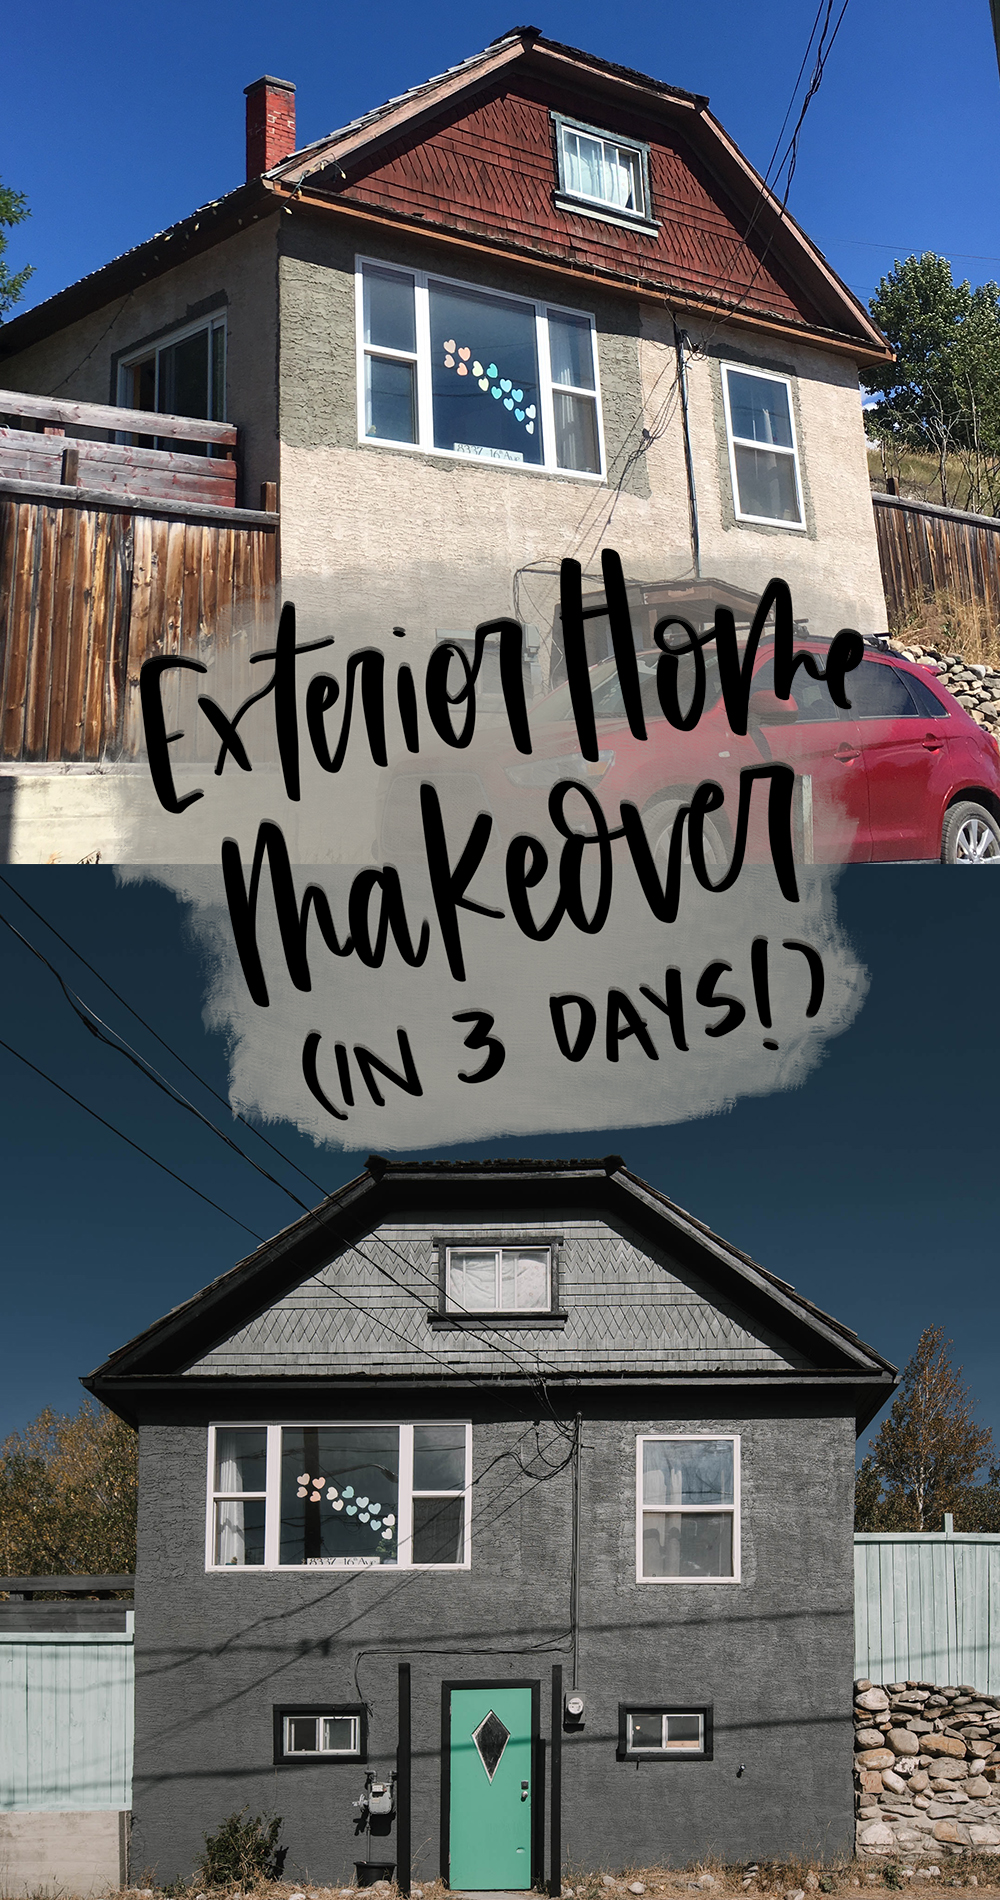
Today I’m so excited to partner with Wagner Spray Tech to share a full exterior makeover! This is my friend Troi’s house, it’s been a rental of hers for years and the last renters were pretty rough on it. So she moved back in and is fixing it up on the inside, but the outside was a bit intimidating for her. She asked if I would be up for helping her give it a paint job. I packed up our kids and drove to the mountains so we could make it over in just 3 days. We wouldn’t have bene able to complete this makeover in that timeframe without the paint sprayer we used, it was SO FAST. I can’t wait to share!

In this post, I’m not just sharing the transformation (can you believe how much of a difference JUST paint makes?!), but also answering some questions that we got about the process as I shared our adventures on Instagram!
Here’s the whole process on YouTube! If you’d prefer to read, scroll on, friends!

OK, before we get to the process… let’s take a peek at the before!
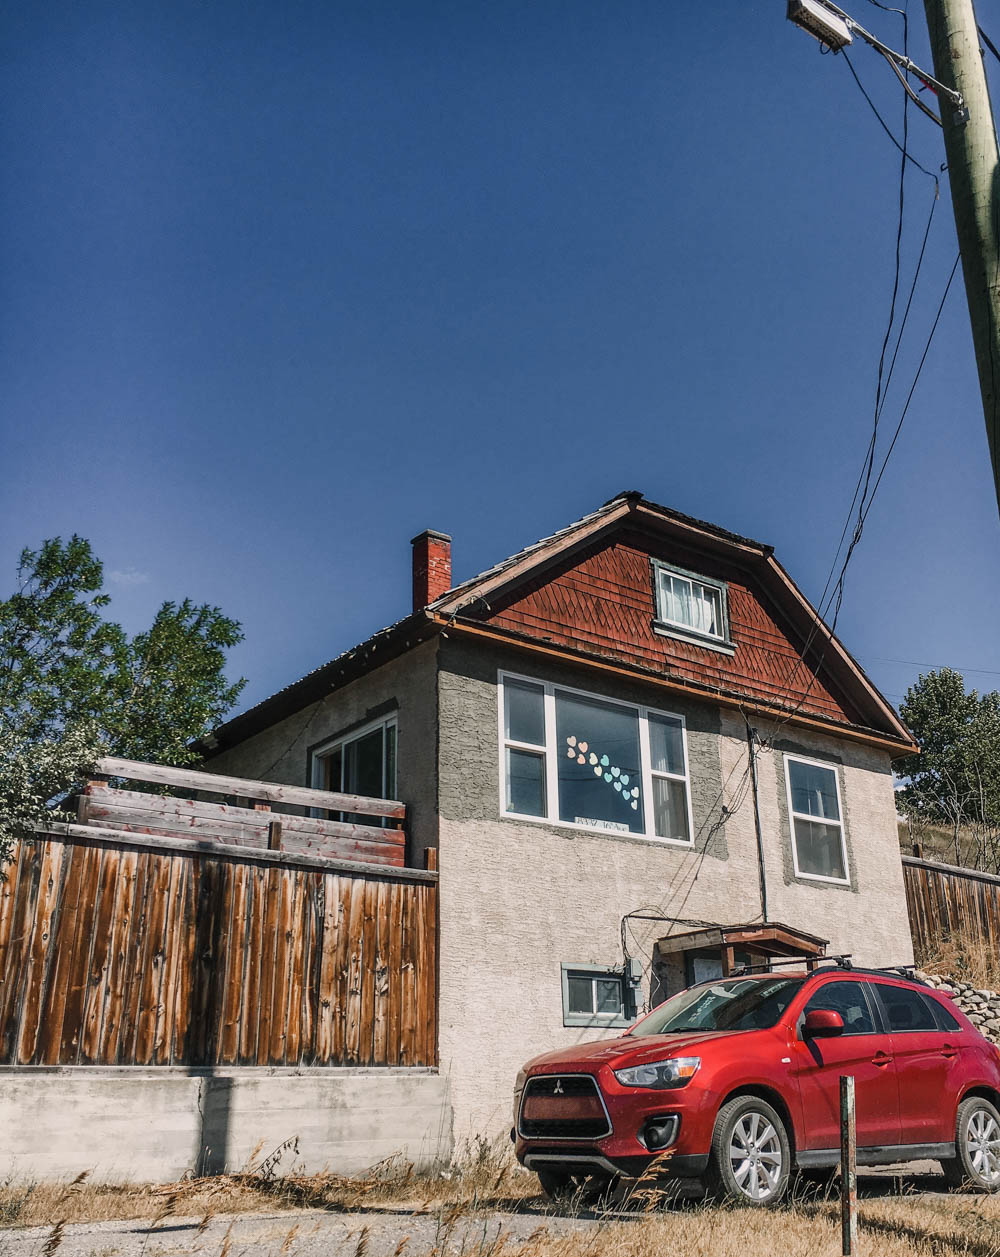
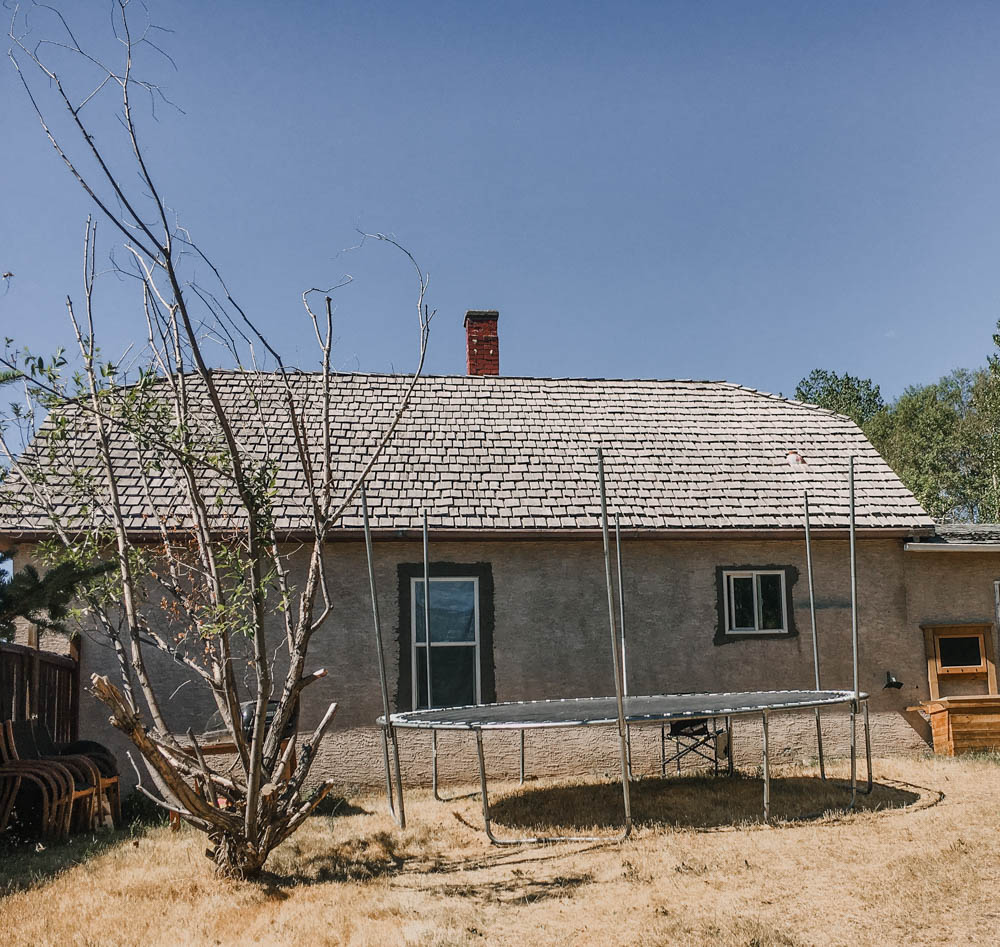
I did want to point out that we tore down the awning over the front door. This is being rebuilt with a new door, we were really hoping to have that complete for the reveal but it hasn’t arrived yet! I can’t wait to see what it looks like once this is finished and installed!
And now the after real quick before we get to the tips!
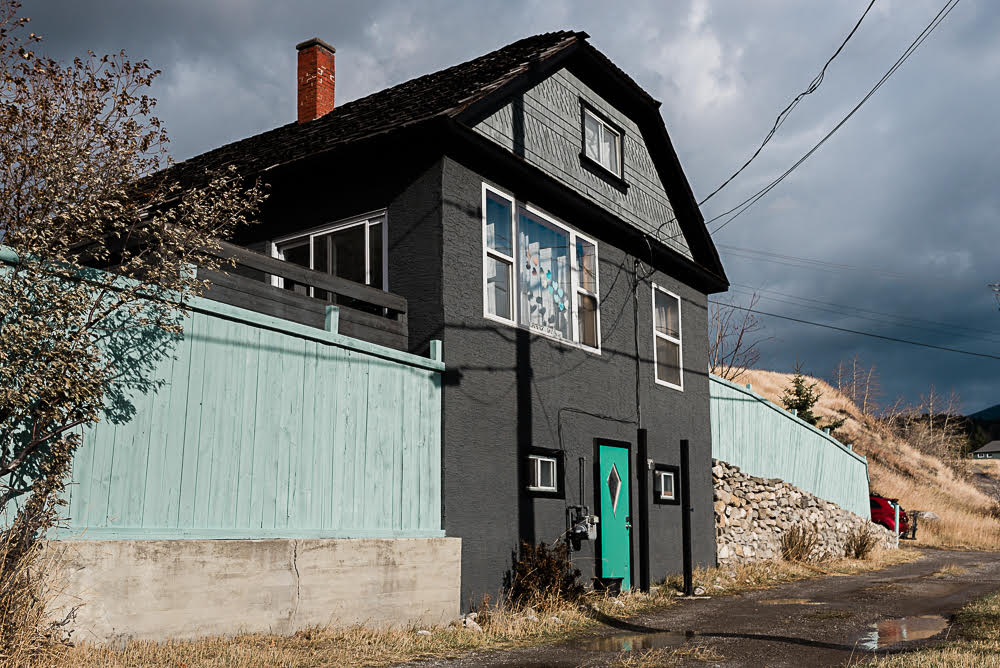
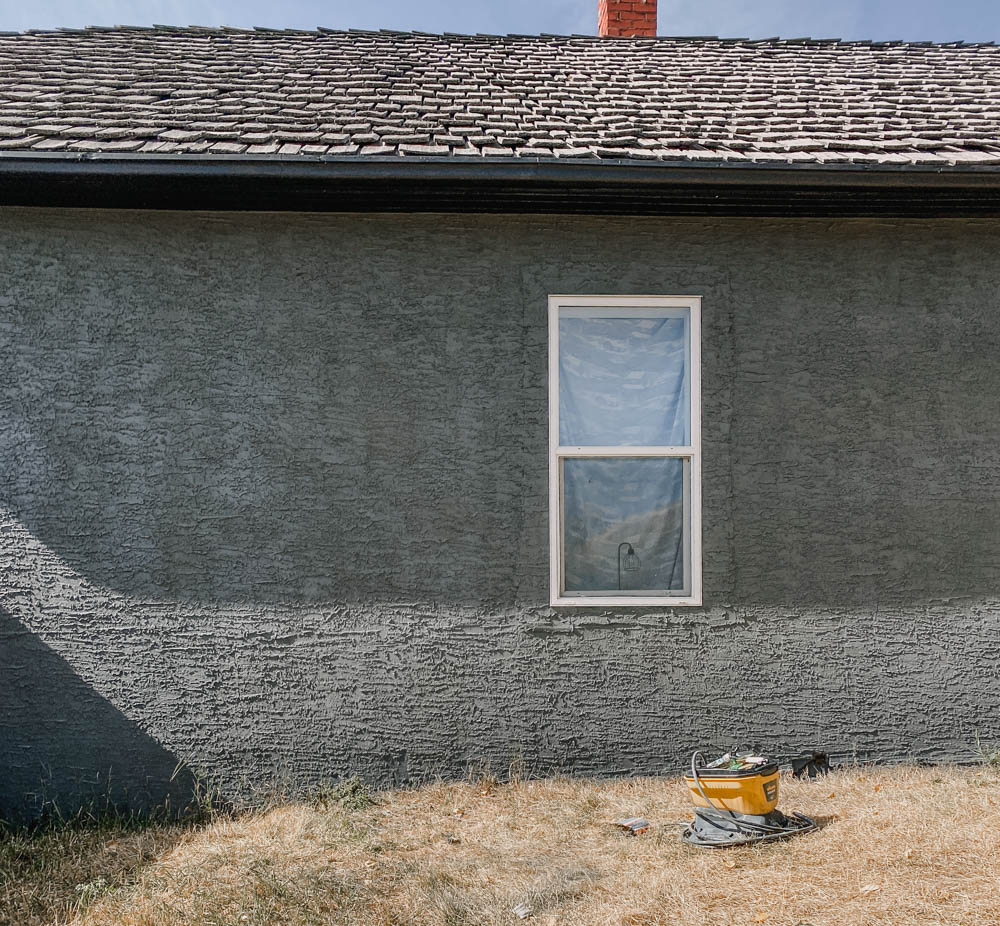
Isn’t the transformation incredible! I just love what paint can accomplish. It’s truly so much fun to put the work in and step back to see a transformation like this. Okay… on to the questions we got!
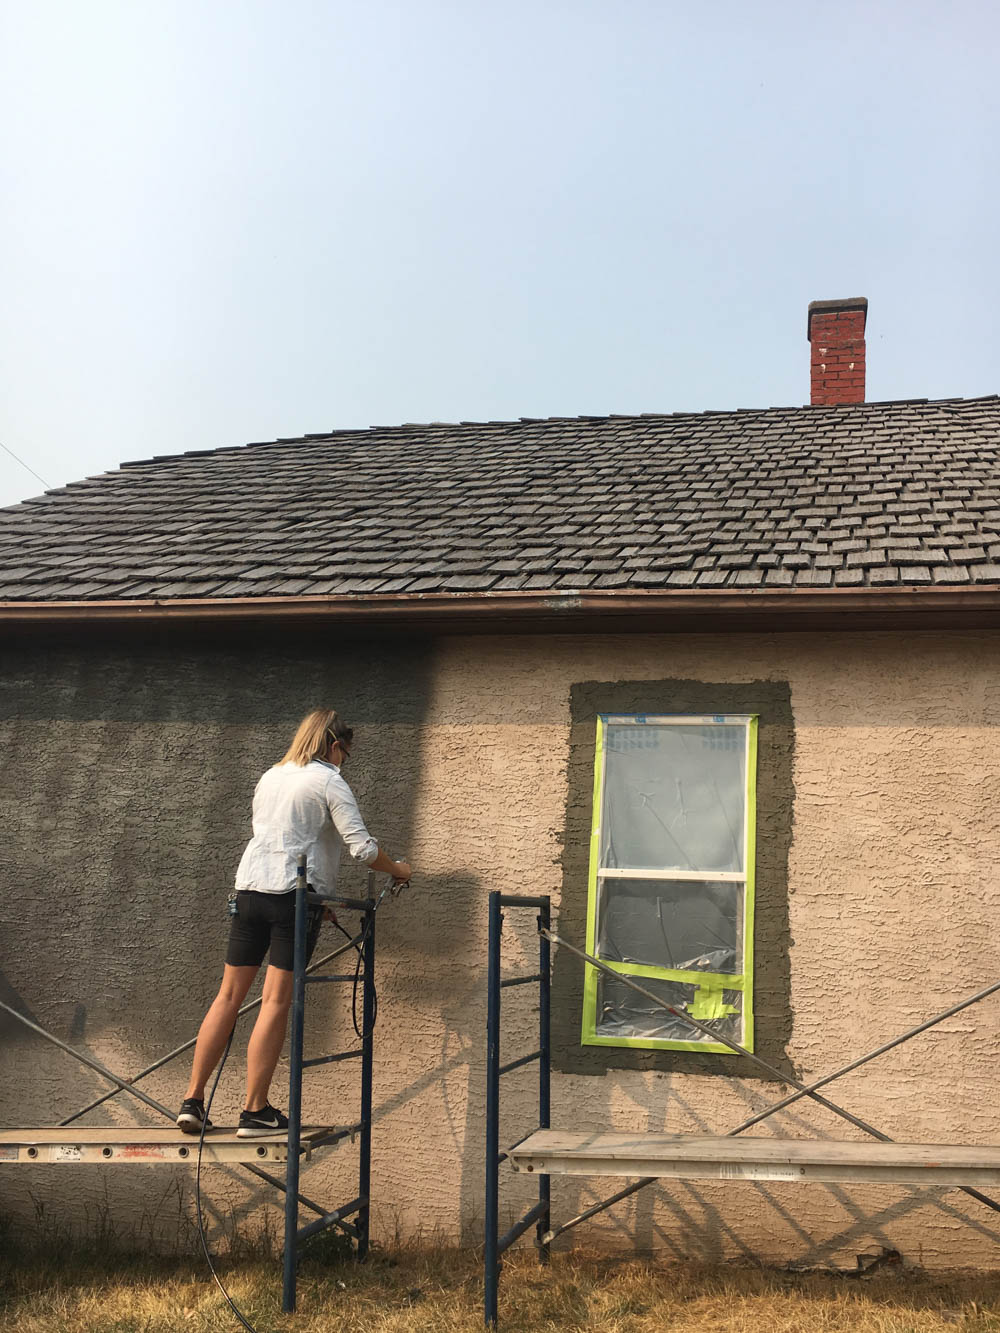
How We Painted The Exterior
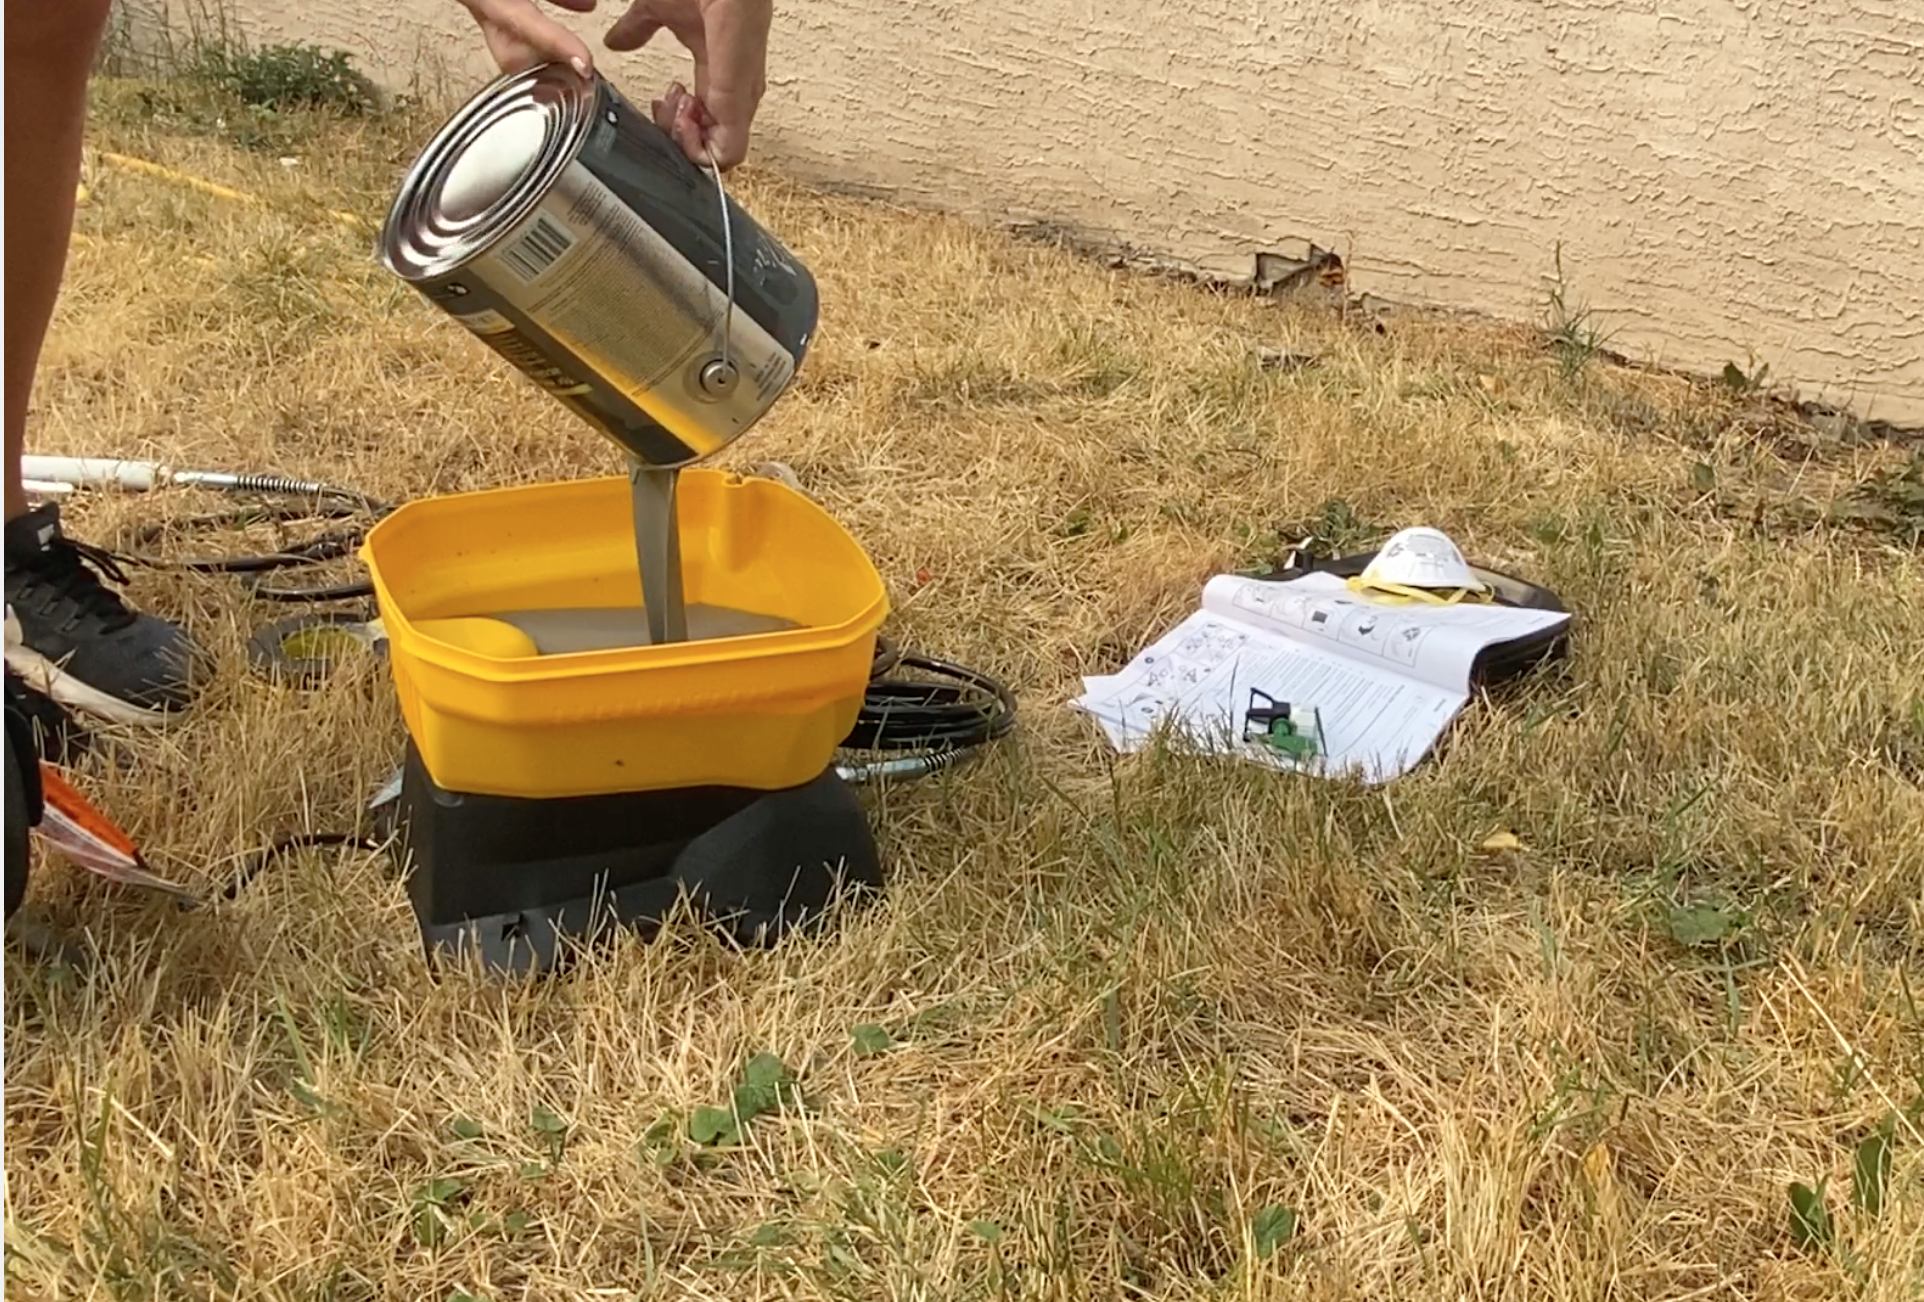
We painted the stucco exterior and the wood shakes on the exterior peaks with a paint sprayer. This made the process go so darn quickly, it was really exciting. For this project, I partnered with Wagner Spray Tech who I totally love and used their new Wagner Control Pro 130 sprayer. This is a first for me, I’ve always used their FLEXiO series of DIY sprayers. The Control Pro 130 is a High Efficiency Airless Sprayer which is even faster than the FLEXiO sprayers. I’ll talk a bit more about the difference below.
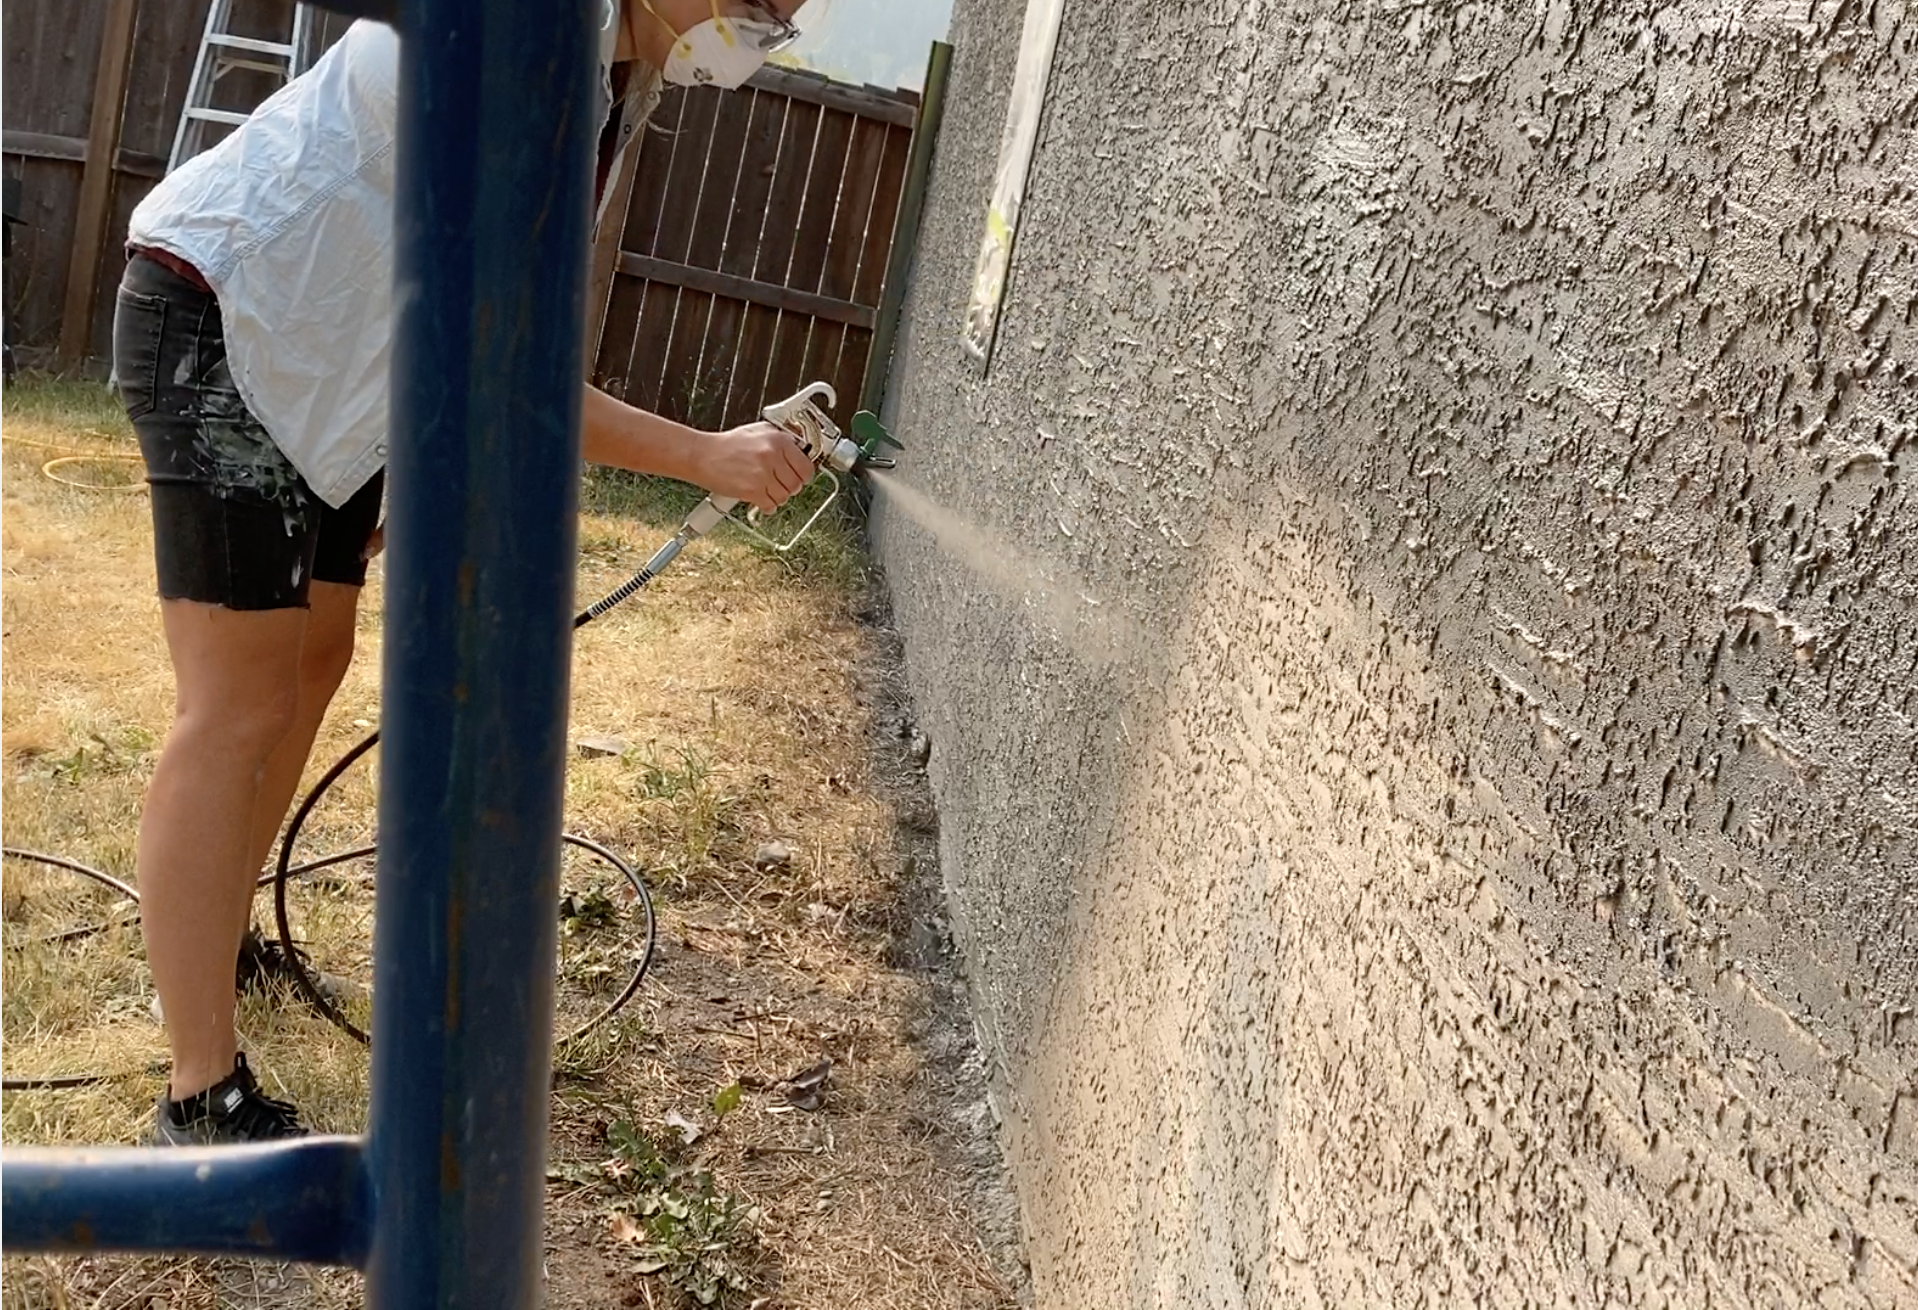
Before painting though, we of course had to do some prep! She had powerwashed the house before I arrived so we could just get going on the stucco. The wood shakes, eaves and gutters we used a wire brush to remove loosening paint and debris before painting. Since we knew the fence, gutters, allll the things were getting painted and that the roof would be getting replaced soon, we really didn’t mask much. Just the new windows and doors. We also didn’t worry too much about the yard as that will be getting cleaned up in the spring as well. If you were not making over ALL of the things, you would definitely want to mask more!
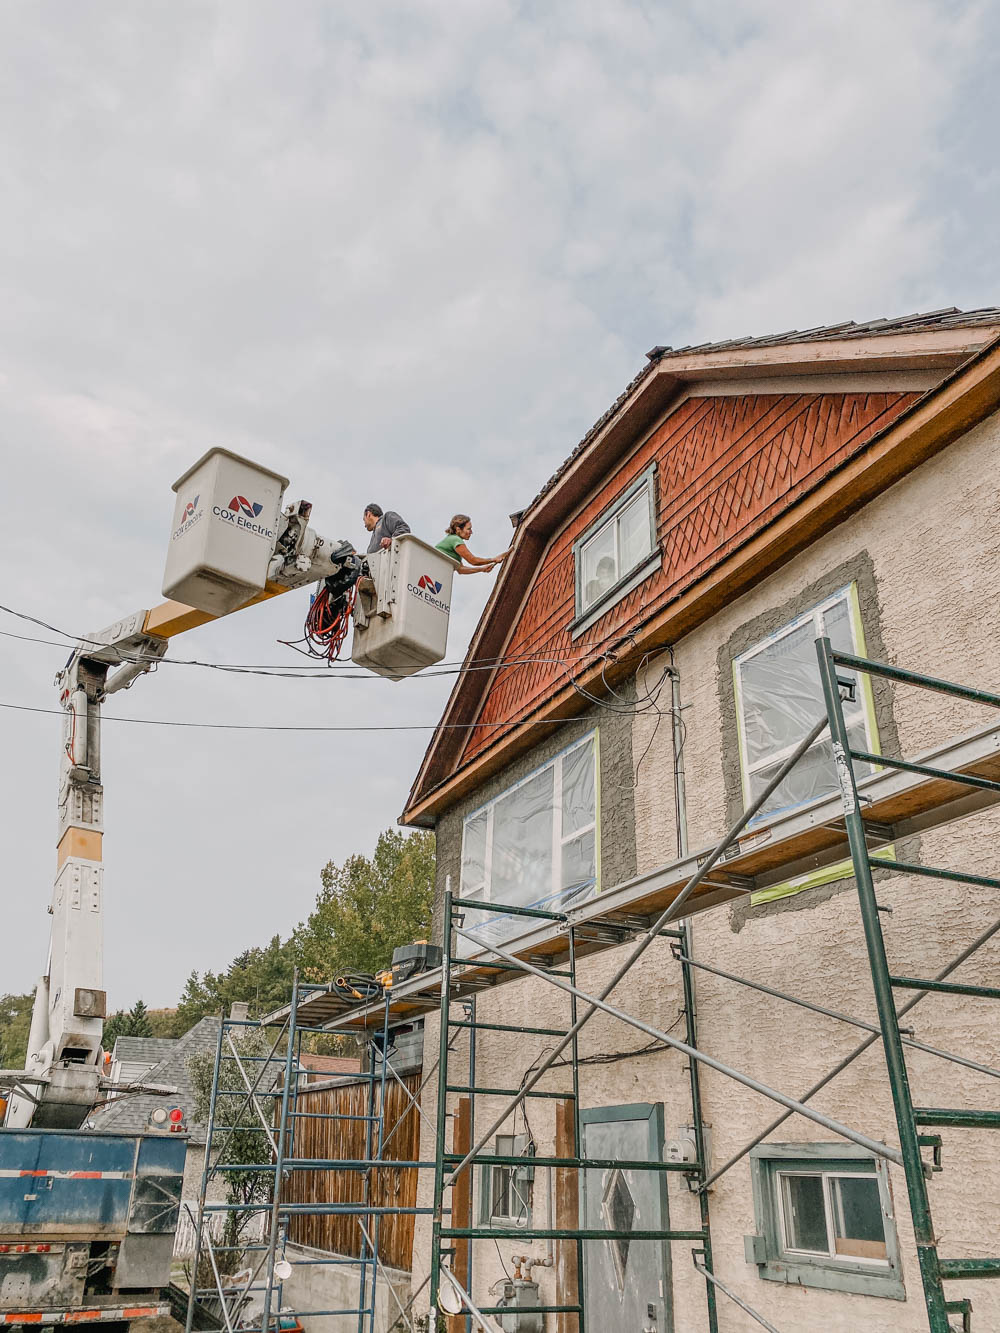
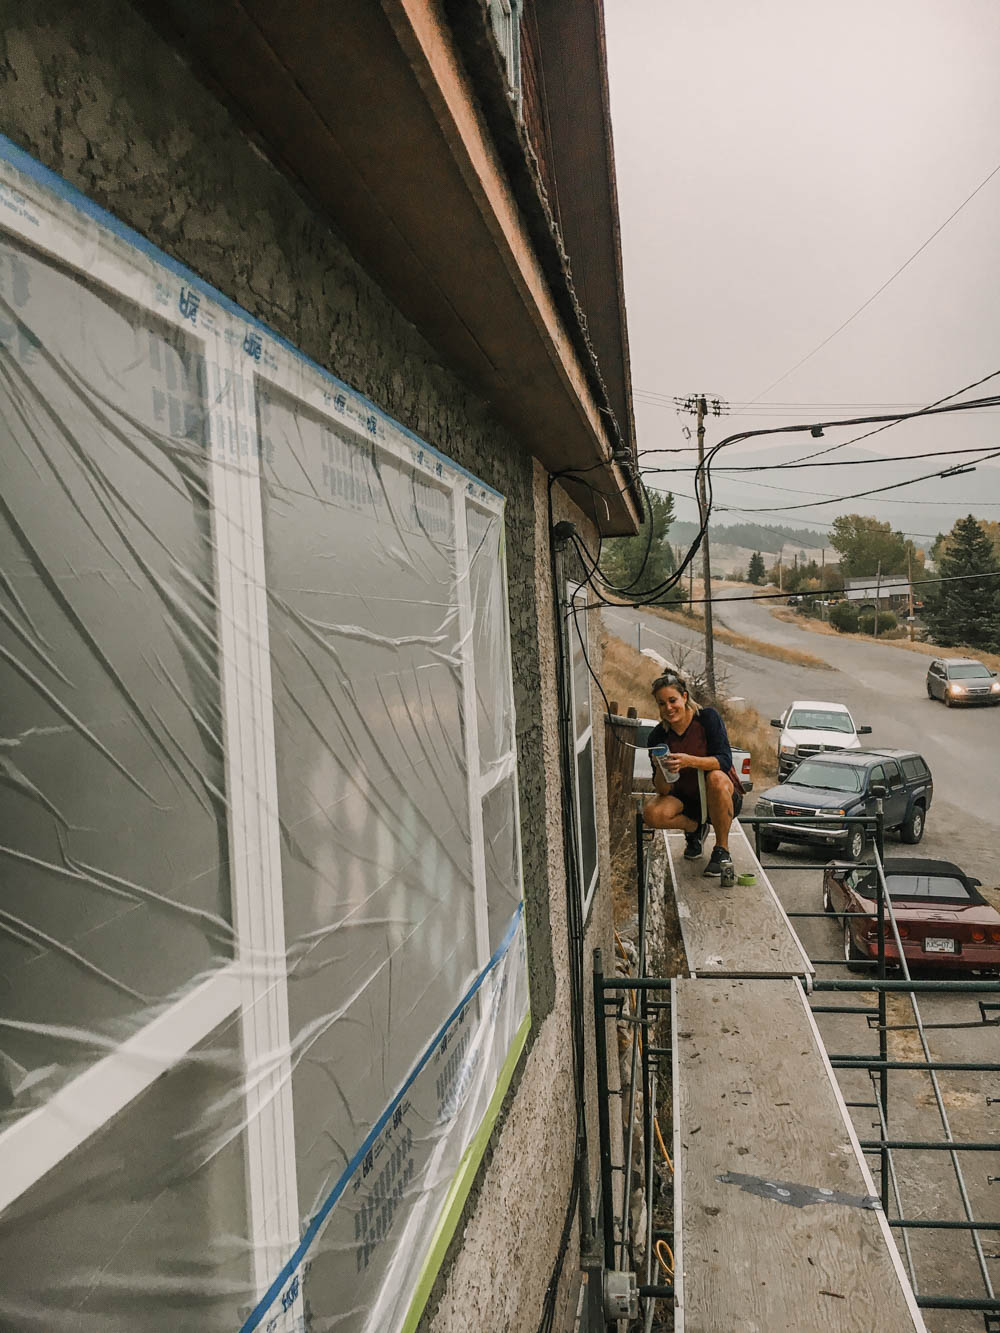
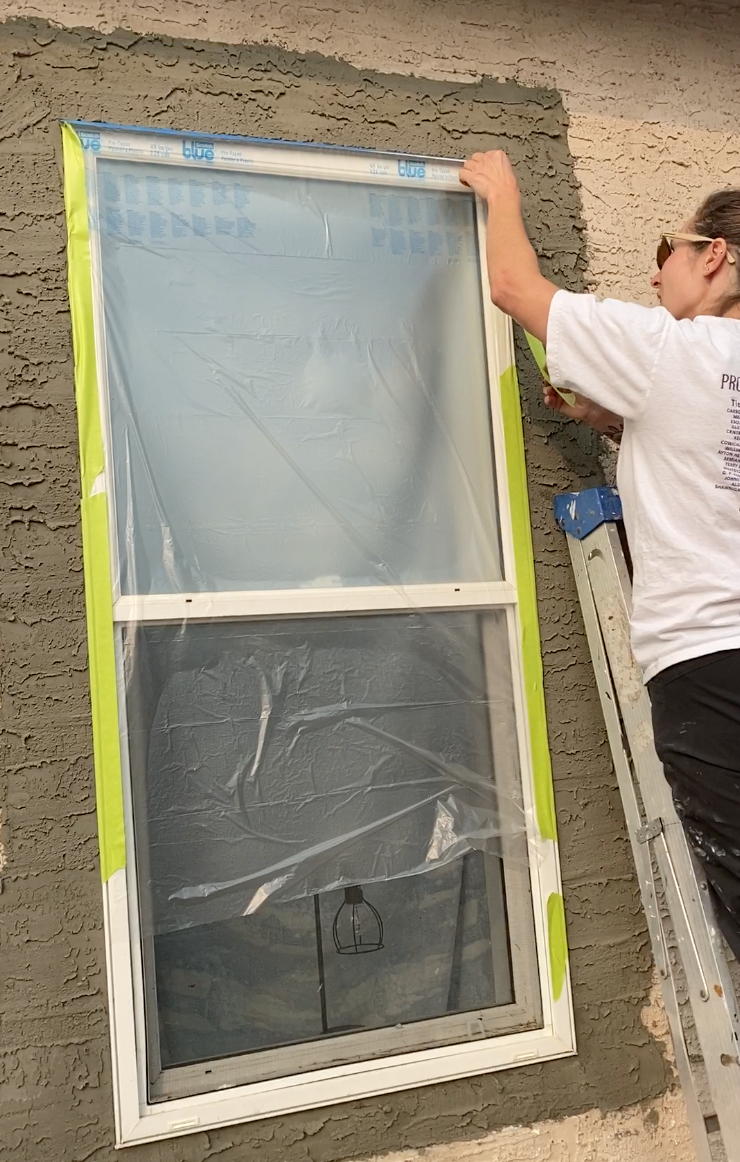
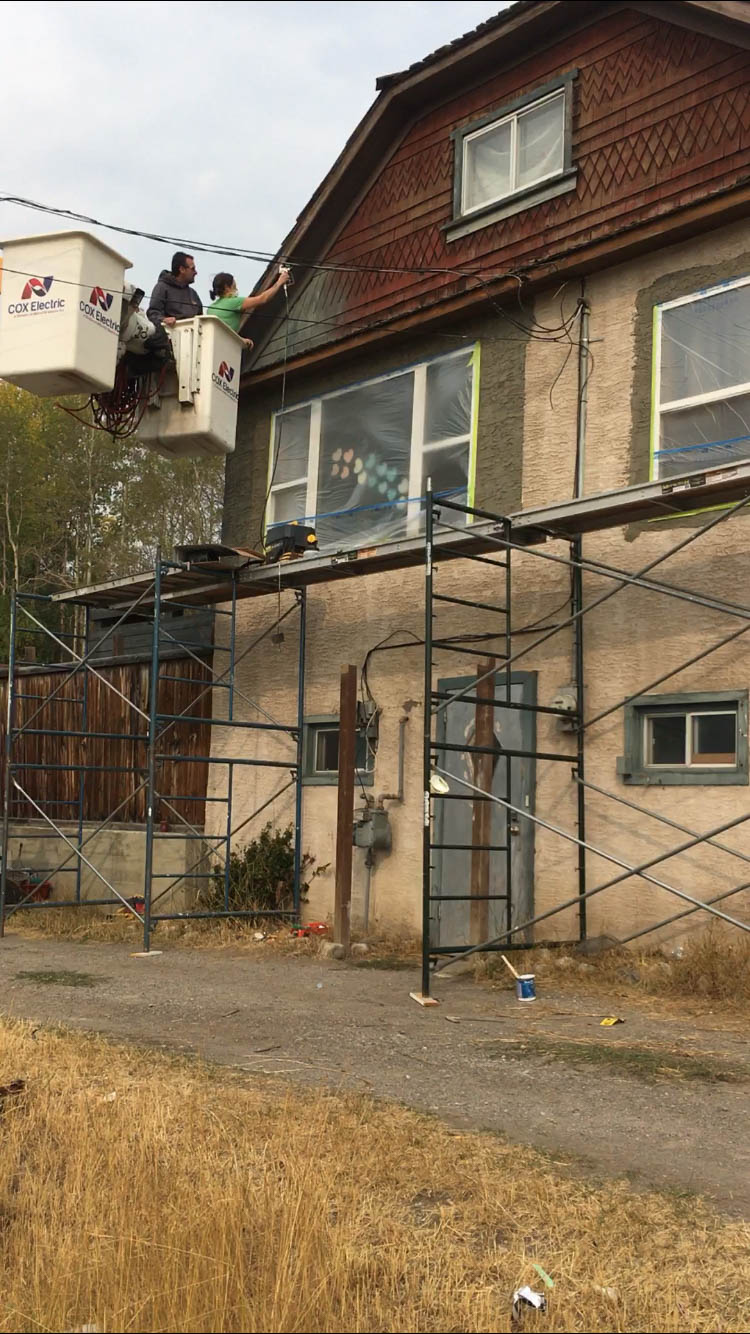
We used scaffolding for the majority of the project, just moving it around as we needed. The front was really tall, so we had two heights of scaffolding set up and it still wasn’t close to reaching the peak. We borrowed a bucket truck to spray the peak shakes.
The gutters, trim, fascia, door and soffits we painted by hand, just to avoid masking the freshly painted stucco. Lastly, we painted the wooden fence with a paint sprayer after the house was totally done- we wanted to finish it off completely!
How To Choose Exterior Paint Colors?
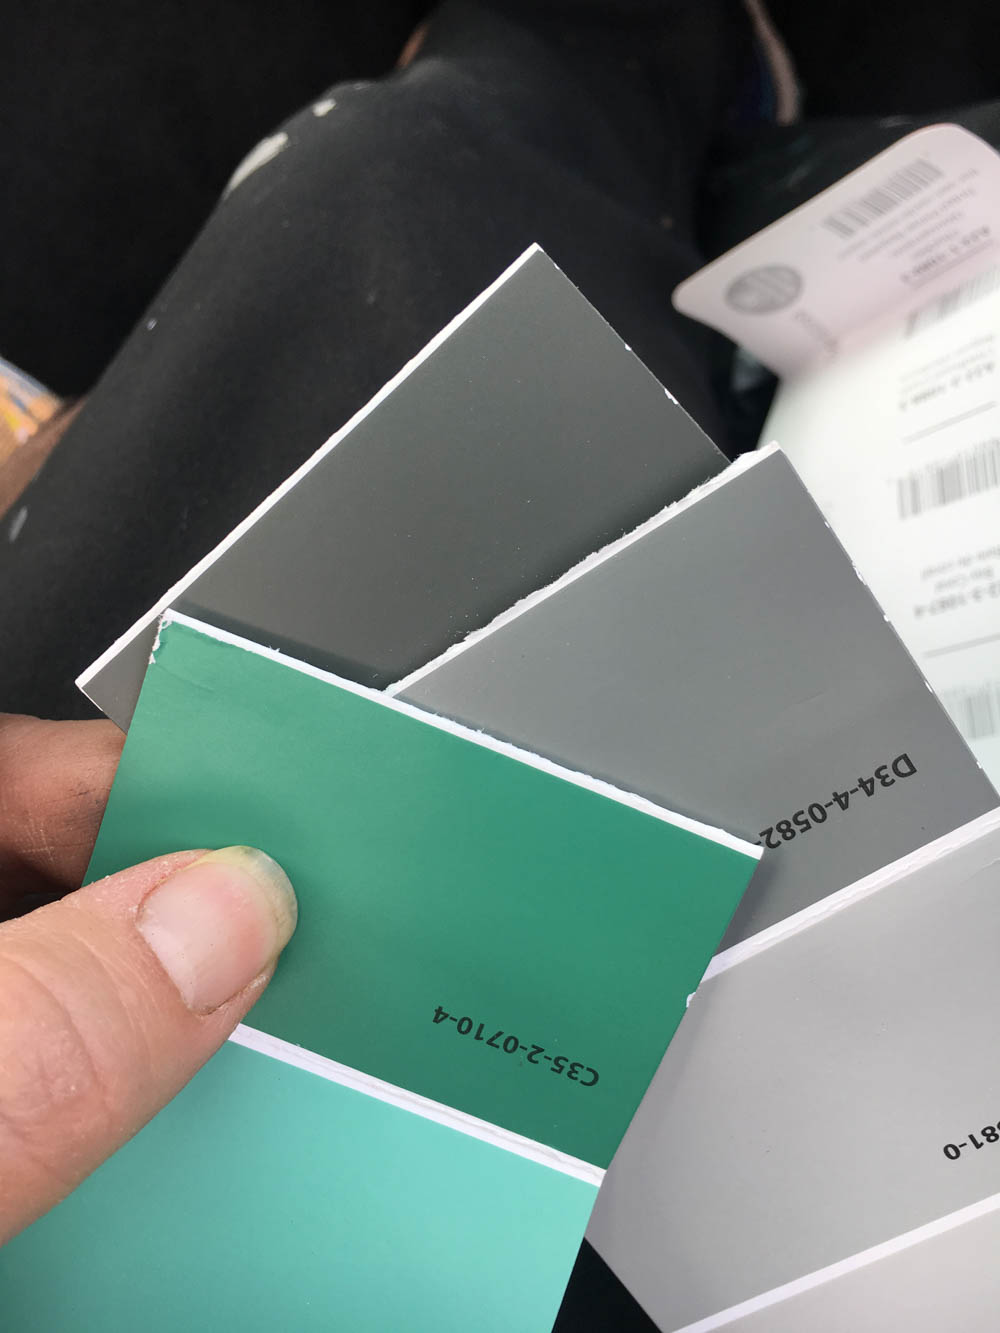
Okay, so this is something that I haven’t thought much about because I just know what I want all the time- like, I have every room in my house planned out years in advance. But working with Troi was fun because she doesn’t think like I do! We knew we were going with a dark gray for the main part of the house so the rest was picking paint samples and imagining. In the video, I demonstrated how we used a local paint store’s website to mockup the house to try pick colors. Almost every paint company has these and it really helps you visualize what colors you’d like to use! She was playing with a mint green fence or sticking black but after seeing the mockup, the mint green won her heart over- how fun is that?!
How Much Paint Do You Need?
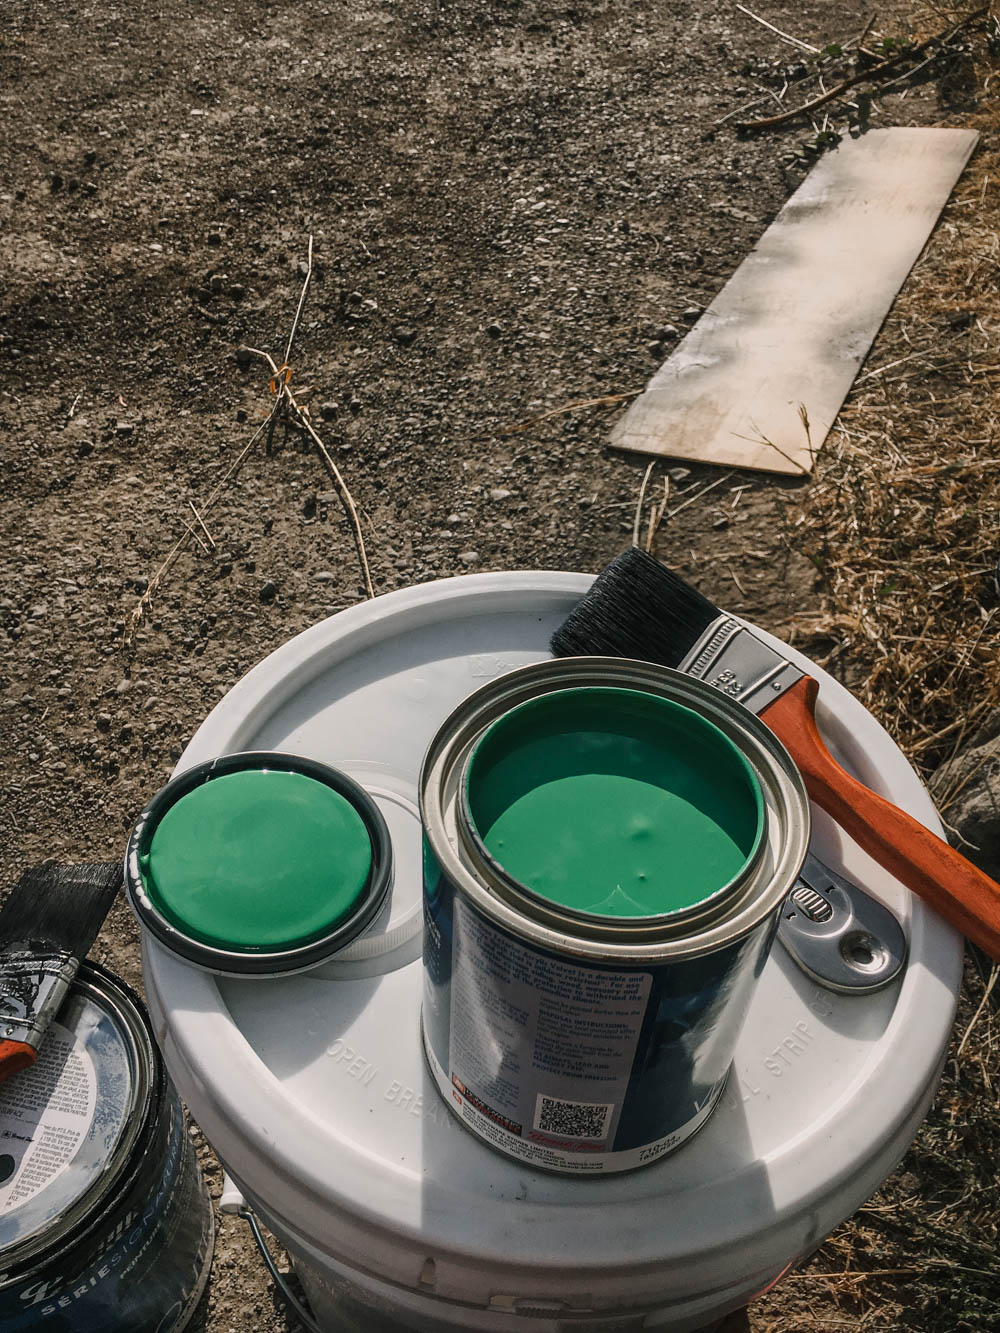
This really depends on SO many factors- what type of material you’re using, if you’re rolling or spraying, if you are painting trim as well… BUT there’s a tool to help you! Just search ‘paint gallon calculator’ and you’ll get tons of options of calculators that will help you out. Just enter your square footage and roughness of surface it will suggest a number of gallons for you to purchase. Keep in mind that this is almost always for rolling paint. If you are using a paint sprayer, you will need more paint (probably 1.5x). We always choose to buy the minimum it suggests and go back to the store for more as needed to avoid waste.
What kind of Paint Should I use to Paint My Exterior?
Okay so there’s actually a few right answers here. We chose to use a high quality exterior paint for these projects. Talk to the staff at your paint store and they can help you find a paint that is fit for your materials. There are specifically formulated paints for different surfaces, however a high quality outdoor paint can work really great on most surfaces if they’re properly prepped! Make sure to prepare your surface by washing, sanding, etc. then make sure to paint in a temperature that is acceptable to that type of paint (it will always say on your can of paint). Temperature is HUGE!
Is it Worth Me Buying a Paint Sprayer to Paint My House?
So having done this with a paint sprayer, I might be bias, but my answer is YES. Listen, your time is worth something, friend! Painting ALL of this house start to finish took only 3 days (including the fence, the gutters, soffits, you name it!). I’ve painted smaller areas that took that long with a roller. Since the Wagner Control Pro 130 is reasonably priced, I wouldn’t hesitate to buy it if I were painting an exterior. Especially if you’re weighing your options between hiring out or doing it yourself.
But which paint sprayer should I buy?
For a project of this size, I would definitely opt for the one we used- the Control Pro 130. I would keep in mind that it has a significantly longer prep and clean up time than the FLEXiO series. If I were doing a smaller project (one wall, a dresser, etc) I would use my FLEXiO. If I were painting more than one gallon of paint, I would choose the Control Pro 130.
I hope that you found this helpful! I’m totally impressed with what we were able to accomplish in just 3 days with some paint! And now, just a few more peeks at the after- because this transformation is so good!


 Which Cricut Machine Should I Buy?
Leave a Reply