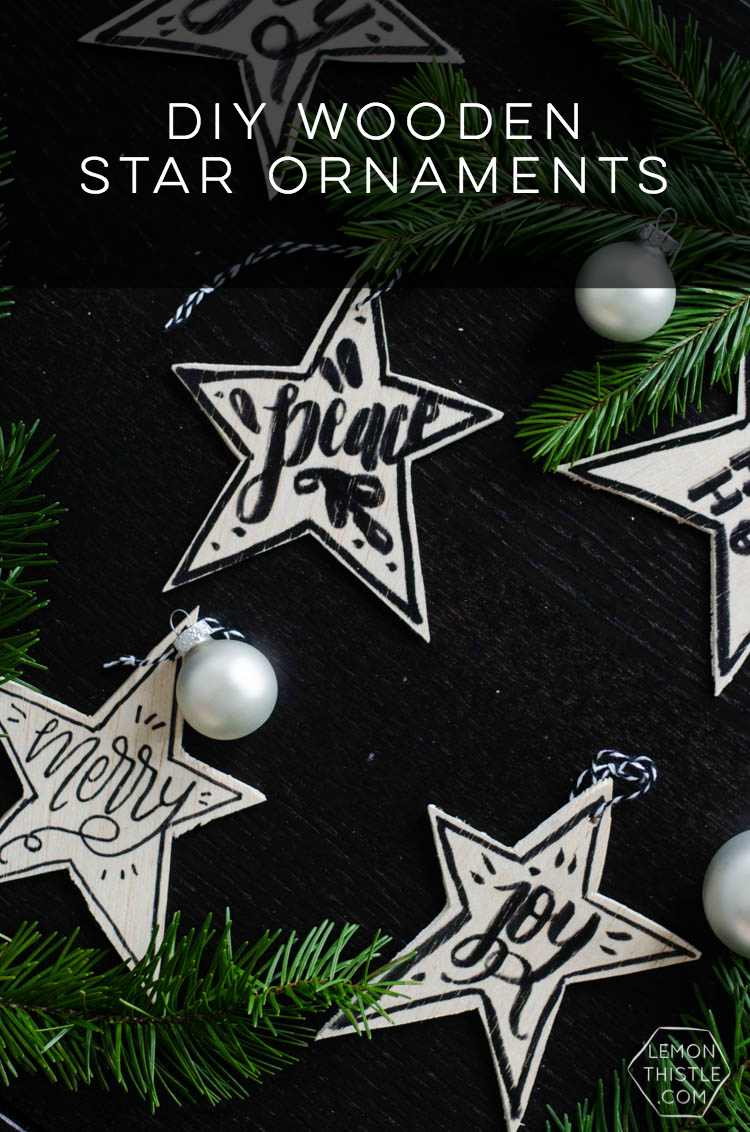
I asked on Instagram if you guys like to change up your decor each year for the holidays, or if you stay the same. The majority of you are just like me- you like to change bits and pieces to give it a fresh feel without starting over. Since that’s me too- I feel like that was the best answer. After all, who’s style doesn’t change a little bit year to year? And who really has the resources to completely overhaul seasonal decor? This year, I’m adding in some black and white elements to my silver, gold, wood and greenery theme I’ve run with (in some way) the last couple of years. I love the scandi vibe it gives and can’t wait to see how it all comes together!
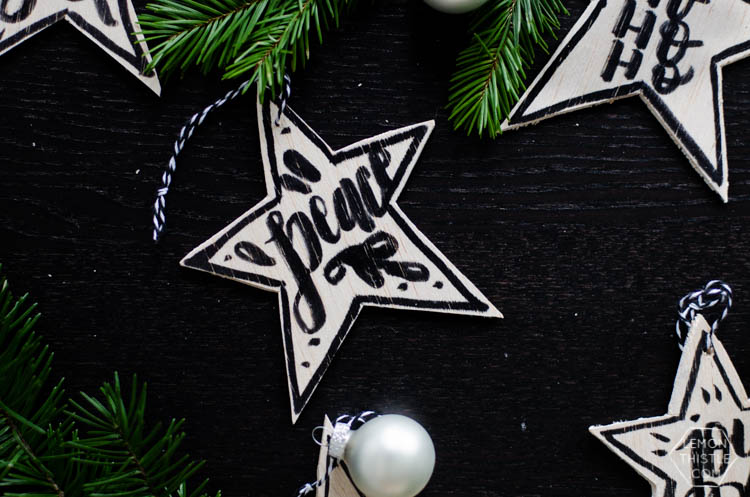
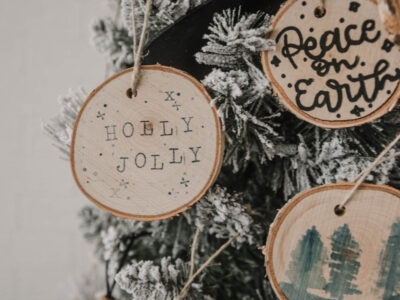
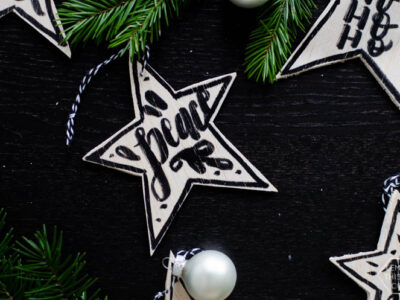
These wooden ornaments are such an easy DIY, if you have the tools (knife, marker) they’ll cost about $6 to make 6 of them… not bad, right?! I’ve made similar ornaments in the past (the stars with a dipped glitter look, and the stars with a watercolor wash) and really love the look of the wooden stars. PLUS- they’re perfect for gift tags, for mailing with cards, and for no shattered glass on the lower half of your tree with kids. Because that last one is a real concern this year.
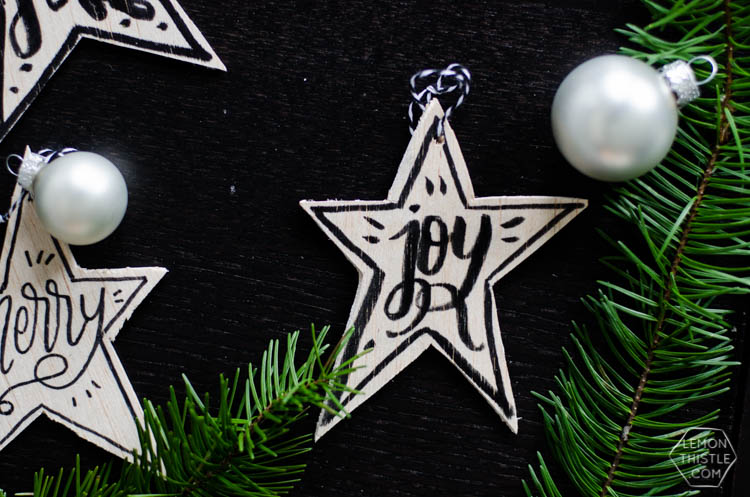
Since I already loved the look of the wooden stars, when I made my FaLaLa wooden banner a couple weeks back I knew I wanted to combine the two and make some ornaments. Watch the video below for the process and get all the tips down below! This video is part of the love Christina’s (The DIY Mommy) Christmas DIY and Decor Challenge over on Youtube (have you subscribed to me over there yet!?).

To DIY your own scandi inspired wooden star ornaments, you’ll need:
- Balsa Wood (I used 3/32″ from Michaels)
- Paper for template
- Craft Knife
- Cutting Mat
- Marker (I used a Tombow dual brush pen
BUT a sharpie brush pen would have been best)
- Bakers Twine
Start by making a template for your stars by drawing on paper and cutting out. Then, do a light cut around the template. Balsa wood is cut best with lots of lighter cuts instead of dragging the knife with heavy pressure. It’s pretty delicate wood (which makes it so easy to cut!) but when you rush and try to cut faster/harder it can snap along the grain pretty easily.
After it’s cut, go ahead and use your marker to trace an imperfect outline of the star, then letter or draw your design on. As I mentioned in the supply list, I used an older Tombow Dual Brush Pen but a Sharpie Brush pen would have been better- I’m assuming they’re meant for rougher surfaces than the Tombows (being an art pen).
I just used the craft knife to make a hole for the bakers twine for hanging. Easy peasy!
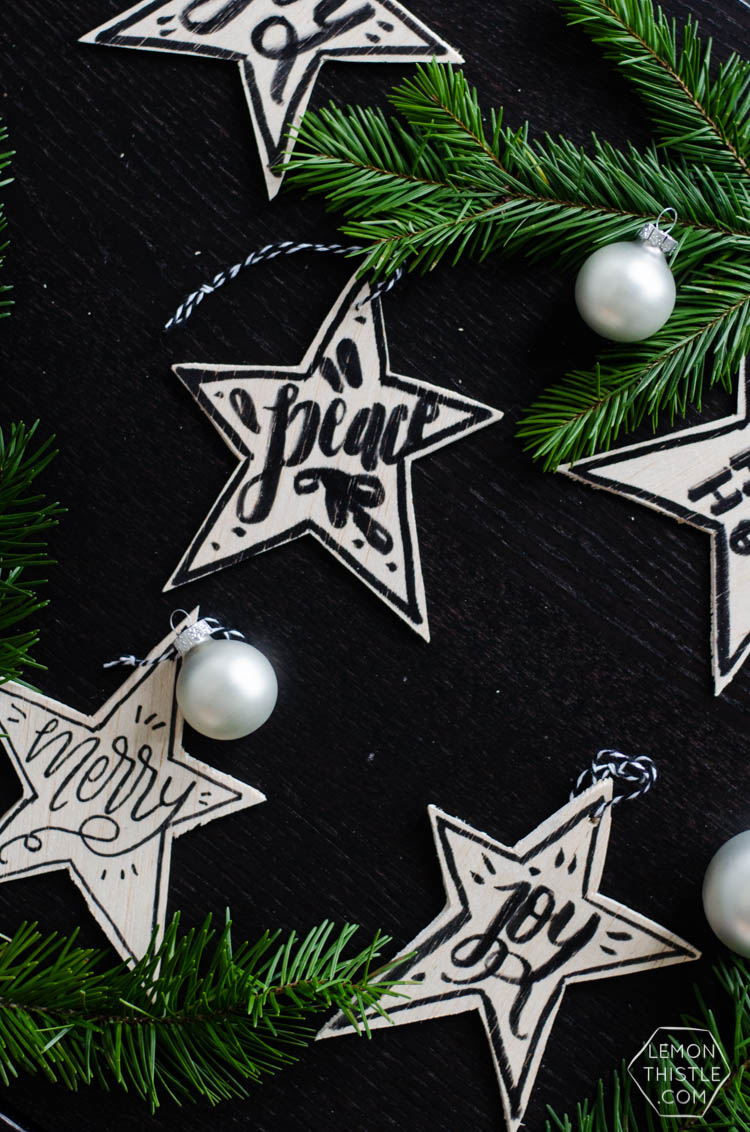
I’m really loving the way they’re looking with the things we’ve pulled out so far! We’re decorating our tree *tomorrow* I hope and I can’t wait to see how it all comes together. Oh, and I have to tell you- when the kids got home from pre-school and saw these, they were full of compliments about how pretty they were and how much they loved hanging them on the tree. So if nothing else, that was a total win.
More DIY Ornaments for a Modern Christmas Tree
If you’re looking for even more DIY ornaments to craft this holiday season, I’ve got you covered! If you enjoyed working with Balsa wood as much as I did… you might love these DIY Wood Snowflakes too!

 Holiday Card Design- a free download!
Leave a Reply