Psst! This post is part of a Canadian blogger Valentines Day blog hop! Scroll down to the bottom to get all the ideas!
If you know me at all, you might know that I’m not much of a baker. I know how- don’t get me wrong. My mom is a fabulous baker and always made sweet treats to bring to every activity and class party. I just feel like it’s so specific, and I have to measure, and I’m kind of a fly by the seat of my pants type of cook (and crafter!) and baking doesn’t fit that mould. When I do bake, it’s usually from a box- I’ll admit.
Recently, I made a cake for Windsor’s first birthday party. I shared a shot of the messy kitchen on my Instagram stories and received replies back, “YOU’RE BAKING?!”. It was with a box and my friends were still impressed. That’s the level of baker I am if we’re going to be upfront.
That’s why I love grocery store cake makeovers so much. I don’t need to plan ahead and order a cake with someone’s name, I can fly in the morning of a party, grab a cake out of the cooler and be on my way. This is my 4th grocery store cake makeover I’ve shared on Lemon Thistle… and It seems like you guys like them too, so I’ll keep making cakes over if only for you. I mean, I don’t even enjoy eating the cake ;)
So this might seem contradictory… but I actually took a cake decorating class. Actually, I took almost every cake decorating class Wilton offered in my town (with my mama, of course). If I’m being super honest, I did it so that she would make my wedding cake for me ;) So I ‘get’ the techniques, I’m just much too impatient and lazy for most of them- like folding an icing bag- ain’t nobody got time for that. But there’s a few things that stuck that I’ll share below.
Because I’m loving video lately, we’ve got another one! I love how this really shows the process and how simple (and messy!) this cake really is to pull off.
To makeover your own Ombre Cake for Valentines (or any holiday!), you’ll need:
- A grocery store cake, of course (or bake your own if you’re ambitious like that)
- Icing (I used tubs of store bought, again make your own if you’re fancy)
- A cake turntable (mine is the most affordable one sold by Wilton, I found it at Michales but I couldn’t find the same one on Amazon for you)
- Angled Metal Spatula– THIS thing is the best
- Food coloring
- Piping bag or Ziploc bag and scissors
- Jars or cups for mixing and filling your bag
- White edible glitter flakes (if you like)
Alright, so as you can see in the video- the steps are pretty simple, but the result is oh so pretty! Here’s a run down of the steps and some tips along the way.
Start by putting your grocery store cake on your cake turntable. This thing is amazing. Even if you only decorate cakes a couple times a year, it will make you a happy camper and since the one I have doesn’t have a stand, its a piece of cake to store (get it?).
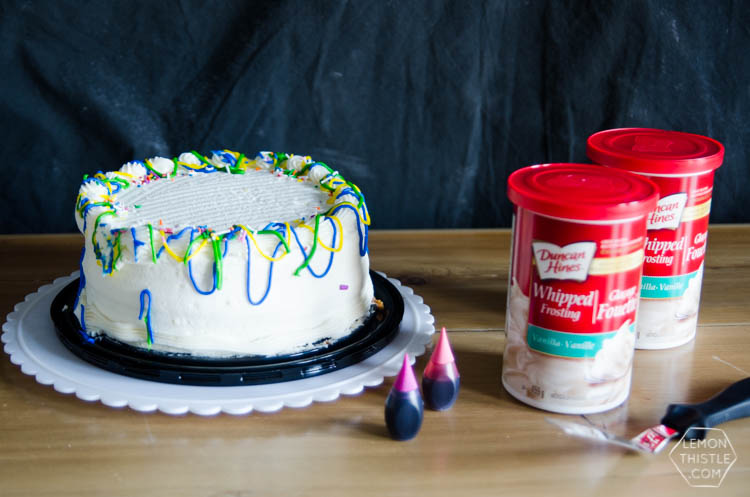
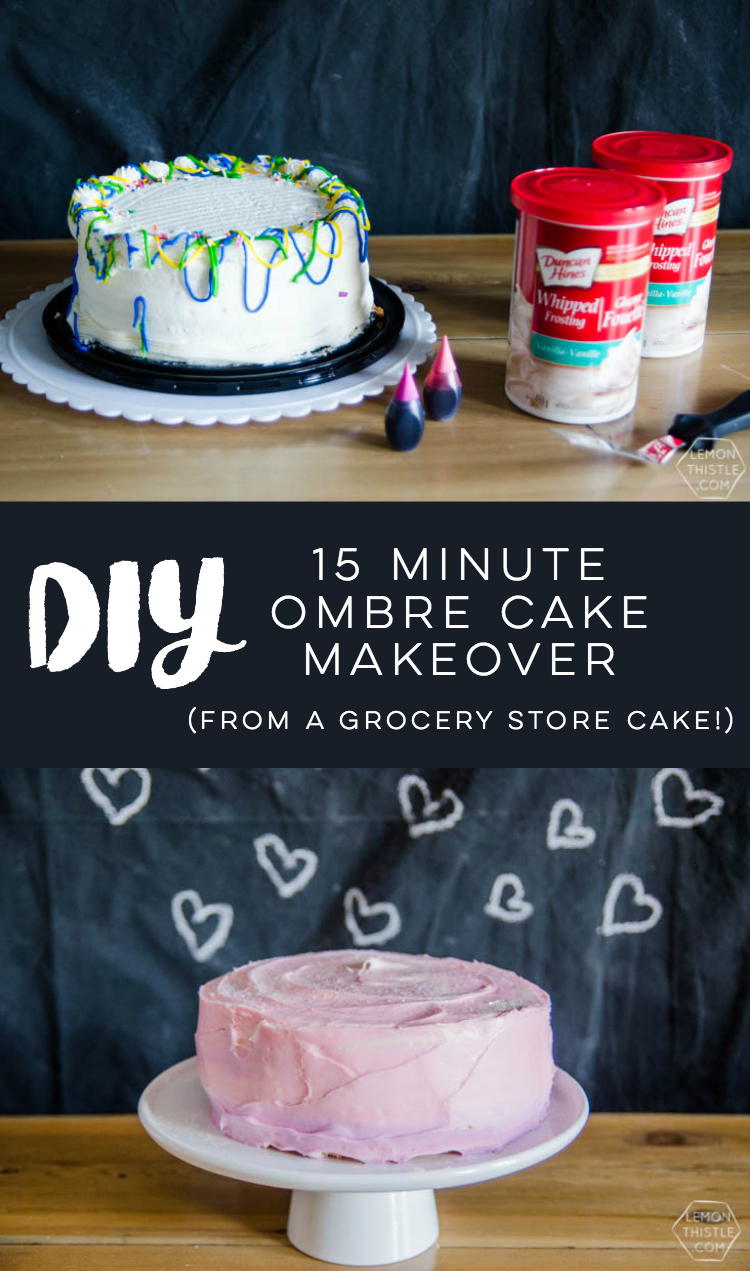
Start scraping all that colorful confetti icing off of there. you want to be left with a blank canvas. I just used the lid that came with the cake to dump this all in (you can see that). Once it’s all off, rinse your metal spatula with hot water and come smooth it out.
Rinsing your metal spatula with hot water is the best trick- it’s not even a trick, but it’s so helpful. It cleans it in seconds and when you come back that thing glides over your icing like butter.
Now, time to mix up your icing colors! I chose to do purple, pink, and leave some white. I used a ziploc bag and NO tip for my piping bag. This is not a good idea if you want to do something detailed or particular. As you can see, this icing job is not particular. A coupler and tip is great for more detailed work and a real icing bag is amazing if you want to do flowers or letters because you don’t have that big zipper flopping around getting in your way. BUT a coupler holds lots of icing. The larger couplers (to get a tip the size that is best for this) actually holds almost a half cup of icing. Talk about a waste when you don’t need to use a special tip for this. #stepsdown
Mix up your icing and then fill your piping bag with the lightest color first. You can top it with the next color if you like (I wanted a pretty quick, soft transition so no real WHITE spaces). Then, get piping! Start in the middle of the cake and circle your way to the outside. Then, start down the sides of the cake, spinning it around as you go. When your icing runs out, fill it with more icing and when you’re ready to transition colors, fill it with the next color of icing.
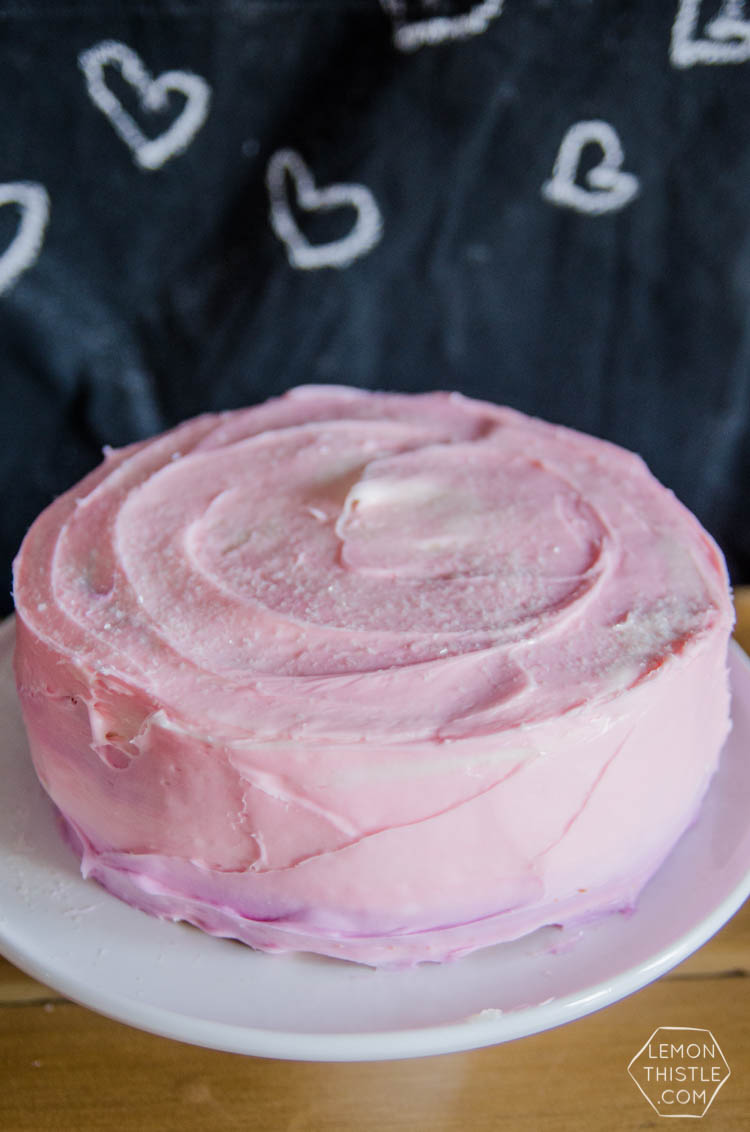
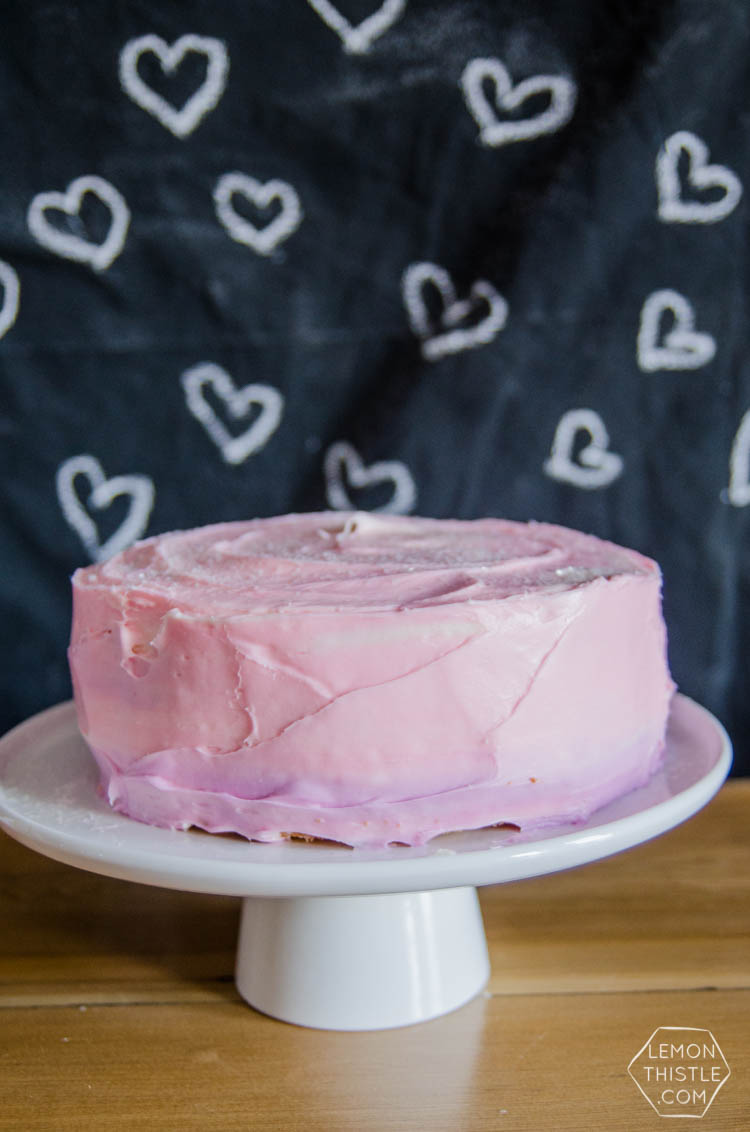
At this point, it doesn’t look like anything special. But then you grab your metal spatula, run it under hot water, then come back and smooth out your icing as you spin your cake around and watch the magic happen. I chose to make it not perfectly smooth, adding spatula ‘strokes’ once I was happy with the ombre effect. I topped it with these white edible glitter flakes because my kids insisted on sprinkles (everything is sprinkles around here- brown sugar on oatmeal, pepper on pasta…).
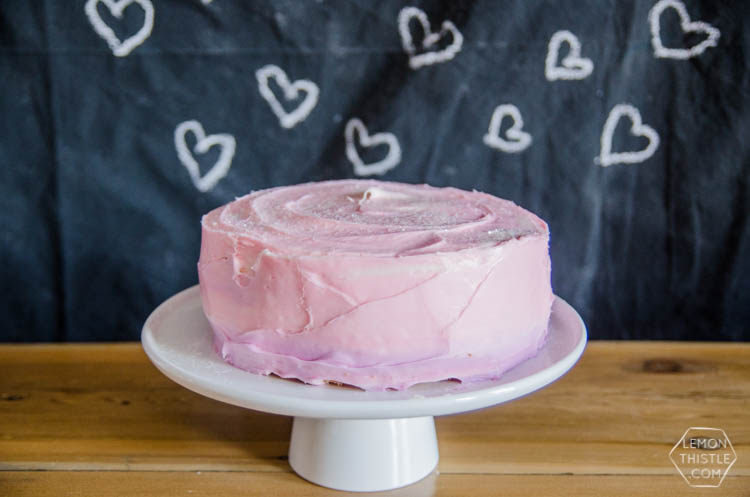
That’s it! Pop it onto your cake stand (I use two spatulas to do this and am yet to have a casualty) and you’re good to go.
If I don’t count dishes after the fact, this makeover only took 15-20 minutes (and I had little helpers I was fending off for the last 5 minutes). I’d take that over a couple hours baking a cake and making icing pretty much any day of the week.
Also… notice anything familiar? Yep! That background with all the hearts is the backdrop from Windsor’s party! You can find the DIY video (another video, I know!) for that right here.
This post is one of so many great valentines ideas that some Canadian bloggers (me!) have joined up to share this week. Every day this week we will be sharing rad ideas for your decor, gifts, and recipes. You can check them all out as they go live right here:

Monday
Heart Shaped Pizzas for Valentine’s Day by Jo-Anna of A Pretty Life
Blood Orange Limoncello Cocktail for Valentine’s Day by Tara of Suburble
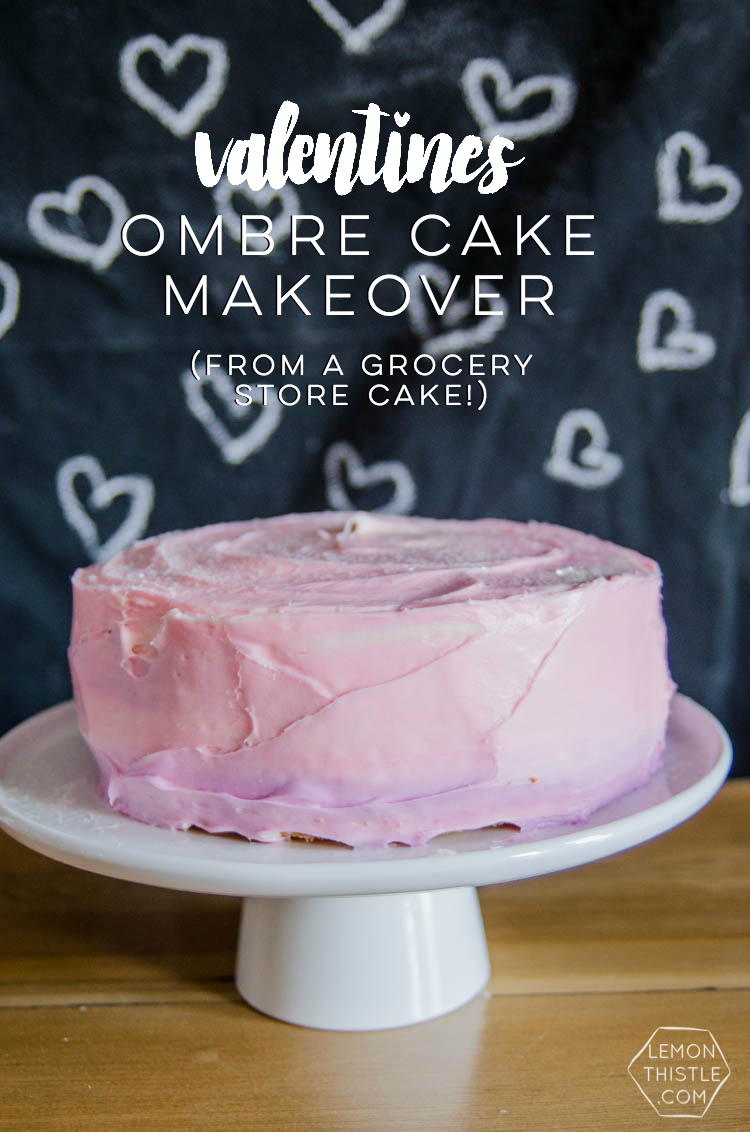
Ombre Cake Makeover from a Grocery Store Cake by Colleen of Lemon Thistle *You’re Here*
Valentine’s Popcorn by Janella of Ma Belle Vie
“Warm Heart” Hand Warmers by Sarah of Flourish & Knot
Tuesday
Valentine’s Day Embroidery Projects by Heather of Home to Heather
Valentine’s Candy Inspired Table Setting by Andrea of Personally Andrea
Valentine Heart Strawberry Pop Tarts by Jen of Kitchen Counter Chronicles
Valentine’s Day Date Night In Gift Basket Idea by Christina of The DIY Mommy
Valentine’s Day Chocolate Chunk Skillet Cookies by Shauna of Satori Design for Living
Wednesday
Felt Valentine’s Day Cards by Alex of Northstory
Lovey Dovey Vegan Chocolate Bark by Joann of Woman in Real Life
Valentine’s Day Wall Hanging by Thalita of The Learner Observer
DIY Valentine String Art by Tash of The Dreamhouse Project
Fluffy Valentine Sugar Cookies by Kendra of Joy In Our Home
Thursday
Easy DIY Valentine’s Wreath by Laurie of VinYet ETC
Raspberry Pie Mousse Cups by Daniela of Lifeovereasy
Valentine’s Day Breakfast by Dannyelle of Life is a Party
Valentine’s Mantel by Jen of Rambling Renovators
Boyfriend Bouquet | Floating Heart Terrarium by Cynthia of Cynthia Zamaria
Friday
Embroidery Hoop Valentine Art by Christine of The DIY Dreamer
“You & Me” Wood Sign by Lindi of Love Create Celebrate
Chocolate and Coconut Coated Heart Mini-Cakes by Jane and Sonja of Sustain My Craft Habit
DIY String Heart Wall Hanging by Melissa of The Sweet Escape
Heart Shaped Marshmallows for Valentine’s Day by Christine of Amidst the Chaos
LIKE IT? PIN IT!

 My Best Home Organization Tips
This is such a great idea Colleen! I’m all about making things easier, and taking off the pressure that parties can bring! Love it
Yes! I love parties but it’s nice to be able to cross one thing off my list before I even start.
I’ve never thought to makeover a grocery store cake but man, it looks so much better!
Haha It’s kind of cheating, isn’t it? ;)
Gorgeous, Colleen! I love that you re-decorated a grocery store cake. I hadn’t ever thought of that! Genius!
Thanks Tara! I started doing it when I was taking cake decorating classes. We had to bake one every.single.week.
Never thought of making over a store-bought cake. So smart when you’re in a pinch!
Thanks Shawna!I seem to end up ‘in a pinch’ a lot now that I know this is an option ;)
Great idea, Colleen! I love easy and such a pretty cake! xo
Thanks so much Kendra! Easy is the way to go sometimes!
What a gorgeous ombre cake I bet it tastes great as well
Thanks so much Janella! That’s the great thing about store bought- they never mess up like I do ;)
This is so pretty. My daughter would love to do this. She is always asking to take cake decorating courses. She watches videos about it constantly. I’ll get her signed up eventually. (She’s just busy with dance now.) I love to have a child who bakes…because then I get to eat treats!
HAHAHAHA! Oh this is my kind of baking! The non oven kind. Great idea!
You know when Oprah said that’s an “ah ha moment”… well this little trick is just that for me! And we are the same when it comes to baking except I eat ALL the cake! hahaha I love your brilliant idea, thanks for sharing!
Love how you have elevated everyday pantry items. So pretty.
I actually love baking, but sometimes you need something easy and quick. Thanks for sharing!
Love this grocery store cake makeover!! Such creative thinking. And kind of sneaky, that’s prob why I love it even more!!
Such a FUN way to revamp a cake! Love it!
Your made-over cake looks so beautiful and delicious! Really love the ombre effect. And now I’m craving cake!
Wow, what a great makeover! And it looks so yummy and homemade now, great hack. Happy Valentine’s Day!
Ombre cake has a very amazing taste. Recently, I made an ombre cake, not for Valentine’s day but my daughter’s birthday. I looked on many blogs for the best ingredient for this cake, and I completed it successfully. However, my cake looked so delicious and beautiful. My daughter was happy with that cake.