Happy Monday, friends! I hope your weekend was as lovely (and maybe a little less sweltering) as mine. We celebrated some of our closest friends marriage, two of my nieces birthdays, and another good friends’ wedding shower. It was busy but it was such a treat to get to see so many people that we love this weekend. Now I’m kind of ready for a quiet week… and maybe for some rain because this girl needs a break from the heat!
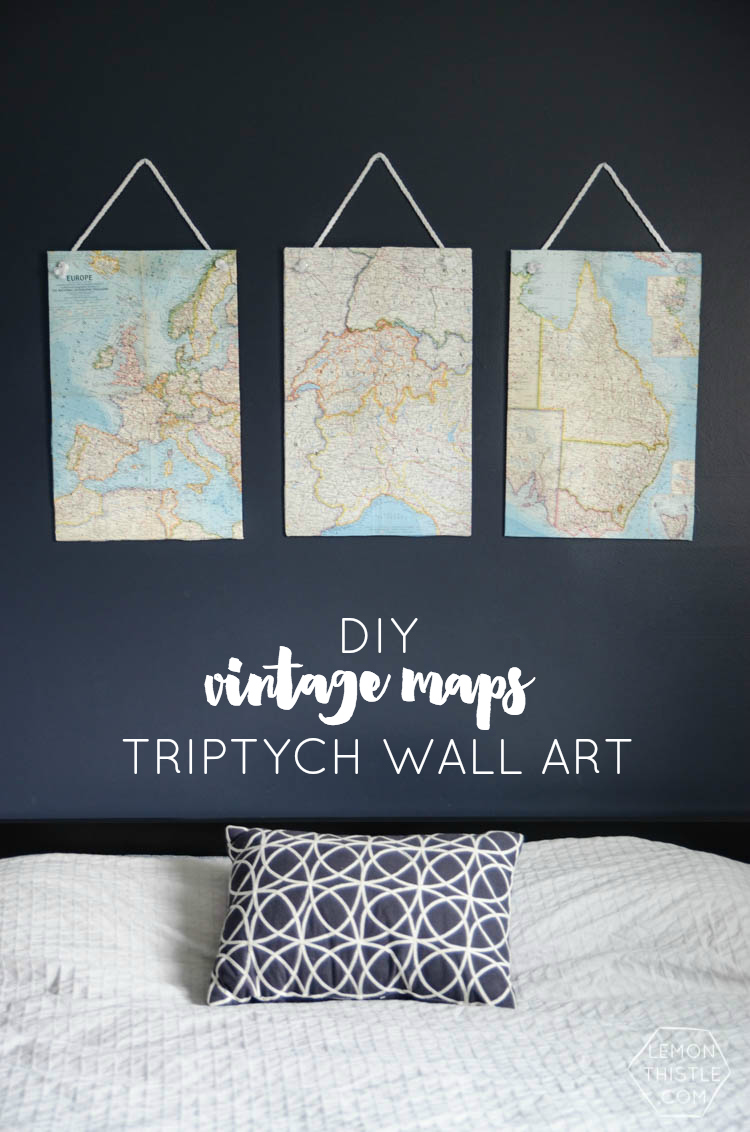
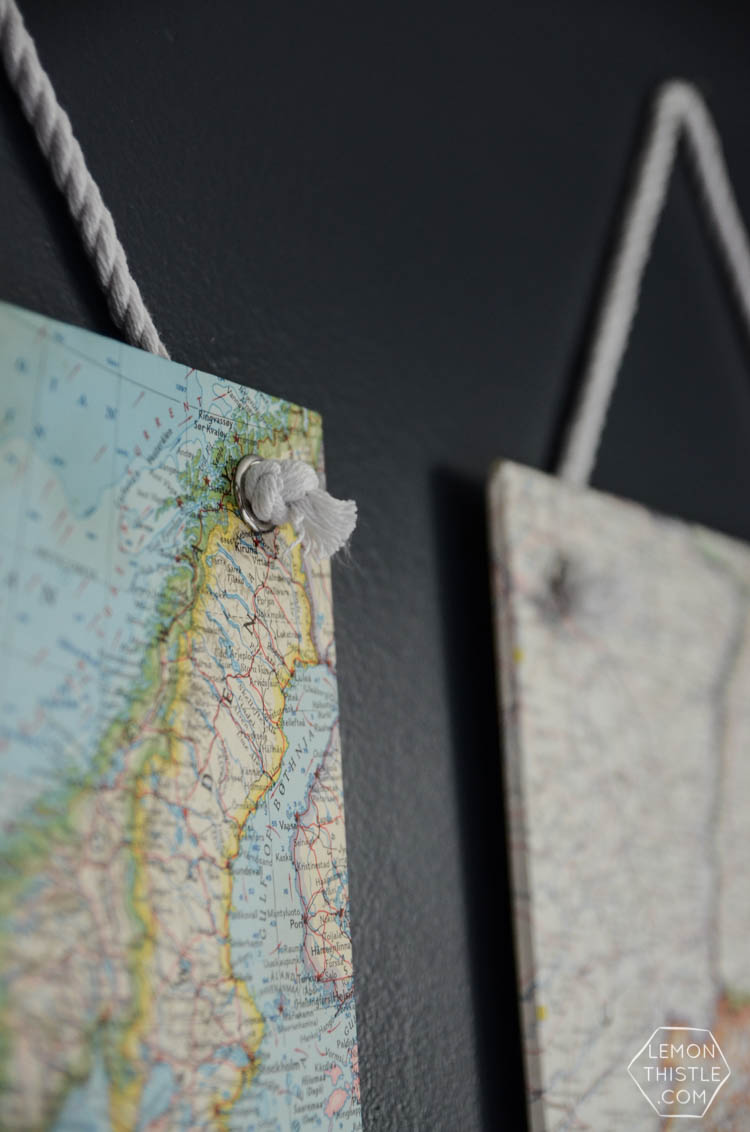
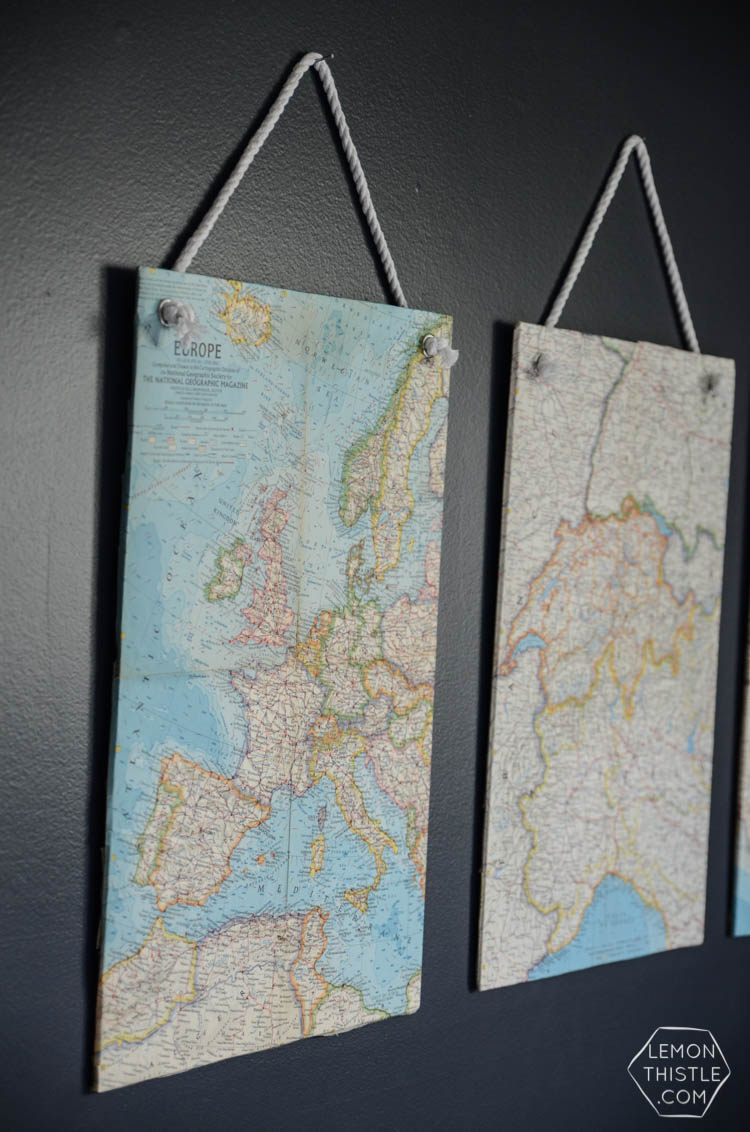
Today I’m sharing a fun DIY artwork project with you. In partnership with Shaw TV I created these vintage map wall hangings. I love the way they turned out and although they were created to go in our basement when it’s finished, my hubby has insisted that they hang over our bed until they make the move downstairs. Have I ever mentioned how much he likes maps? These guys might look a bit complicated, but I promise they’re really easy to make. Like, how about I demonstrate how simple in a 3 minute video?
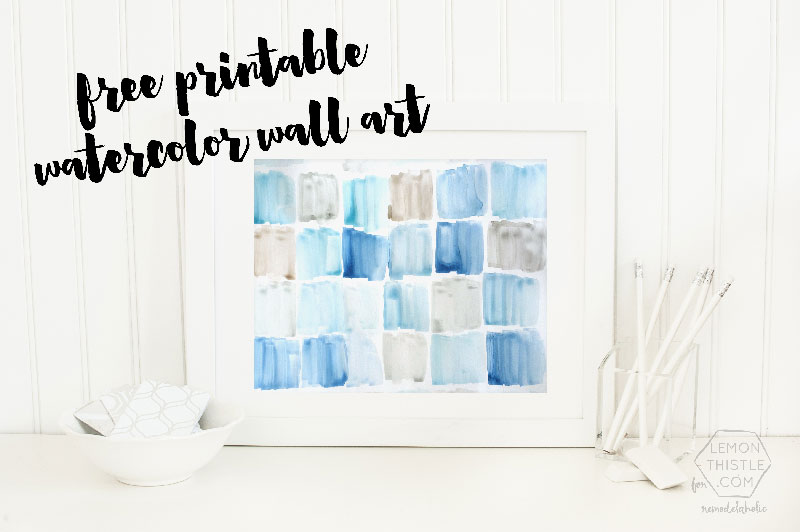
But wait! First… it’s a day full of wall art, I tell ya! I’m over at Remodelaholic for their Deck the Halls extravaganza sharing a free printable (large scale!) of my watercolor squares art that I created for my bathroom remodel! Pop over and check it out!

To make your own map wall hangings you’ll need:
- Vintage maps (I scored mine at a thrift store for 10 cents a piece!)
- Foam board
- Craft knife and cutting mat
- Spray adhesive
- Rope and scissors to cut
- Tape
- Grommets and tacky glue
Start by deciding how big you would like each wall hanging to be and cut your maps to size. Then, cut your foam board one inch smaller on each edge. I didn’t leave a full inch and had a tough time getting the map to wrap around the back on all sides. When you’re all cut to size, give your foam board a good spray with adhesive and smooth your maps on top. Make sure to spray over top of something you don’t mind being sticky… that stuff gets eeeeverywhere!
Wrap your map around the edges and tape the ends down on the back of the foam board. When you’re done, it’s time to add your grommets! I love the grommet detail for the rope hanging. I just lined up my grommets and pressed firmly to create a cut in the foam board. I then used my craft knife to completely cut through the board before gluing the grommet in place. Lastly, cut your rope to length and tie it through for hanging!
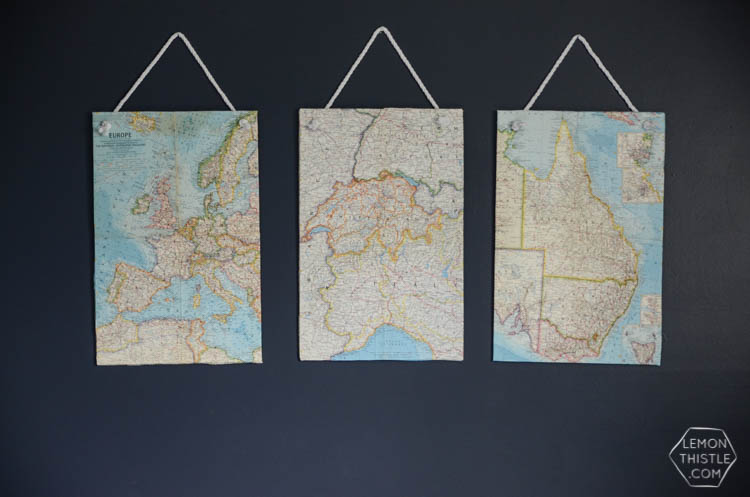
See? Easy peasy, but looks high end! We’ve had tons of compliments on them already- which is weird because they’re in our bedroom… not our living room. Either way… are you a maps fan like our household? I’d love to see if you give these a shot!

 One Printable, Six Ways
Love this! I bought a pack of old vintage maps from a thrift store last year and have been looking for an idea for what to do with them. I think I found one ;)
I’d had my maps for at least a year as well! Funny how we can hold on to things for so long waiiiiting for the perfect use :)
These are terrific! I love maps, but I really love blue prints too, either would look great. I love how yours look, great job, with the rope and the grommets, and against the dark wall…fantastic!
BLUE PRINTS! That would look amazing- now where would you track some of those down?
i absolutely love this! have always wanted to utilize old maps that i have, this is perfect!! pinning & sharing :)
I’m so glad you like it Amanda! Old maps are definitely special I thought it was time mine got displayed!
Thanks for linking up with Share the Wealth Sunday! I love this project. I’m going to share it on my FB page and blog this week.
Thanks so much Hannah, I really appreciate your support :)
I would look up copyright free blueprints on google images, save them to a thumb drive and take to a print shop, they can print them on a wide format printer for pretty cheap. You can also have them print a photo on a piece of paper 3 foot by 6 foot and cut it apart, making 3 art pieces like your maps. Do fun stuff, them post it! LOL! I don’t have a wall for anything right now, but would love to try both of these!
Great idea! Since we moved in to our new place I’ve been slowly filling up our walls- I kept hardly anything from the last place and it’s wonderful :)
I love these! The grommets and rope are the perfect touch. You’ve given me a great idea for a decor piece for a room makeover I’m doing. Thanks for sharing on Snickerdoodle Sunday.
I’m so glad you like it! I’d love you to send me a photo of your project when you’re done!
I love vintage maps and I love what you did with this one! They look fabulous and using foam board is genius!
Thanks so much Hannah! My hubby really really likes maps too so I’m happy I’ve made them into art for him. The foam board is so nice and light it makes it easy to hang :)
wow these are totally cool! I love things done with maps and these lovely art pieces are beautiful! love the way you hung them with the cord!! I need a few for sure! Thanks for sharing with Snickerdoodle Sunday. I hope you will come back on Friday and share with us at the Creative Challenge upcycle link up!
Thanks so much Kristina and Millie! They’re so quick to make, you’ll love ’em!
These are so fun! I love maps and think they make great art projects. I have not done anything with them yet but your idea is fantastic. I will pin this then try to figure out what I want.
Thanks so much!
Thanks so much Michelle! Maps definitely make for unique projects :)
I love these! Such cute and simple decor. And cheap too! :) Featuring it over at Motivational Monday on Sunday! :)
Thanks so much Amanda! Cheap decor is my jam ;)
Sooooo good! And I love how easy it is too. And yes, blueprints would be killer.
Super easy! I’ve got my eye out for blueprints now ;)
That looks so cool! I get so excited each week to see what you have been working on because it’s always AMAZING! Thank you for sharing this with us. Pinned and tweeted. I hope to see you on Monday at 7 pm, so we can party!!!! Lou Lou Girls
Aw, that’s so sweet of you girls! See you there :)
Thanks for the tutorial. I am actually framing a huge map in my daughter’s boyfriend’s office. I’m going to frame it with black painted yard sticks, I figured that’s the least expensive way to frame it but I love these smaller groupings. Gotta go get started. Have a great week.
That sounds like such a fun project! I’ve spotted some gorgeous vintage yard sticks before but not known how to use them… you’re filling my head with ideas Mary Beth!
I love maps and think they are so fun to use on most anything. Love this art project. Thank you for sharing at Share It One More Time. Cathy
Thanks so much Cathy! I’m a sucker for pretty maps too :)
Love this! I teach middle school and my classroom is going to be travel themed this coming year. I’ll need to get my hands on a couple of world maps to make this happen.
Thank you for sharing!
You’re welcome! Colleen would love to see it in the Fall when you’re all set up – if you’d like to email us here or tag her on instagram: @colleenpastoor
Have a great summer!