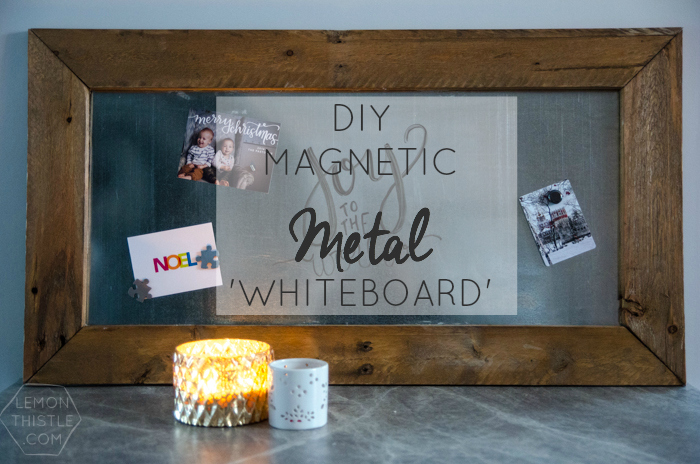
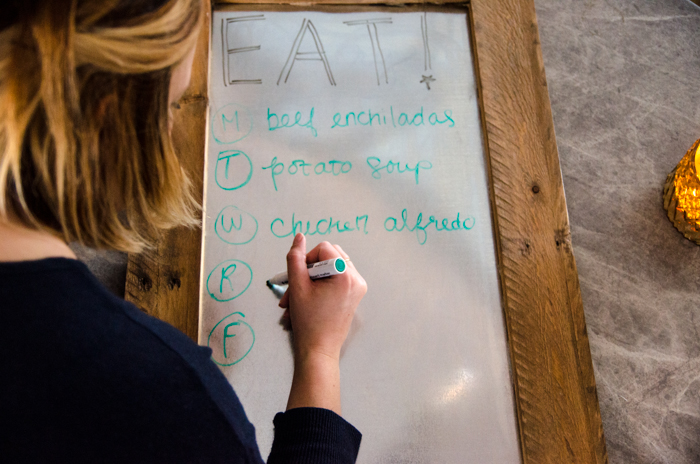
After a quick break yesterday to share the news about my 2015 Free Printable Calendars, it’s back to Christmas! But this DIY could really be used year round. Meet your new best friend, this lovely DIY Magnetic Whiteboard! But it’s not white- it’s a bit more edgy (and charming). And even though we built it specifically to display all the Christmas cards we receive, Shane’s decided it’s going to be in use year round. We’re thinking we might use it to meal plan. We tested it out and like how it looks!
Alright, so what do you need to make this beast and HOW does it work!?
You’ll Need:
- 16″ x 36″ (or whatever size you like) Galvanized Joist Lining (Do not use tin- it’s not magnetic!)
- Free Pallet Wood (you can see how I disassemble a pallet to use here)
- PL or any other Construction Adhesive
- Wood Stain (if you like!) and Brush to Apply
- L Brackets
Alright, so the reason this baby works is because of the galvanized joist liner. It’s just a metal sheet- but it’s only 6 bucks from Home Depot! The edges are really sharp, so make sure you’re careful with it. This metal is magnetic (stay away from tin… it’s not) and it is easy to write on (and wipe off) with a whiteboard marker. It’s pretty much perfect for this project. Since this metal is super thin though, it’s bendy and not all that stable. That’s where the frame comes in. By creating a solid frame, the metal has no opportunity to bend. Being thin and light it’s also awesome for hanging!
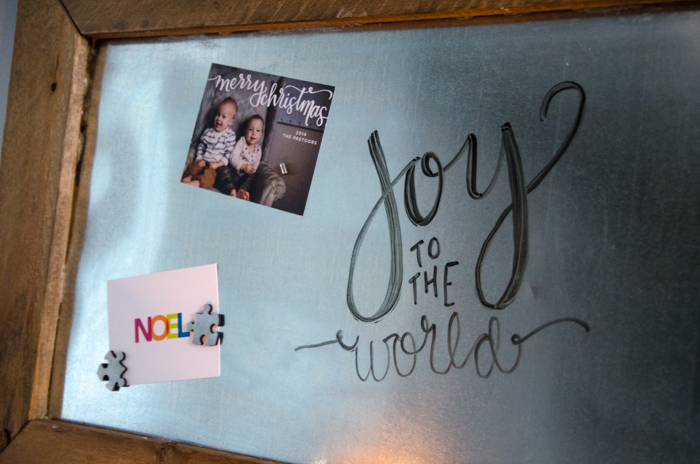
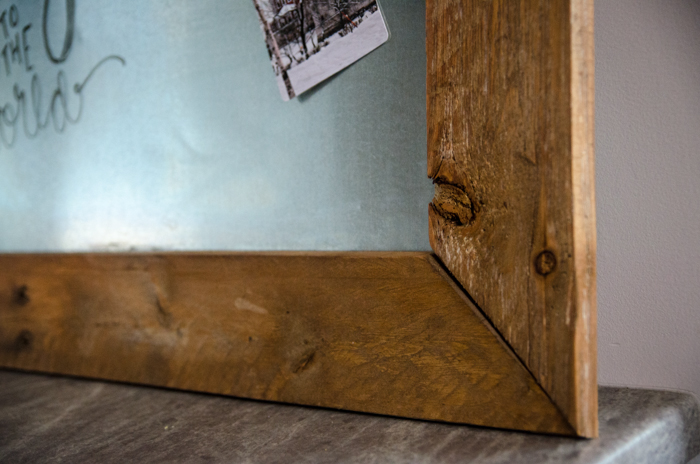
Okay, now that we’ve discussed at length (sorry about that) the metal sheet you need, let’s talk about assembly. I used the exact same method for framing this guy as I did my Rustic Mirror. You can hop over there to see a video tutorial on how to frame it out, BUT since the mirror is solid and this is bendy, I weighed down the wood with paint cans while it dried. This made sure the metal dried flat.
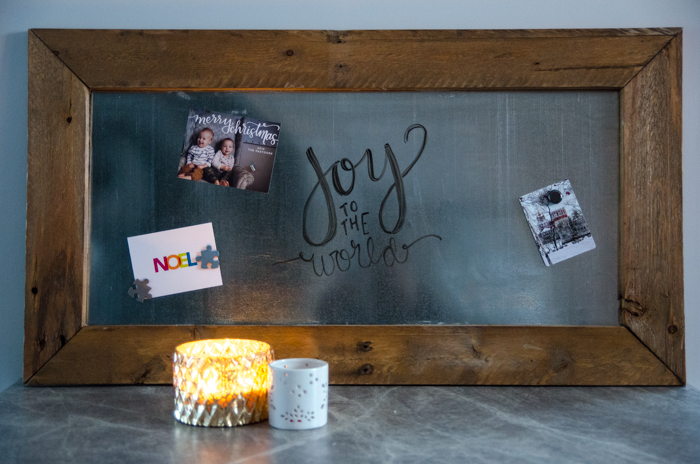
When it’s dry and solid, flip it over and add in the L brackets to the corners. Without these it’s still pretty bendy. And… well, um. That’s it. Is that cheating, using a DIY that was already explained in another post? We’re going with NAH.
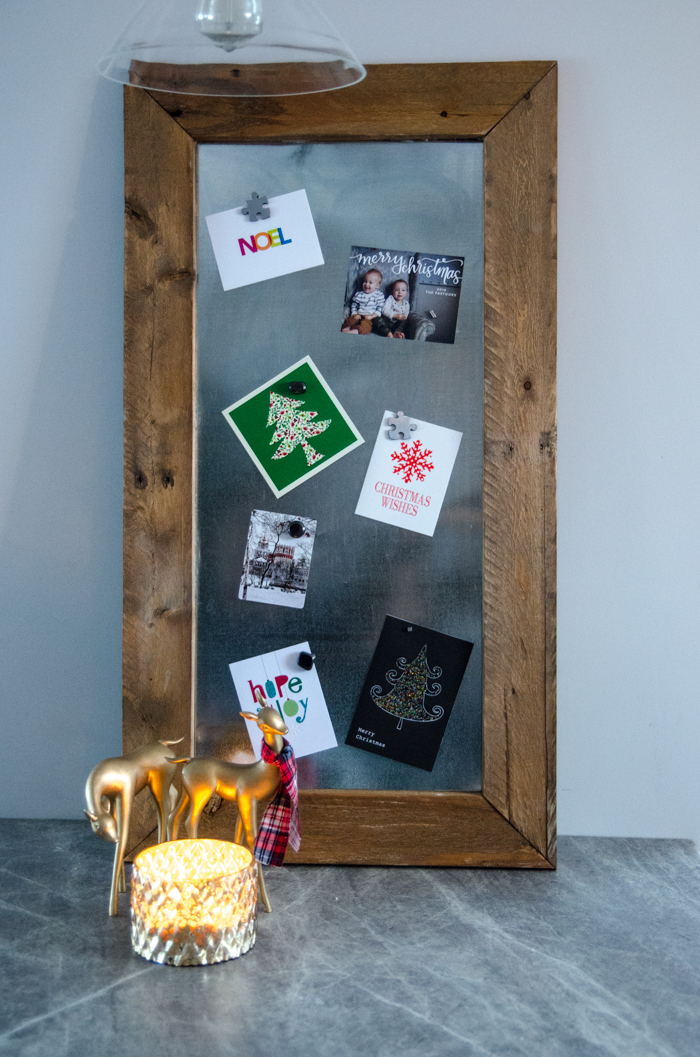
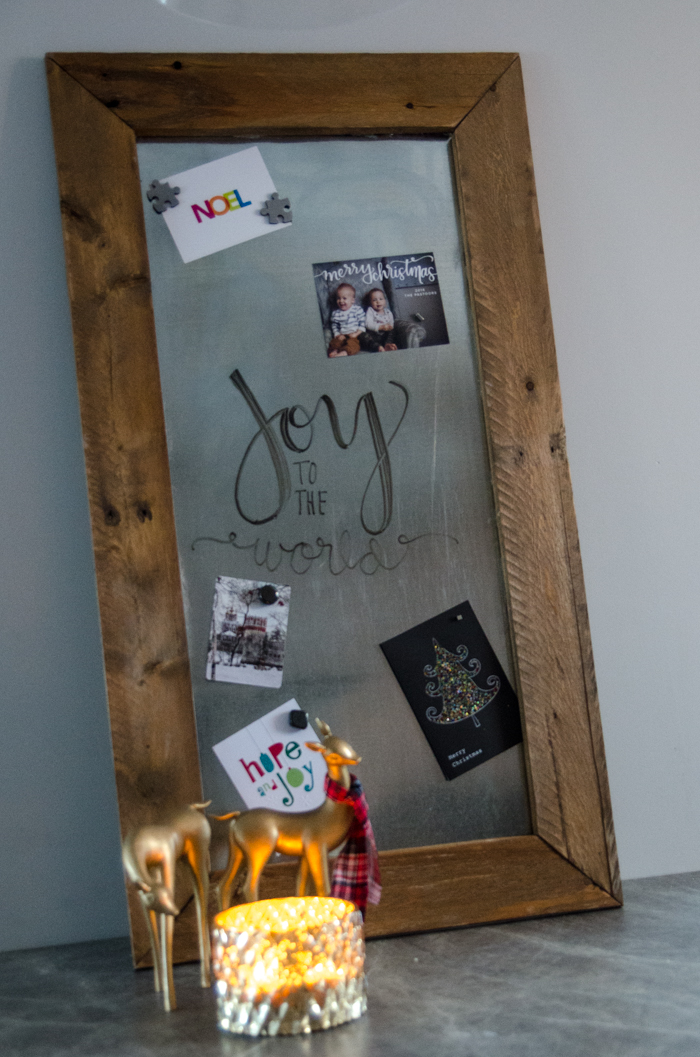
I love the way this Christmas card holder turned out! The rustic frame fits so well in our kitchen (beside our wood open shelving). And it’s quickly filling up with cards from family and friends (not just my Christmas cards… like the photos). What do you think? Do you have a system do display your Christmas cards? I’d love to hear!

 DIY Marbled Ornaments (3 Ways)
What a beautiful board, you did an awesome job with it! I absolutely LOVE the wooden frame, it looks gorgeous!! Great job!!!
Thanks so much Maria! We loved our mirror so much we decided we’d do the exact. same. frame. I’m glad we did :) Thank you for taking the time to comment!
I love that thick wood frame … great christmas card display!!! Featuring you tomorrow. XO, Aimee
Thanks so much Aimee!! You rock :)
Hahaha…you would laugh at my “system” this year. Well, it’s the same system I always use which is just to hang them all on a big blank wall with blue tape, BUT this year I have found that letting my 2-year old do the “hanging” entertains him greatly. So we open the mail together in the afternoons, I put the tape on, and he slaps them (upsidedown, sideways, and much too low to the floor) on the wall. It’s so cute I don’t even bother to rearrange it. (But you may notice that wall did not make the Christmas house tour on the blog! Haha!) xo friend!
Haha we always used the blinds in our apartment but we just have curtains here. What fun for him though! I really love when mamas give their kiddos some of the ‘decorating’ responsibilities… this is the perfect way to delegate :)
Hey thanks so much for linking up to my link party! I love it when you stop by!
Thanks so much Sarah! I really appreciate that, I love your party :)
I really, really need to put up a menu board and this one would be a total bonus at Christmas time! We were always of the put-Christmas-cards-in-the-blinds but nowadays most of them aren’t in card form anymore so I haven’t been displaying them. So happy you shared this at On Display Thursday!
We did the blinds at our apartment as well! I do love all the family photo postcards we’re getting now, but that wouldn’t work in the blinds. We’re currently using ours as a menu board and loving it- we use the magnets to keep recipes on the board.
I love this! Thanks so much for the tutorial. It’s very charming, and I love your puzzle magnets. Definitely on my to-make list!
Thanks so much Victoria! Those puzzle magnets (and some naturally magnetic rocks) are the only ones I let my hubby use on our fridge- they’re so fun!