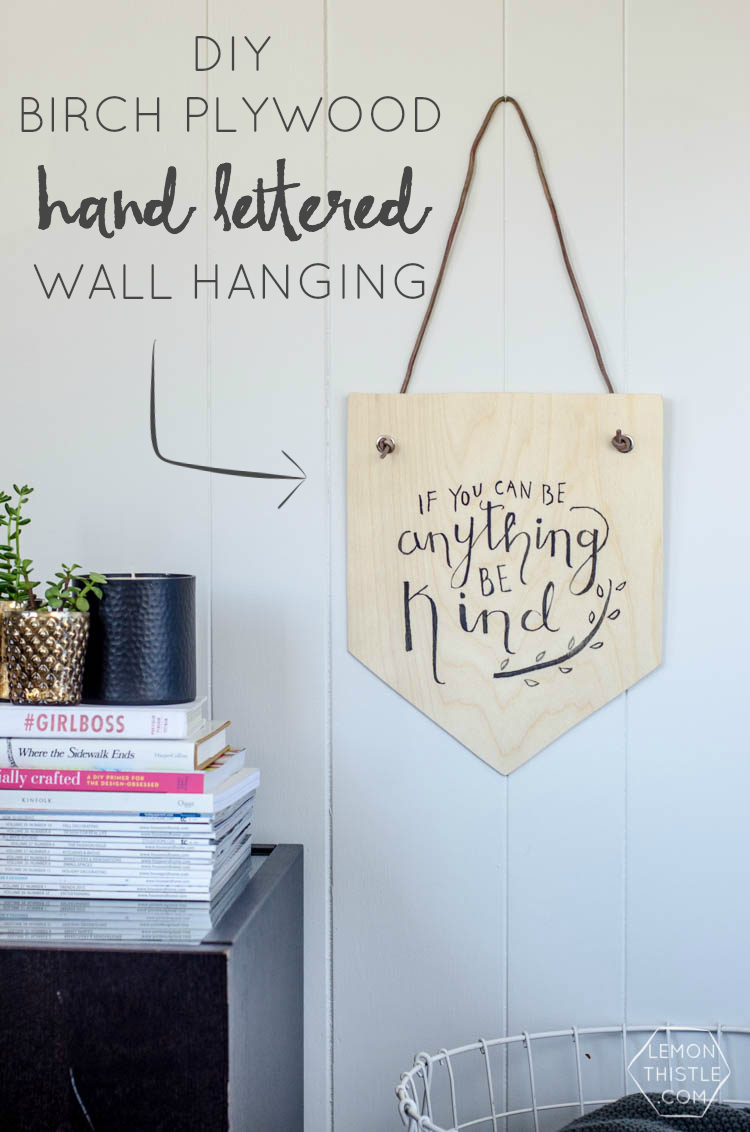
Things are finally settling down for us- Easter weekend was a blur of fun and chocolate. We had lots of family and friends in town and had fun visiting with them, we even managed to sneak in a little baby shower! But, thankfully, things have calmed down a bit and I’m getting back into the swing of things. I am so excited to bring you a fun DIY (I can’t believe it’s been a week since I shared a DIY here!), this Birch Plywood Hand Lettered Wall Hanging! Before I give you the full How-To and a free printable of the quote so you can make one for yourself…
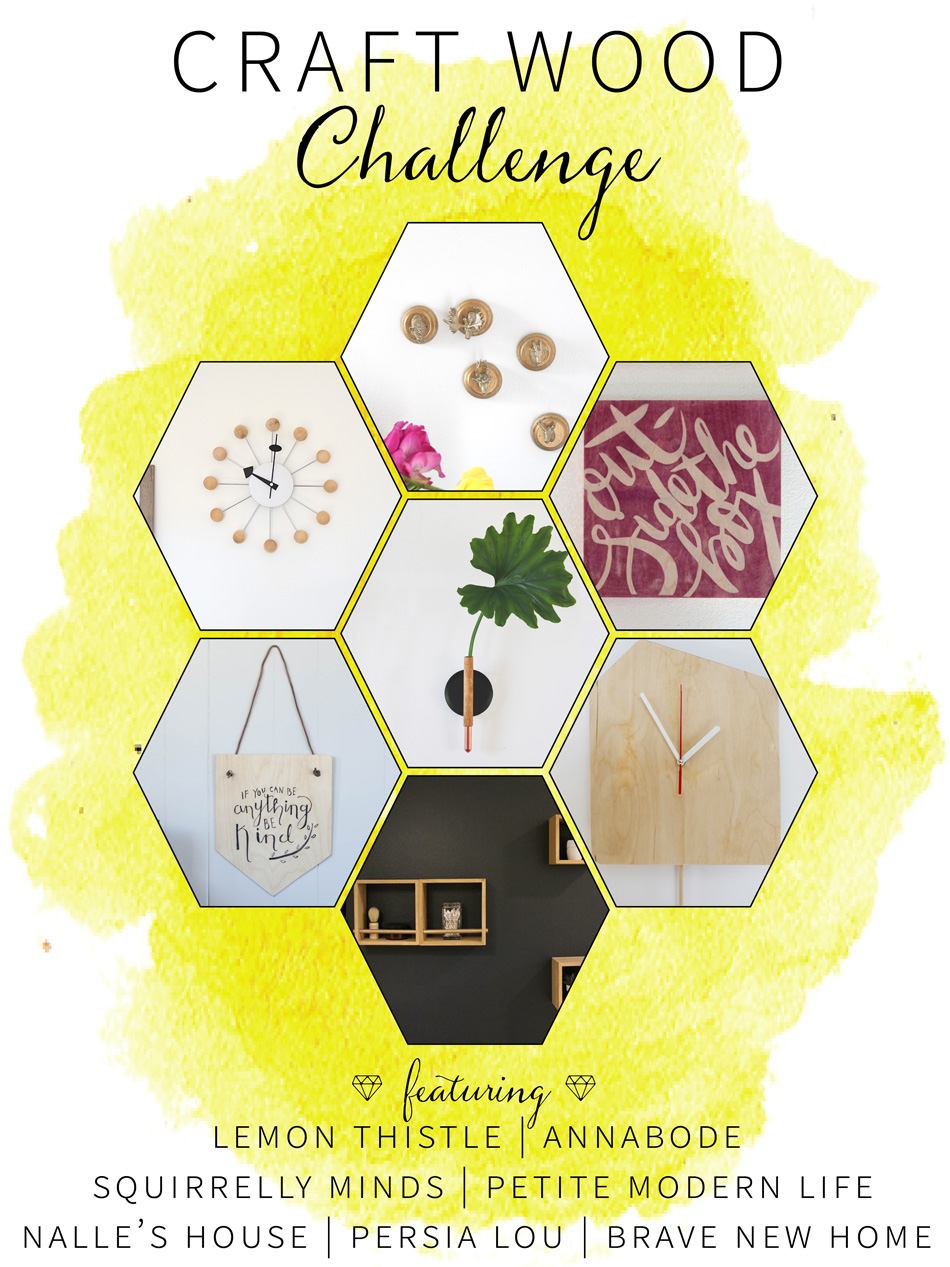
I’m extra excited for this post today because it’s part of a Materials Challenge I put together with the lovely Karisa from Petite Modern Life. We shot out some emails to a few of our favourite blog pals and challenged them to create a project using Craft Wood from Michaels Stores… I’m so impressed with the projects they’ve pumped out (and the girls we got involved- #WCW)! Before I get to the DIY on mine, you can see all of their posts above, links as follows:

- 1 sheet 1/8″ thick birch plywood
- Printed Template
- Pencil
- Watercolour Paint & Brush
- Jigsaw or Scroll Saw
- Power Drill with Drill Bit sized to Grommets
- Leather Cord
- Metal Grommets (these are made for fabric)
- Multi Purpose Glue
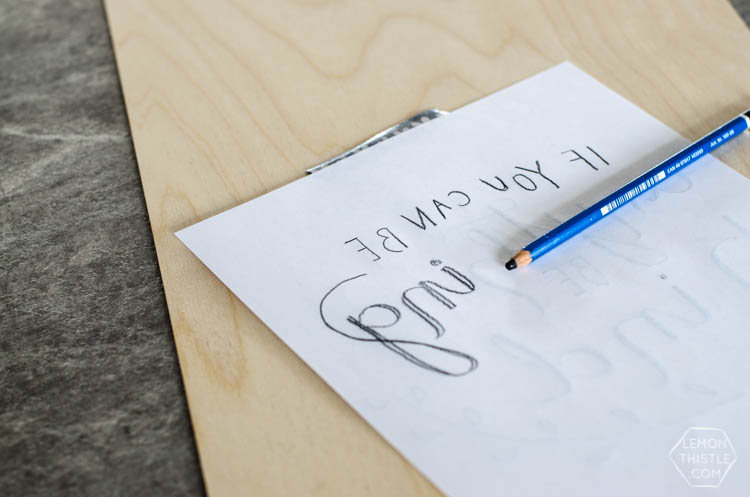
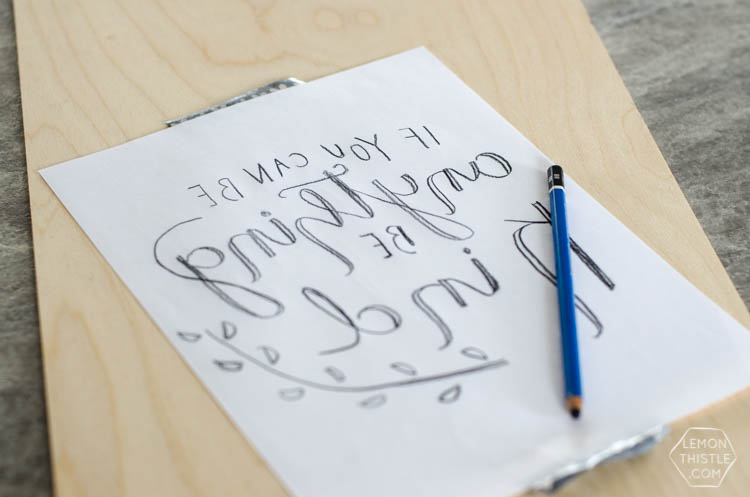
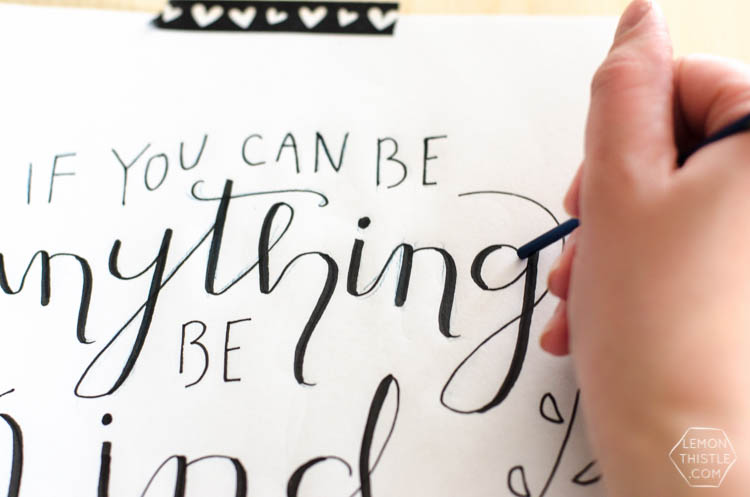
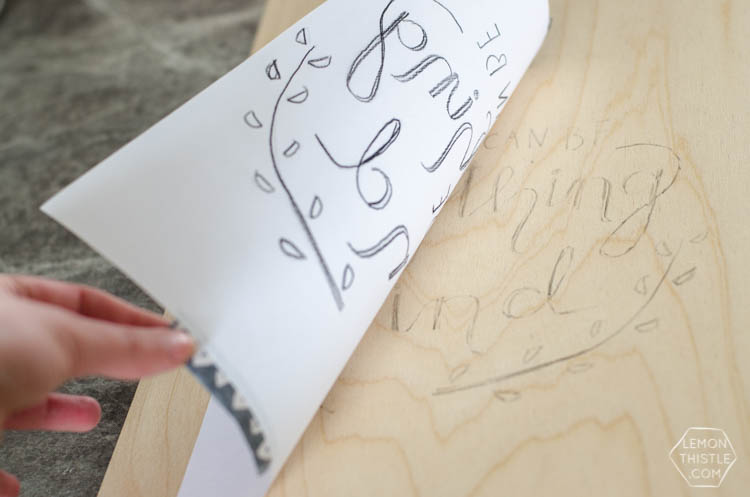
I started by transferring my design to the birch plywood. I flipped the printed template over and heavily traced over the letters. Then, I flipped it back over and taped it in place on the plywood. To transfer a light trace of the design, I used the back of a paintbrush (the back of your pencil would work great too) to press firmly along the letters. When you peel it back, you should have a faint but distinct transfer on your wood.
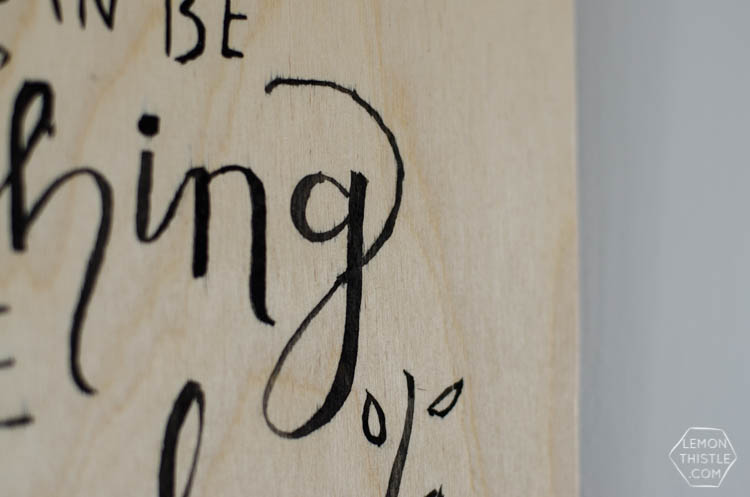
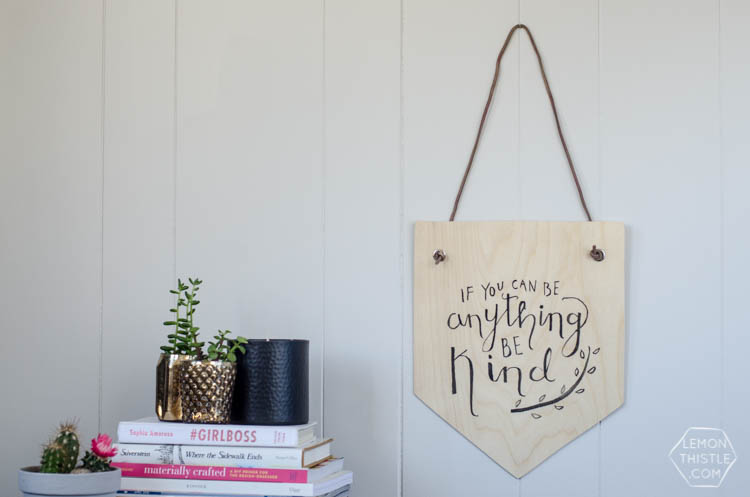
Now, take your watercolour paint and paint over your design. I love the look of watercolour paint on this wood- it bleeds slightly into the grain of the wood giving a beautiful hand painted finish. I left the wood unsealed to keep the look.
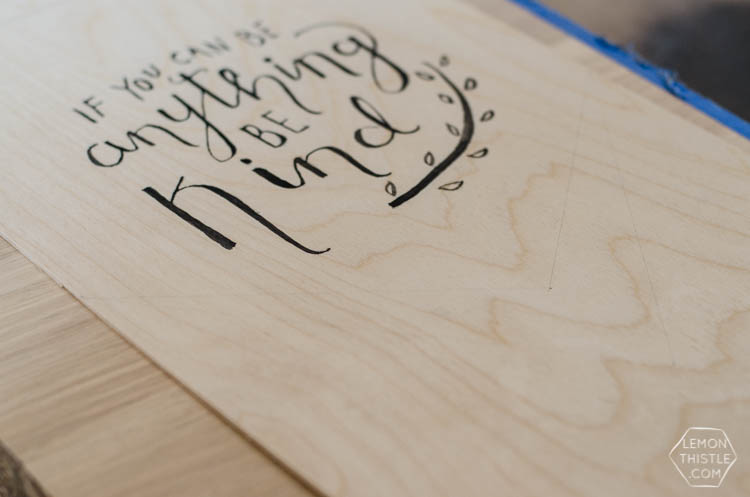
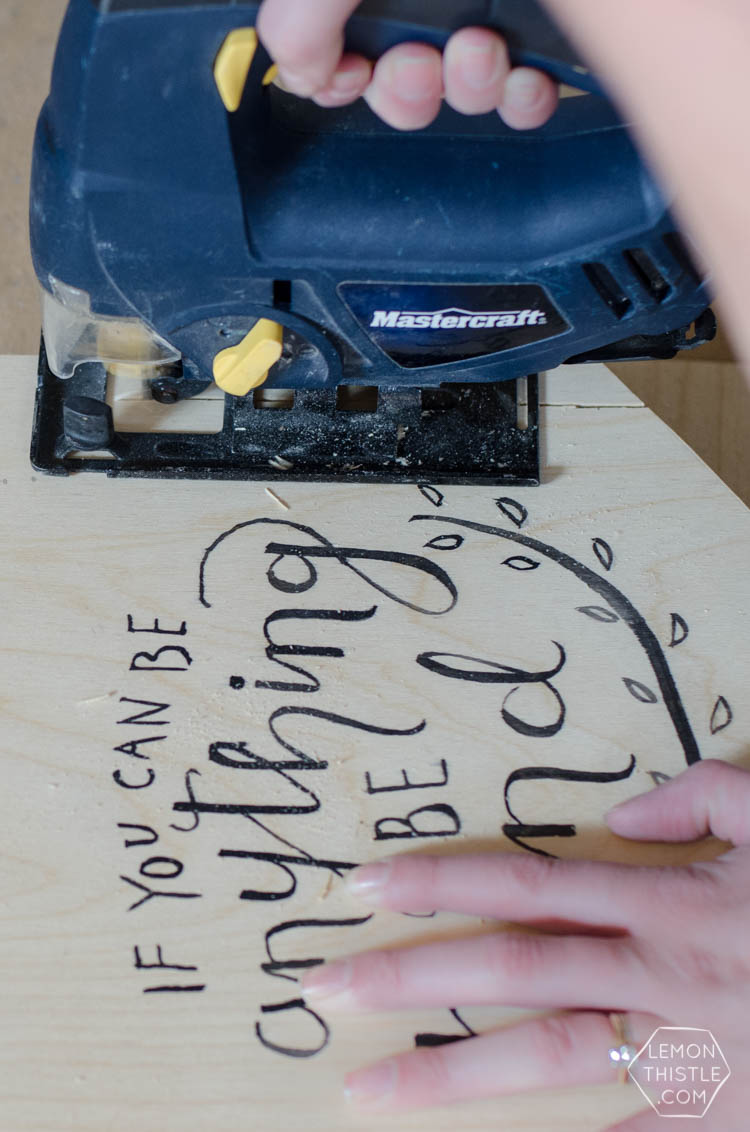
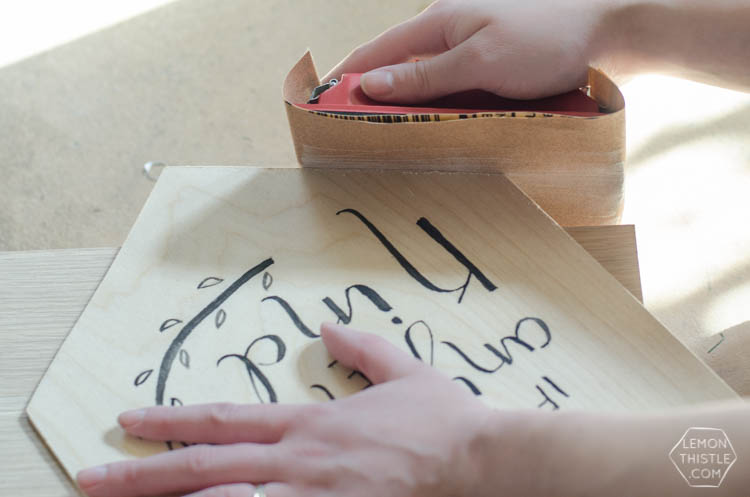
When your painting is completely dry, you can cut your piece of plywood to size. Use a ruler to mark where you’ll be cutting, I chose to cut mine to a point at the bottom and I cut it a bit skinnier than it came. I used a jigsaw for this, but a scroll saw would work great too. The key is to get a really slow, clean blade to avoid too much splintering. When you’ve cut your plywood to size, go ahead and sand the edges until they’re smooth with a fine grit sandpaper. I used 120 grit.
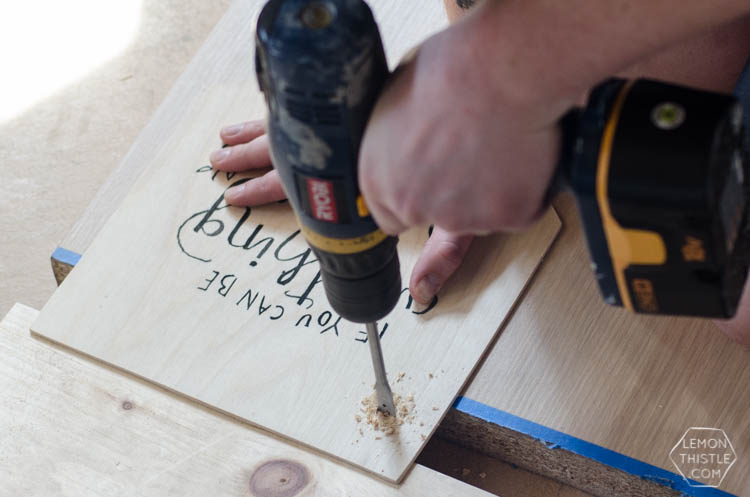
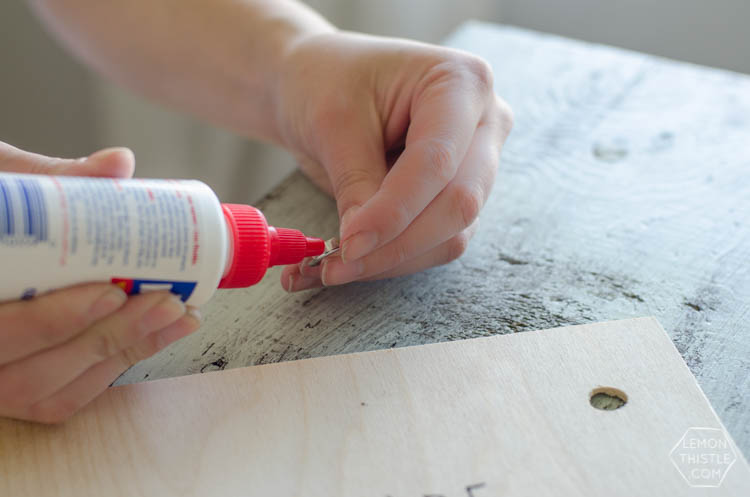
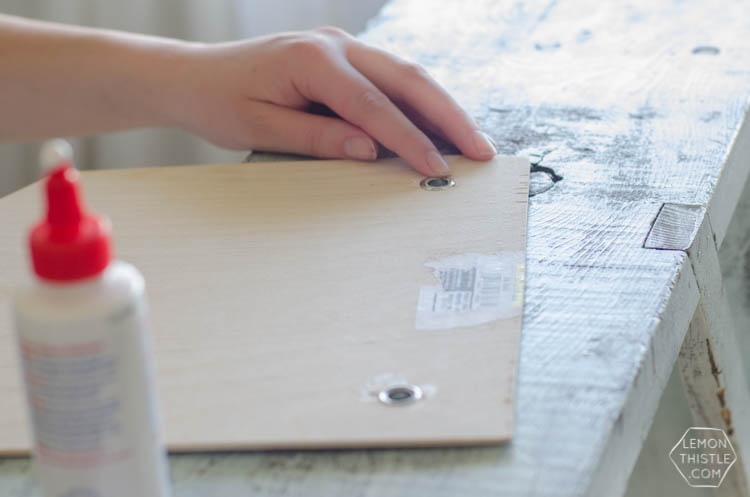
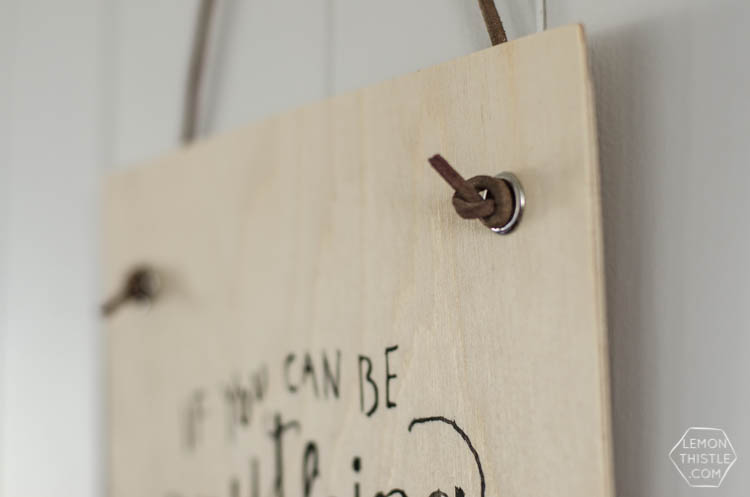
Next, drill your holes for your metal grommets. Again, go really slow to avoid too much splintering. I sanded these holes a tiny bit to get rid of major splinters before moving on. Use your multi purpose glue to glue your grommets in place. They are meant to crimp around fabric, but since the plywood is too thick, gluing works perfectly. There won’t be a lot of wear on this, but I love the way it cleans up the drilled holes. Make sure to let the glue cure for the full time! Tie your leather cord on and you’re good to go!
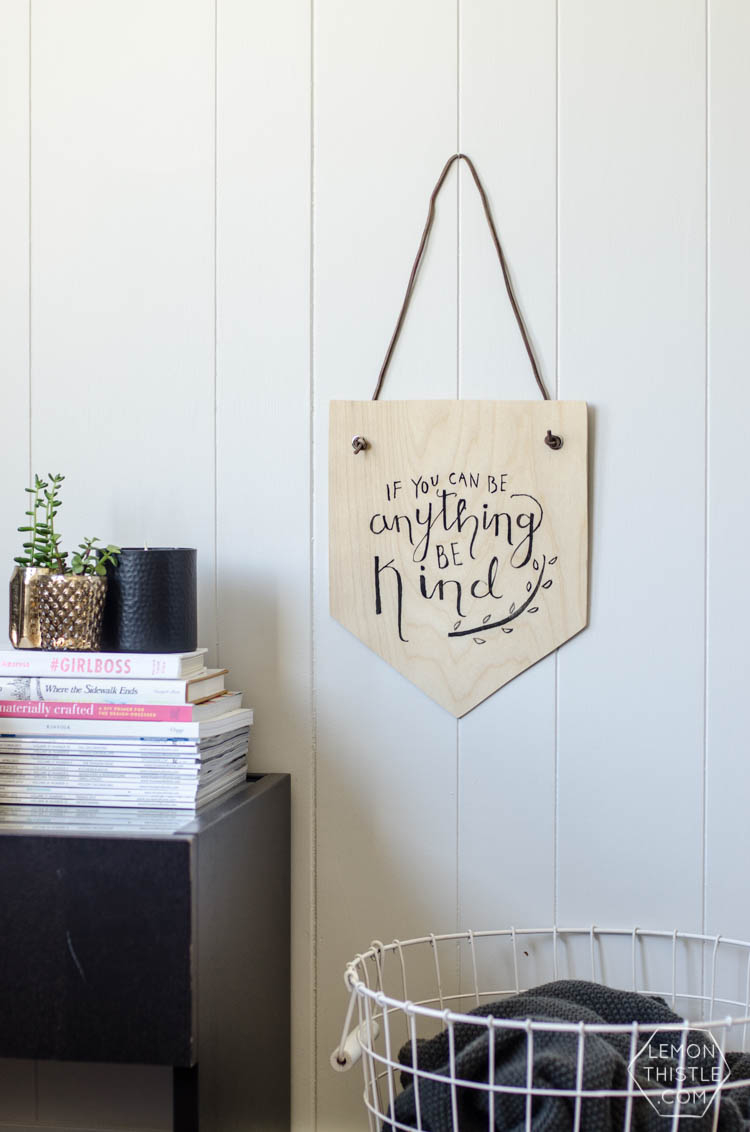
That’s all there is to it! We love the way it looks and plan to use it for our gallery wall that we’re working on in our hallway! THAT has been a slow project, however. Any tips on gallery walls? SO- tell me, would you give this DIY a shot? What would you put on your wall hanging? AND are you loving all the craft wood projects as much as I am?
 DIY Pastel and Gold Leaf Easter Eggs
So pretty Colleen!
Thanks so much Anu! I’m loving your clock too :)
Love, love, love it — the lettering! the leather! And a beautiful sentiment to boot :) Awesome job! Thank you so much for putting this challenge together, I had so much fun creating a project and it’s so cool to see what everyone else has come up with!
Ah, thanks so much Anna! I’m so pleased with how it turned out- and I’m glad you were able to participate!
What a sweet project! I’ve been looking for alternative wall decor and love the idea of this one. Thanks for the tutorial!
Thanks so much Jennifer! I have been too- I needed something to break up an all photo frame gallery wall :)
Super cute!! Pinning!
Thanks so much Ashley! I appreciate the pin :)
Gah, love how you incorporated grommets into the project- they’re always that little extra ‘sumthin sumthin to jazz things up! Your handwriting is absolutely lovely as well!
What a fun and easy way to dress up a wall! I love the shape you cut the wood into
Thanks so much Tan! It was my first time using a jig saw since shop class in highschool and I think I’m hooked!
Oh I just adore this project! So cute!
Thanks so much Rachel! I’m thrilled your here- I love your blog :)
I love the quote on this sign. I think this would be a great project for my teen dd to do for her room. Hope you can share this on the Merry Monday party too. Pinned.
Thanks so much Erlene! I could have used this reminder when I was a teen ;)
What a cute result! I love anything to do with plywood. This is a great challenge for me because…I’ve never drill anything in my life! In fact, I shy away from it. My favourite part of the project would be the lettering. You’re one talented lady, Colleen. Nice to meet you!
Thanks so much Veronika! It’s definitely a fun medium to work with. And you’re definitely the sweetest!! Nice to meet you as well Veronika :)
Suuuuuper cute! In fact it’s so cute, I just have to feature it at Motivational Monday tomorrow. Always love your projects, girl! :)
Thanks so much Amanda! You rock XO
Love this project! Using grommets and a leather cord for hanging are great ideas.
Thanks so much Paula! The grommets are my fave part :)
Really love this tutorial! I can’t wait to try it myself. PInned & shared. Thanks for joining the Inspiration Spotlight party!
Thanks so much Theresa! If you do create one yourself, I’d love to see a photo!
I love this! Simple and pretty, great idea!
Thanks so much Laura! The simplicity is one of the best things about it :)
Colleen this project is so pretty! I adore all of you hand lettering projects. You are so talented.
I included this project in a roundup of some of my favorite DIY and craft projects from people attending SNAP! I’d love for you to take a peek. You can find it here:
http://hellocreativefamily.com/27-diy-projects-from-creative-snap-bloggers/
Best Wishes,
Crystal
Simple nice project thanks